To activate online payment methods such as cards, UPI, net banking and wallets on your SmartBiz website, it is imperative to undergo KYC verification with Razorpay.
In this article, we will cover:
- Mandatory store creation checklist
- Documents needed for payment KYC
- Steps to complete KYC verification with Razorpay via Mobile Application
- Steps to complete KYC verification with Razorpay via Desktop Application
- Steps to complete Razorpay Video KYC (For Individual Unregistered Businesses If CKYC Fails)
- Steps to unlink/deboard Razorpay via desktop application
- FAQs
1. Mandatory store creation checklist:
Before proceeding with KYC verification, ensure the following requirements are fully completed. These are mandatory for your store to be considered compliant and ready for onboarding:
1. Store Information:
- Store Name: Accurately updated on your profile.
- Store Location: Must reflect your operational address.
- Business Categories: Clearly defined and relevant to your offerings.
- Store Logo: A professionally designed logo should be uploaded.
- Store Description: Provide a concise and informative description of your business.
- Product Listings: A minimum of 5 live product listings is mandatory.
- Registered Business: If applicable, the trade name (as per GST registration) must be displayed on the storefront.
2. Mandatory Website Page/ Policy Links:
Your store must include the following accessible and fully populated website pages or links:
- About Us
- Terms & Conditions
- Privacy Policy
- Refund & Cancellation Policy - Must clearly state processing timelines (e.g., “Refunds will be processed within 5–7 business days”, “Cancellations allowed within 1–2 business days”).
- Contact Us
- Should include the complete operational Indian address
- A valid contact number
- An active email ID
3. Business Name Visibility
- The exact business name, as per your official documents (e.g., GST, MSME, etc.), must be clearly visible on the website.
2. Documents needed for payment KYC:
Following is the list of Know Your Customer (KYC) documents Razorpay needs to verify your KYC. You need to upload scanned photocopies (soft copies) of these documents.
- LLP:
| Proof Required | Supporting Documents |
|---|---|
| Proof of Business Identity | Certificate of Incorporation/LLPIN/LLP Deed |
| Proof of Business Existence | Company PAN Card |
| Proof of Business Working | Cancelled cheque/Bank letter head |
| Proof of Identity of Business Owners and Authorised Signatory |
|
- Private Limited/Public Limited:
| Proof Required | Supporting Documents |
|---|---|
| Proof of Business Identity |
|
| Proof of Business Existence | Company PAN Card |
| Proof of Business Working | Cancelled cheque/Bank letter head |
| Proof of Identity of Business Owners and Authorised Signatory |
|
- Partnership:
| Proof Required | Supporting Documents |
|---|---|
| Proof of Business Identity | Registered Partnership Deed |
| Proof of Business Existence | Company PAN Card |
| Proof of Business Working | Cancelled cheque/Bank letter head |
| Proof of Identity of Business Owners and Authorised Signatory |
|
- Sole Proprietorship:
| Proof Required | Supporting Documents |
|---|---|
| Proof of Business Identity and Existence | MSME Certificate Or GST Certificate. |
| Proof of Business Working | Cancelled cheque/Bank letter head |
| Proof of Identity of Business Owners | PAN Card |
| Proof of address of Business Owners | Government-approved identity and address Proof of Proprietor (like Aadhar Card/Voter Id/Passport) |
- Trust:
| Proof Required | Supporting Documents |
|---|---|
| Proof of Business Identity and Existence | Registered Trust Deed/Trust Registration Certificate |
| Proof of Business Existence | Company PAN Card |
| Proof of Business Working | Cancelled cheque/Bank letter head |
| Proof of Identity of Business Owners and Authorised Signatory |
|
- HUF:
| Proof Required | Supporting Documents |
|---|---|
| Proof of Business Identity and Existence | Registered HUF Deed |
| Proof of Business Existence | Company PAN Card |
| Proof of Business Working | Cancelled cheque/Bank letter head |
| Proof of Identity of Business Owners and Authorised Signatory |
|
- Government:
| Proof Required | Supporting Documents |
|---|---|
| Proof of Business Identity and Existence | Gazette Notification Certificate |
| Proof of Business Existence | Company PAN Card |
| Proof of Business Working | Cancelled cheque/Bank letter head |
| Proof of Identity of Business Owners and Authorised Signatory |
|
- Judicial Person:
| Proof Required | Supporting Documents |
|---|---|
| Proof of Business Identity and Existence | Gazette Notification Certificate |
| Proof of Business Existence | Company PAN Card |
| Proof of Business Working | Cancelled cheque/Bank letter head |
| Proof of Identity of Business Owners and Authorised Signatory |
|
- Local Authority:
| Proof Required | Supporting Documents |
|---|---|
| Proof of Business Identity and Existence | Gazette Notification Certificate |
| Proof of Business Existence | Company PAN Card |
| Proof of Business Working | Cancelled cheque/Bank letter head |
| Proof of Identity of Business Owners and Authorised Signatory |
|
- Section 8 Company:
| Proof Required | Supporting Documents |
|---|---|
| Proof of Business Identity and Existence |
|
| Proof of Business Existence | Company PAN Card |
| Proof of Business Working | Cancelled cheque/Bank letter head |
| Proof of Identity of Business Owners and Authorised Signatory |
|
- Individual/Unregistered Businesses:
| Proof Required | Supporting Documents |
|---|---|
| Proof of Identity of Business Owners and Authorised Signatory |
|
| Proof of Business Working | Cancelled cheque/Bank letter head |
3. Steps to complete KYC verification with Razorpay via Mobile Application:
-
Navigate to the "Profile" section on your SmartBiz account dashboard.
- Within the "Profile" section, select "Manage Payments".
-
Under "Manage your payment options," click on "Set Up Online Payment" powered by Razorpay.
-
You will have 2 options:
a). Create Account - This option should be used when you do not have an existing Razorpay account with the email Id that is used for SmartBiz login
b). Link Existing Account - This option should be used when you already have an existing Razorpay account with an email Id that is used for SmartBiz login.
Flow to complete KYC when you do not have Razorpay account with the email Id that is used for SmartBiz login.
-
After clicking on “Setup Online Payment”, please select your “Business Type” and update your “Legal Business Name”. Then, click "Create Razorpay Account."
-
You will now have an option to complete KYC by clicking on "Complete KYC" under “Manage Payment” option. Clicking on "Submit KYC with Razorpay”
-
You can use your registered email Id or phone number (credentials used for SmartBiz login) and click on "Next". Then you will receive an "OTP" on your registered email Id or phone number. Enter the OTP and click on "Submit OTP".
-
Click on “Submit KYC details”.
-
Select the various details like ‘Business Type’, ‘Business Category’ and etc in the “Business Overview” section.
-
Add the PAN details along with other business details.
-
You will be required to fill in "Bank details" which you wish to be associated with your Razorpay account.
-
In “Documents Verification”, you can upload either of your Aadhar card/Passport/Voter Id front and back sides.
- Once you complete filling in all the details, the “Submit Form" button will be enabled. You can click on "Submit button" to complete KYC process. Note: An email from Razorpay will be sent to your registered email Id.
-
Upon completion, you will see a confirmation page.
Note:
All features will be activated simultaneously, starting with Debit, Credit cards, UPI, Net banking, and wallets.
KYC completion may take 2-4 business days.
All KYC-related updates will be communicated to the registered email ID.
Flow to complete KYC when you have an existing Razorpay account with the email Id that is used for SmartBiz login.
- You can use your existing Razorpay account to integrate with SmartBiz account. Click on "Link Existing account".
-
Click on "Login". Please enter your existing registered email id or phone number that was used for SmartBiz login.
-
SmartBiz will require access to your existing Razorpay account. Please click on "Authorize".
4. Steps to complete KYC verification with Razorpay via Desktop Application:
-
Login to the Desktop Application with your credentials and navigate to “Settings”
-
Select “Payments” where you will have 2 options:
a) Link Existing Account - This option should be used when you already have an existing Razorpay account with an email Id that is used for SmartBiz login.
b) Create Account - This option should be used when you do not have Razorpay account with the email Id that is used for SmartBiz login.
Flow to complete KYC when you do not have Razorpay account and need to create one.
a) Click on Create account
b) Select the Business Type as per your Business, from the drop down list that will appear.
c) Now enter a Legal Business Name and the registered email address along with the registered phone number on your SmartBiz account will automatically populate under Email and Phone number section.
d) Once all the details are filled, click on Create RazorPay account.
Note:
- All features will be activated simultaneously, starting with Debit, Credit cards, UPI, Net banking, and wallets.
- KYC completion may take 2-4 business days.
- All KYC-related updates will be communicated to the registered email ID.
Flow to complete KYC when you have Razorpay account already with your registered phone number or email Id.
Before you begin, ensure you have:
a) Razorpay login credentials.
b) KYC documents (e.g., identity proof, PAN, business proof).
c) Business details (category, type, address, support email).
1. Click Settings to open the settings menu where you can configure your account preferences.
2. Click Payments to access the payment options and manage your payment methods.
3. Click Link existing account to start the process of connecting your Razorpay account.
4. You will be routed to easy.razorpay.com to proceed with Razorpay account login and linking.
5. Click Login to enter your Razorpay account credentials.
6. Enter your RazorPay account registered phone number or Email ID for verification.
7. Click Next to proceed to the next step after entering your phone number or Email ID.
8. An OTP will be sent to your phone number or Email ID, enter the OTP and click on Submit OTP to confirm and continue.
9. Fill the name as registered on your Razorpay account and click Continue.
10. Select the required, to enable payment acceptance on your website.
11. Click Continue to save your payment acceptance preferences.
12. Select the business type and click Continue to proceed with individual account setup.
13. Enter the PAN number and click Continue.
14. Enter the name as per PAN and Click Continue.
15. Now enter the Brand Name and click Continue.
16. Select the category of your business to specify your business type.
17. Now enter your email address and proceed to the next verification step.
18. Once the email address is entered, click on Send OTP
19. Enter the OTP received to verify your email address and click on Continue.
20. Click Complete KYC to start the Know Your Customer process.
21. Click on Bank Details to begin uploading your KYC documents.
22. Once the details are entered, click Done.
23. Now click on Business Address and continue with address verification.
24. After entering the address correctly, click Done to save your address information.
25. Click Identity Proof to upload your identity document.
26. Click Upload to select your identity proof file.
27. Based on the document you have, select either of the one and click Continue to proceed.
28. Now Click Upload File to choose the file to upload.
29. Once the documents are uploaded, click Continue.
30. Click Continue to move forward in the process.
31. Click Business Policy to set up your business policies.
32. Click Create missing pages to generate necessary policy pages.
33. Click Support email to enter your customer support email address.
Now click on Create Policy pages and move forward
34. Now click Submit KYC to begin the KYC submission process, which is essential for verifying your identity and enabling transactions.
35. Click Continue Anyway to proceed, allowing you to move forward with the KYC submission.
36. Click Connect to Amazon smart commerce solutions pvt. ltd. to link your Razorpay account with Amazon's commerce platform, facilitating seamless payment processing.
37. Click Authorize to grant the necessary permissions for the integration, ensuring that your accounts are properly connected.
38. This confirms your submission and outlines the next steps.
Your KYC submission is now complete and under review. Once verified, you will be able to receive orders and payments through your linked Razorpay account. To monitor the verification status, log in to your Razorpay dashboard.
5. Steps to complete Razorpay Video KYC (For Individual Unregistered Businesses If CKYC Fails):
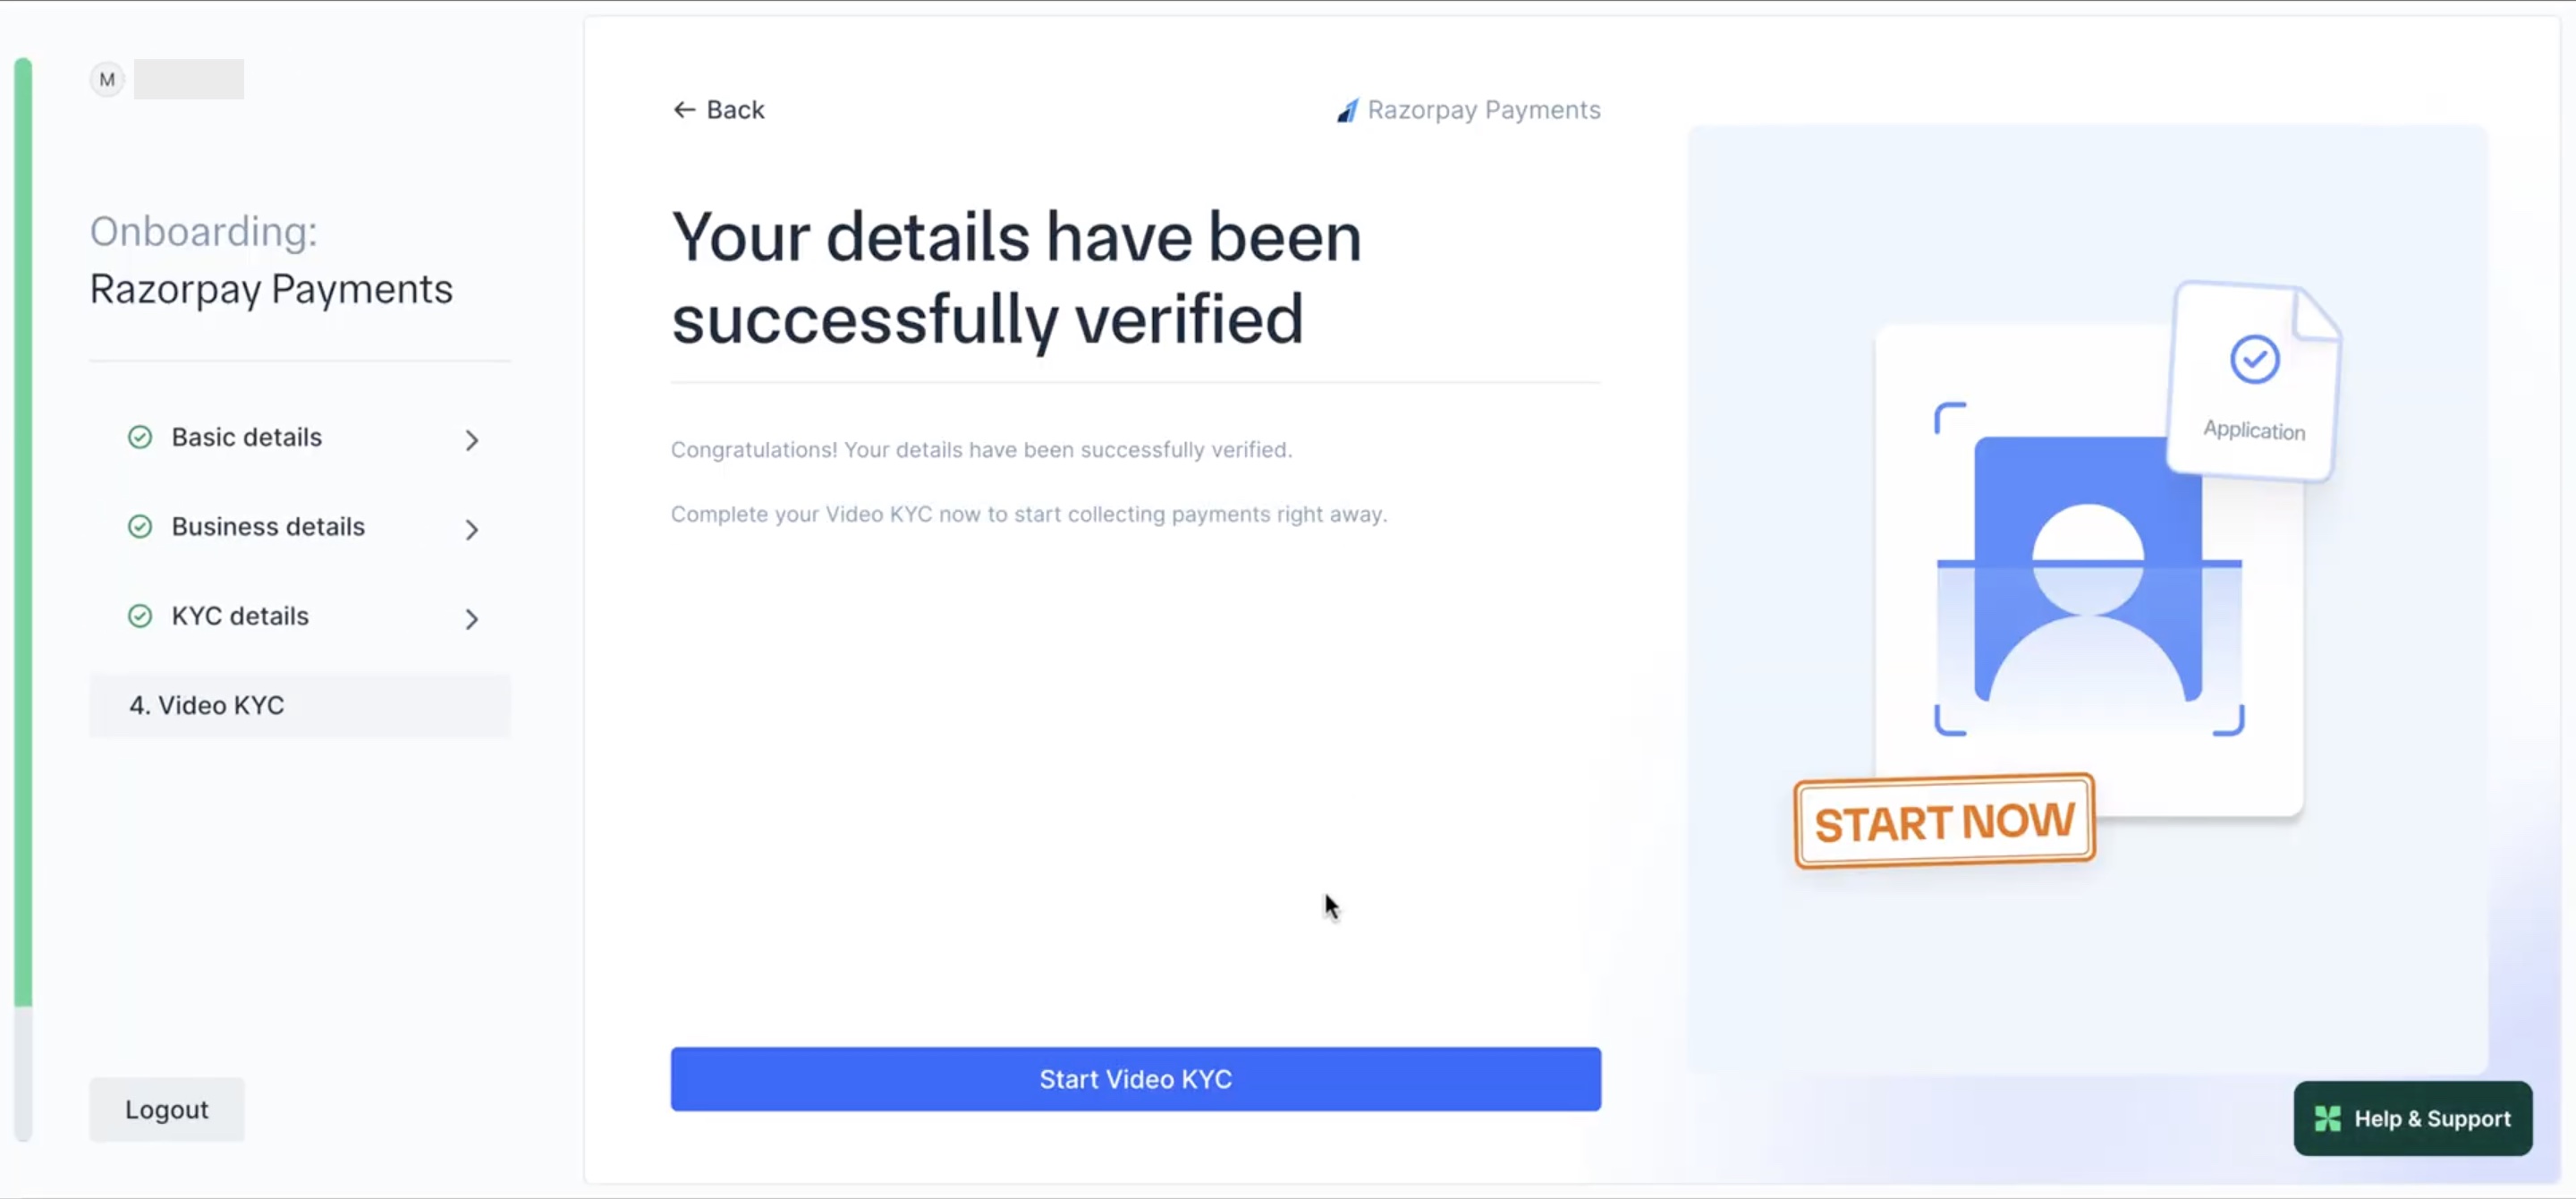
-
If your CKYC failed, you must proceed with the Video KYC process. Click Start Video KYC.
-
Confirm if you are the authorised signatory proceeding with the video KYC process. Click Continue.
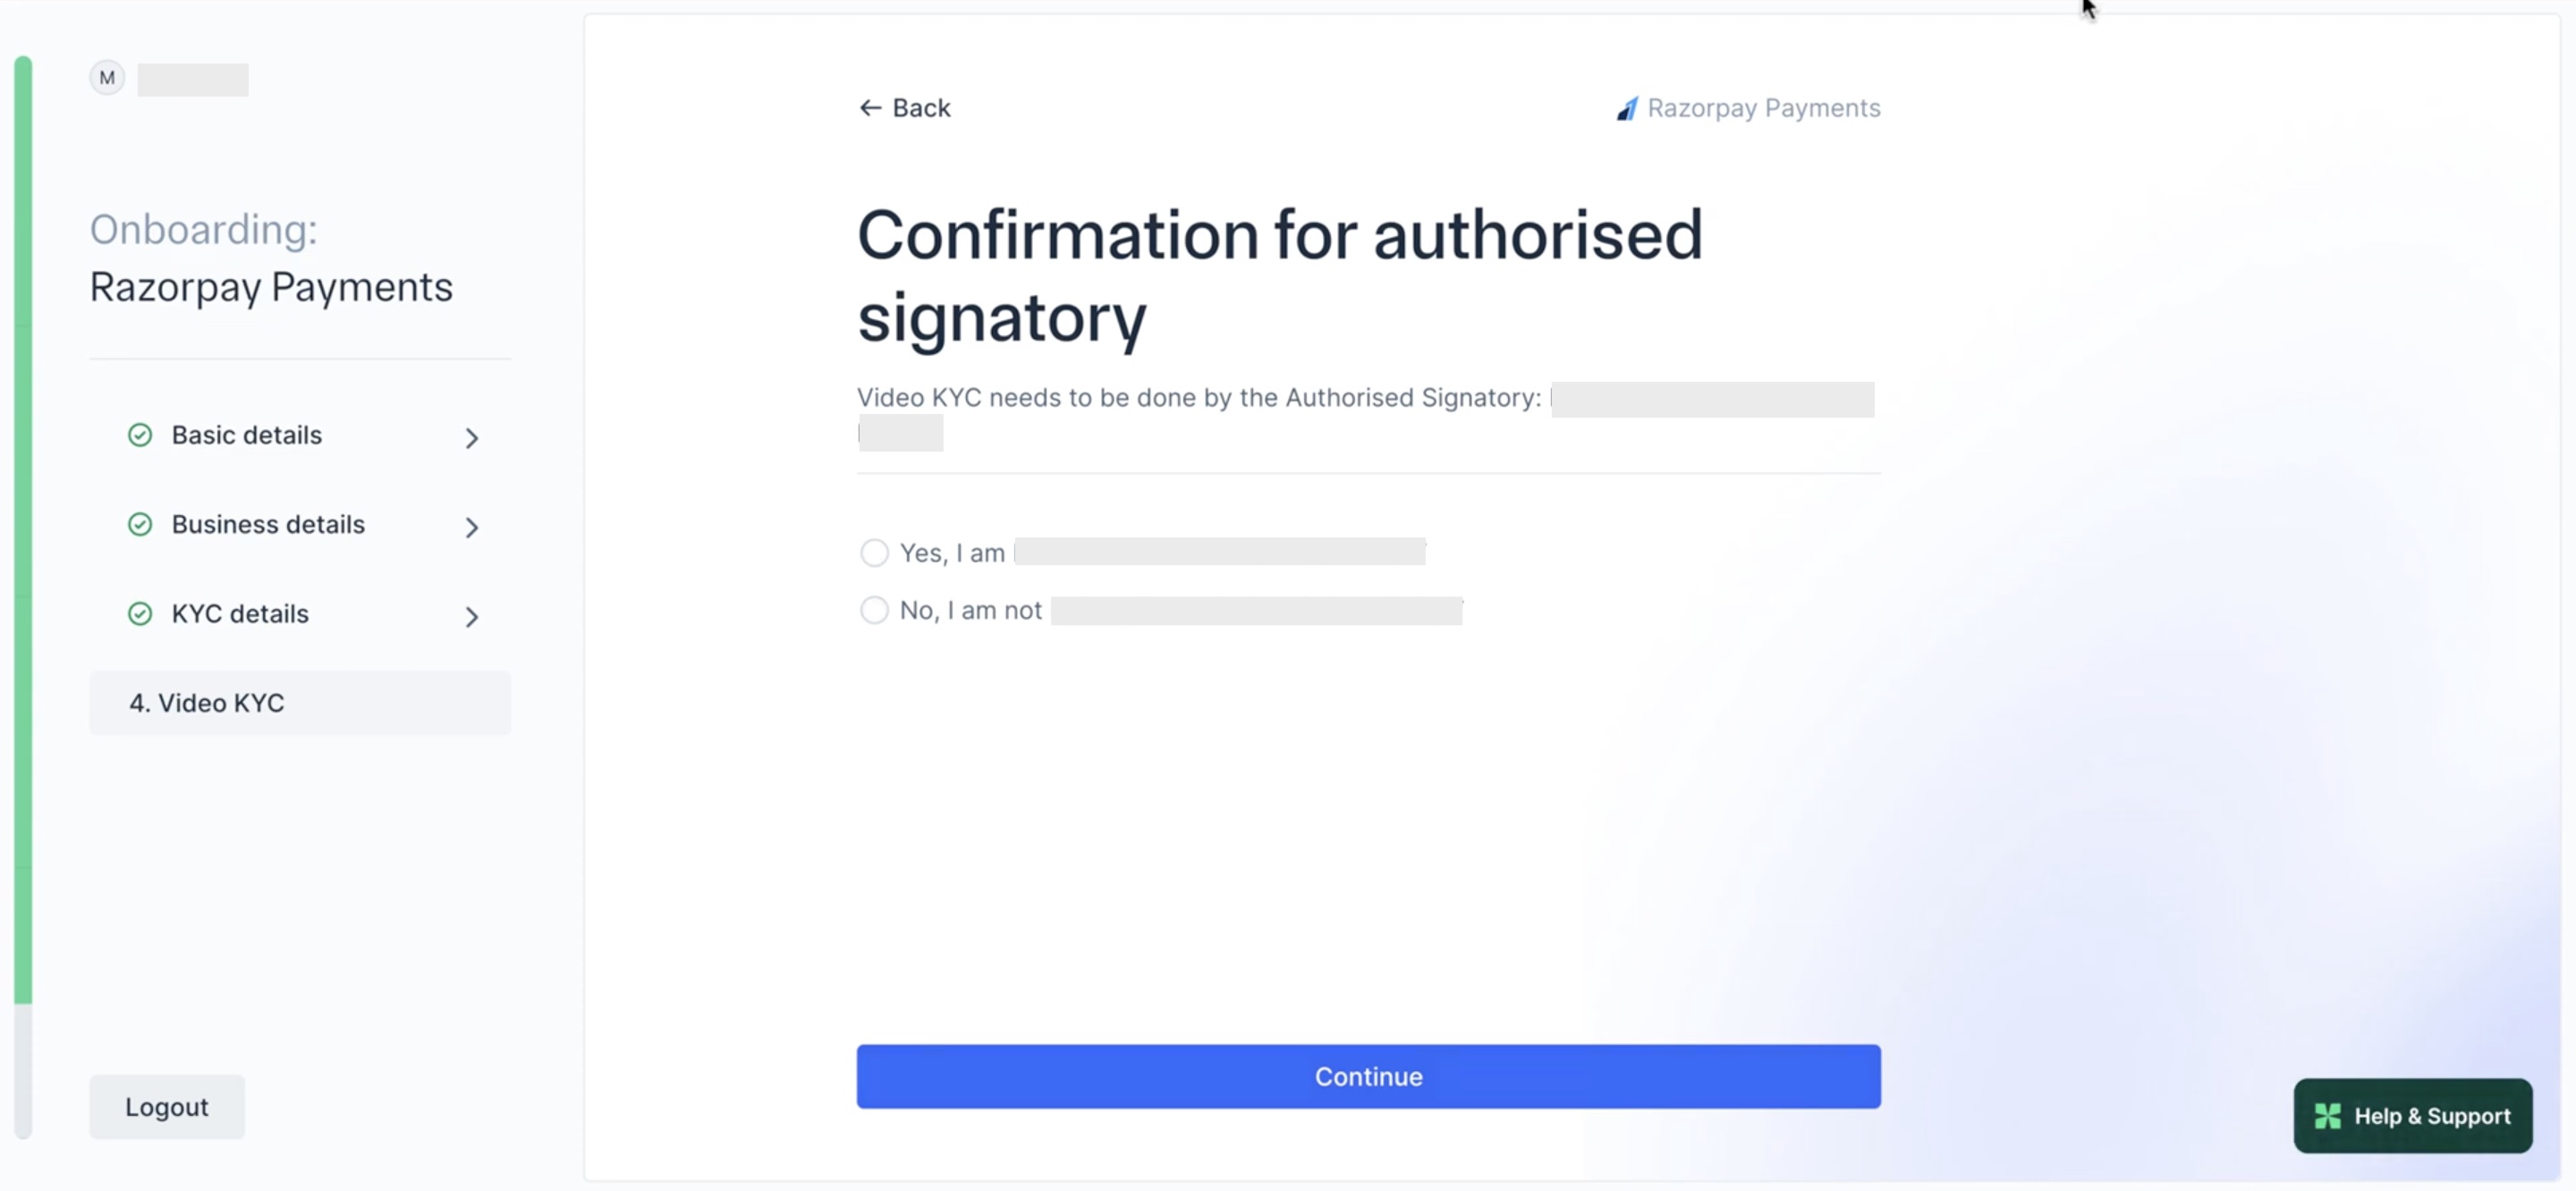
-
If you are not the authorised signatory, you can share the VKYC shareable link with them.

-
If you are the authorised signatory, review the instructions and click Start.
Handy Tips
Ensure you have physical copies of your PAN and Aadhaar card ready.
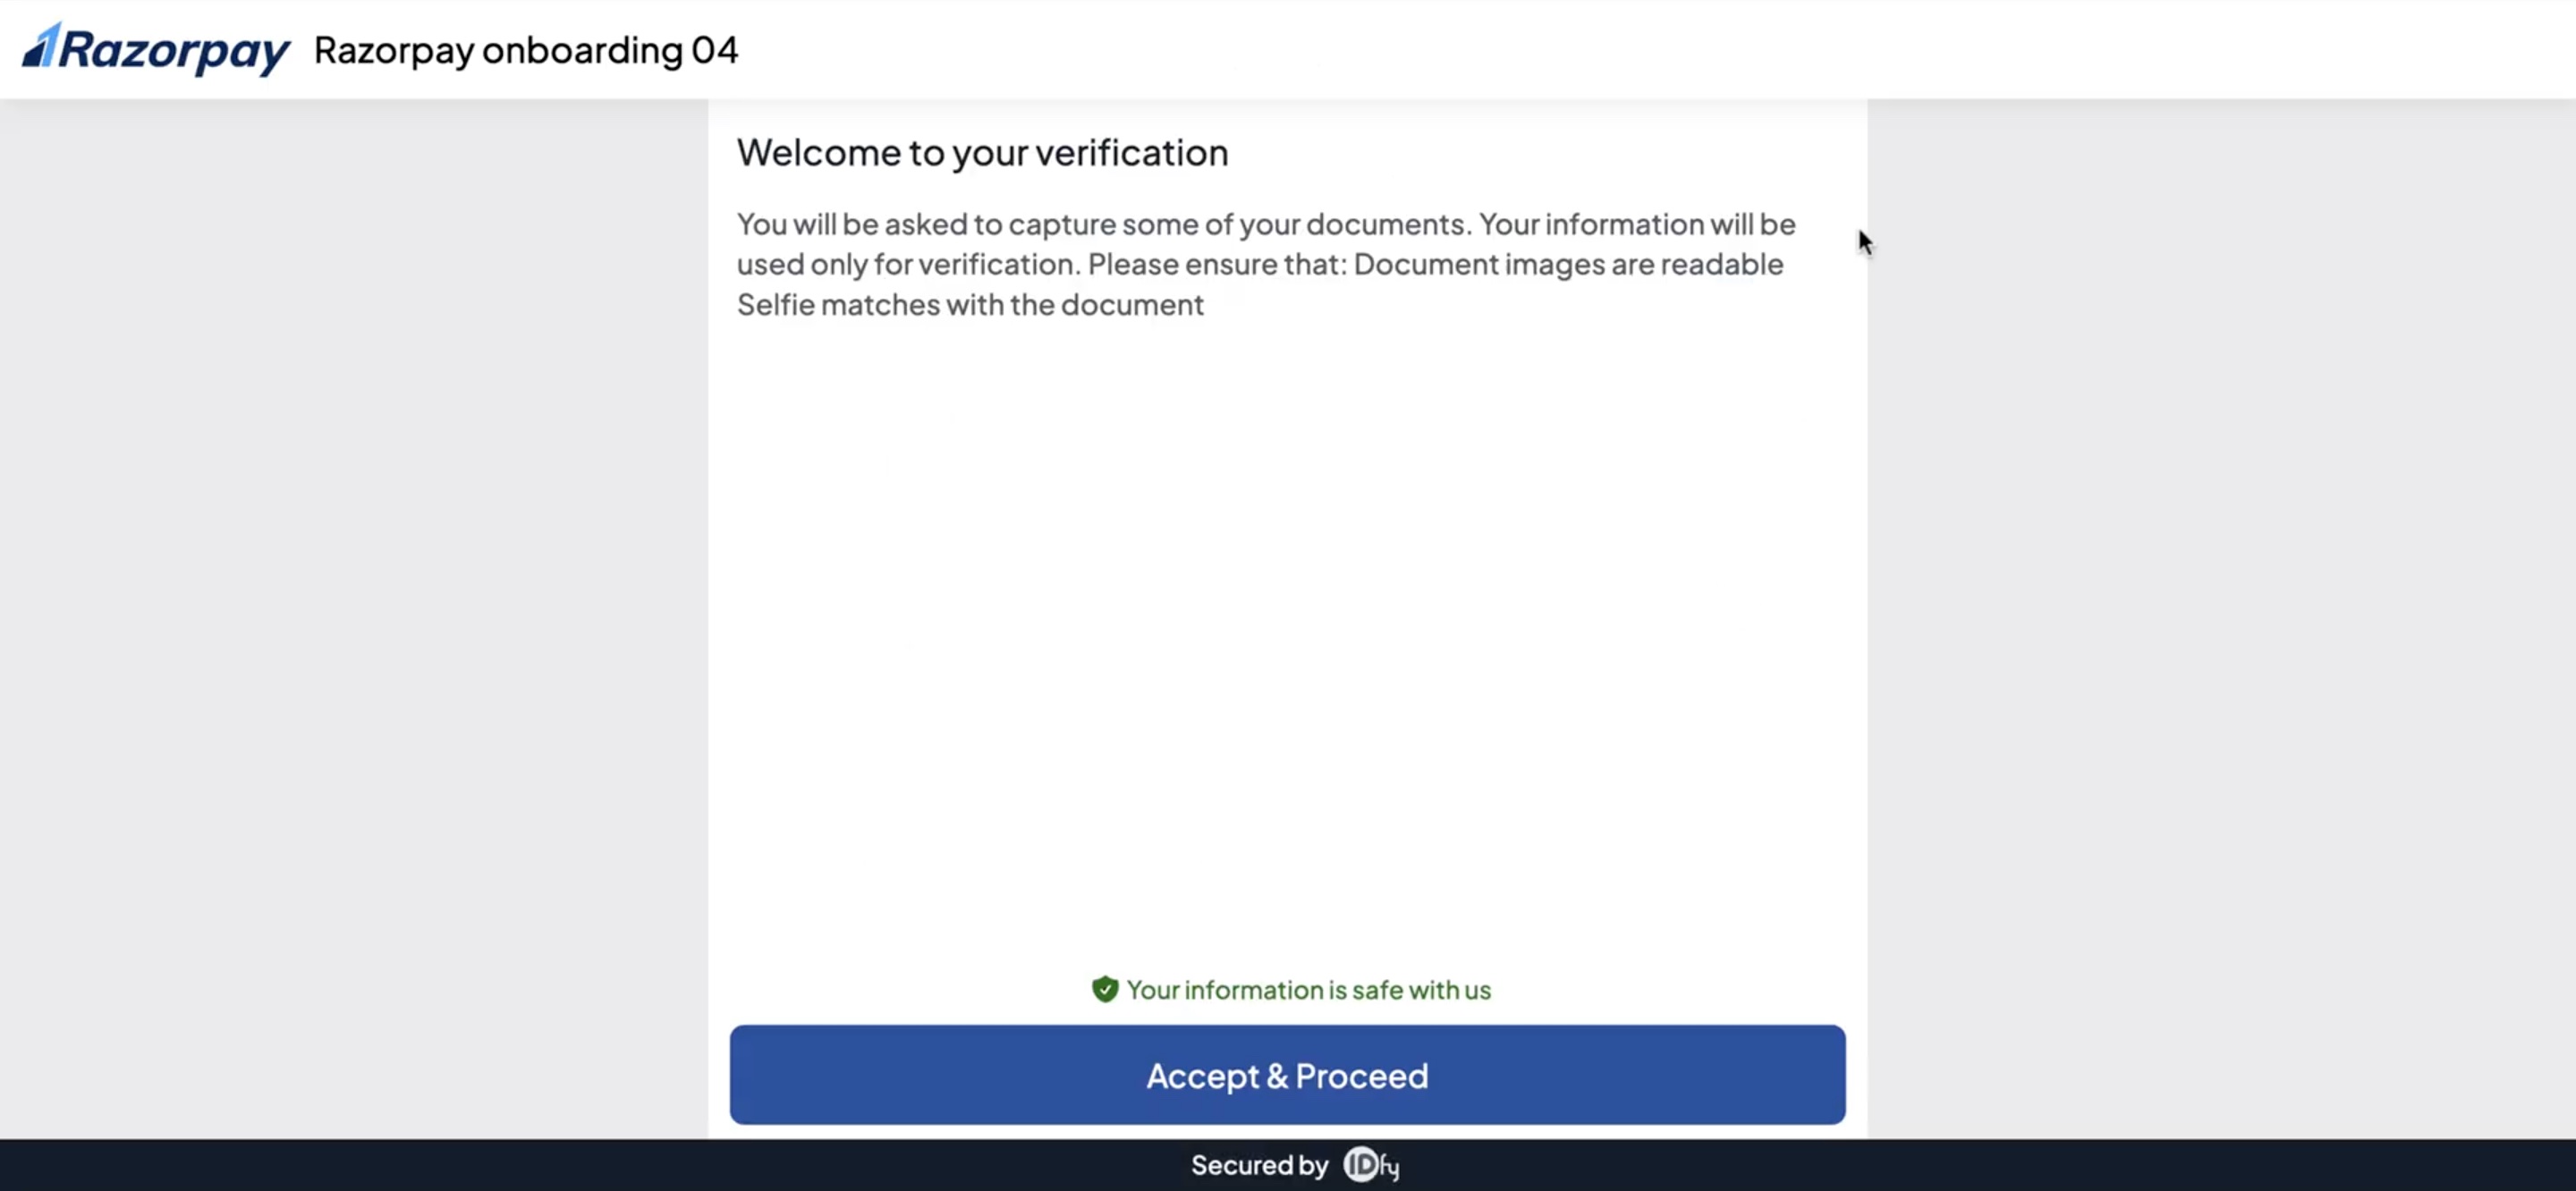
-
Click Accept & Proceed to accept the terms and conditions.
-
Click Proceed to start checking for camera, microphone and location.
Handy Tips
Ensure no Proxy/VPN/TOR is active on your device.
-
A Razorpay agent will join and verify your documents on video.
You have successfully completed your onboarding process.
6. Steps to unlink/deboard Razorpay via desktop application:
1. Log in to your Razorpay dashboard directly (outside of SmartBiz) using the credentials of the Razorpay account you wish to unlink.
2. Navigate to “Account & Settings”, then select “Website & App Settings”.
3. Under “Applications”, find SmartBiz and click “Revoke” to remove its access.
4. Log out of the Razorpay dashboard in your browser.
5. Log in to your SmartBiz application.
6. Go to "Settings”, then “Payments”, and click “Log In”.
7. Enter the credentials of the Razorpay account you want to link with SmartBiz.
8. Click the “Authorize” button to connect the Razorpay account with SmartBiz.
7. FAQs:
1. Why do I see "You're in Test Mode" in the Razorpay Dashboard?
If you see “You’re in Test Mode” on your Razorpay Dashboard, it means that your KYC verification is still pending. Once your KYC is successfully completed, your account will switch to Live Mode.
2. What is the timeline for KYC completion?
The KYC verification process typically takes 2–4 business days. In some cases, it may take up to 1 week, depending on the volume of requests and document verification.
3. How can I add funds to my Razorpay account?
- Log in to your Razorpay Dashboard.
- Go to Account & Settings.
- Select Balances under Payments and Refunds.
- Click Add Funds and complete the process.
👉 Alternatively, you can use the direct Add Razorpay Funds link available in your dashboard.
4. How do I request a bank account change in Razorpay?
- Log in to your Razorpay Dashboard.
- Navigate to Account & Settings from the left menu.
- Under Bank Account and Settlements, click Bank Account Details → Change Bank Account.
- Enter the OTP sent to your registered mobile device for 2-step verification.
- Provide the details of your new bank account. This will become your settlement account.
- Upload a copy of your bank statement and click Save.