By connecting your storefront seamlessly to Meta CAPI, you can optimize campaign performance, track conversions accurately thereby improving ROAS.
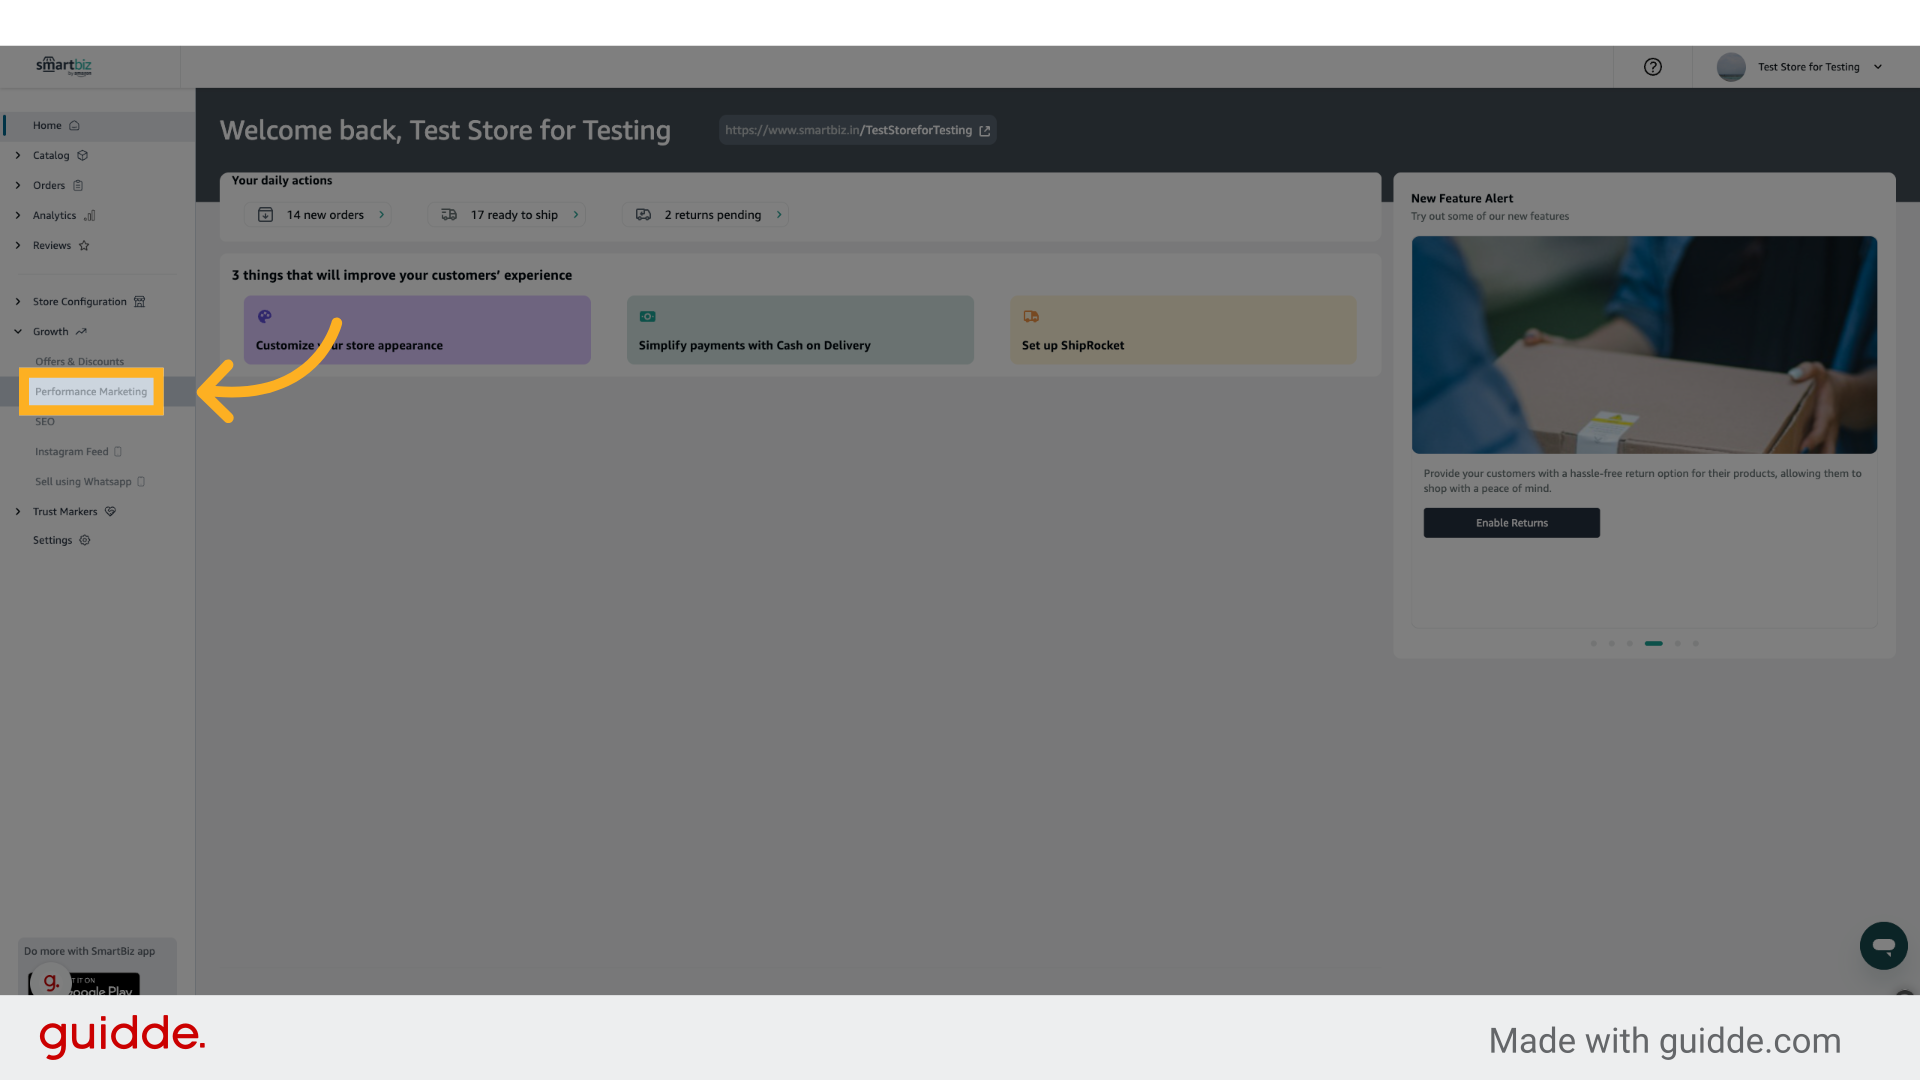
2. Click "Performance Marketing"
Initiate your journey by navigating to the Performance Marketing section to access the tools necessary for connecting Meta CAPI.
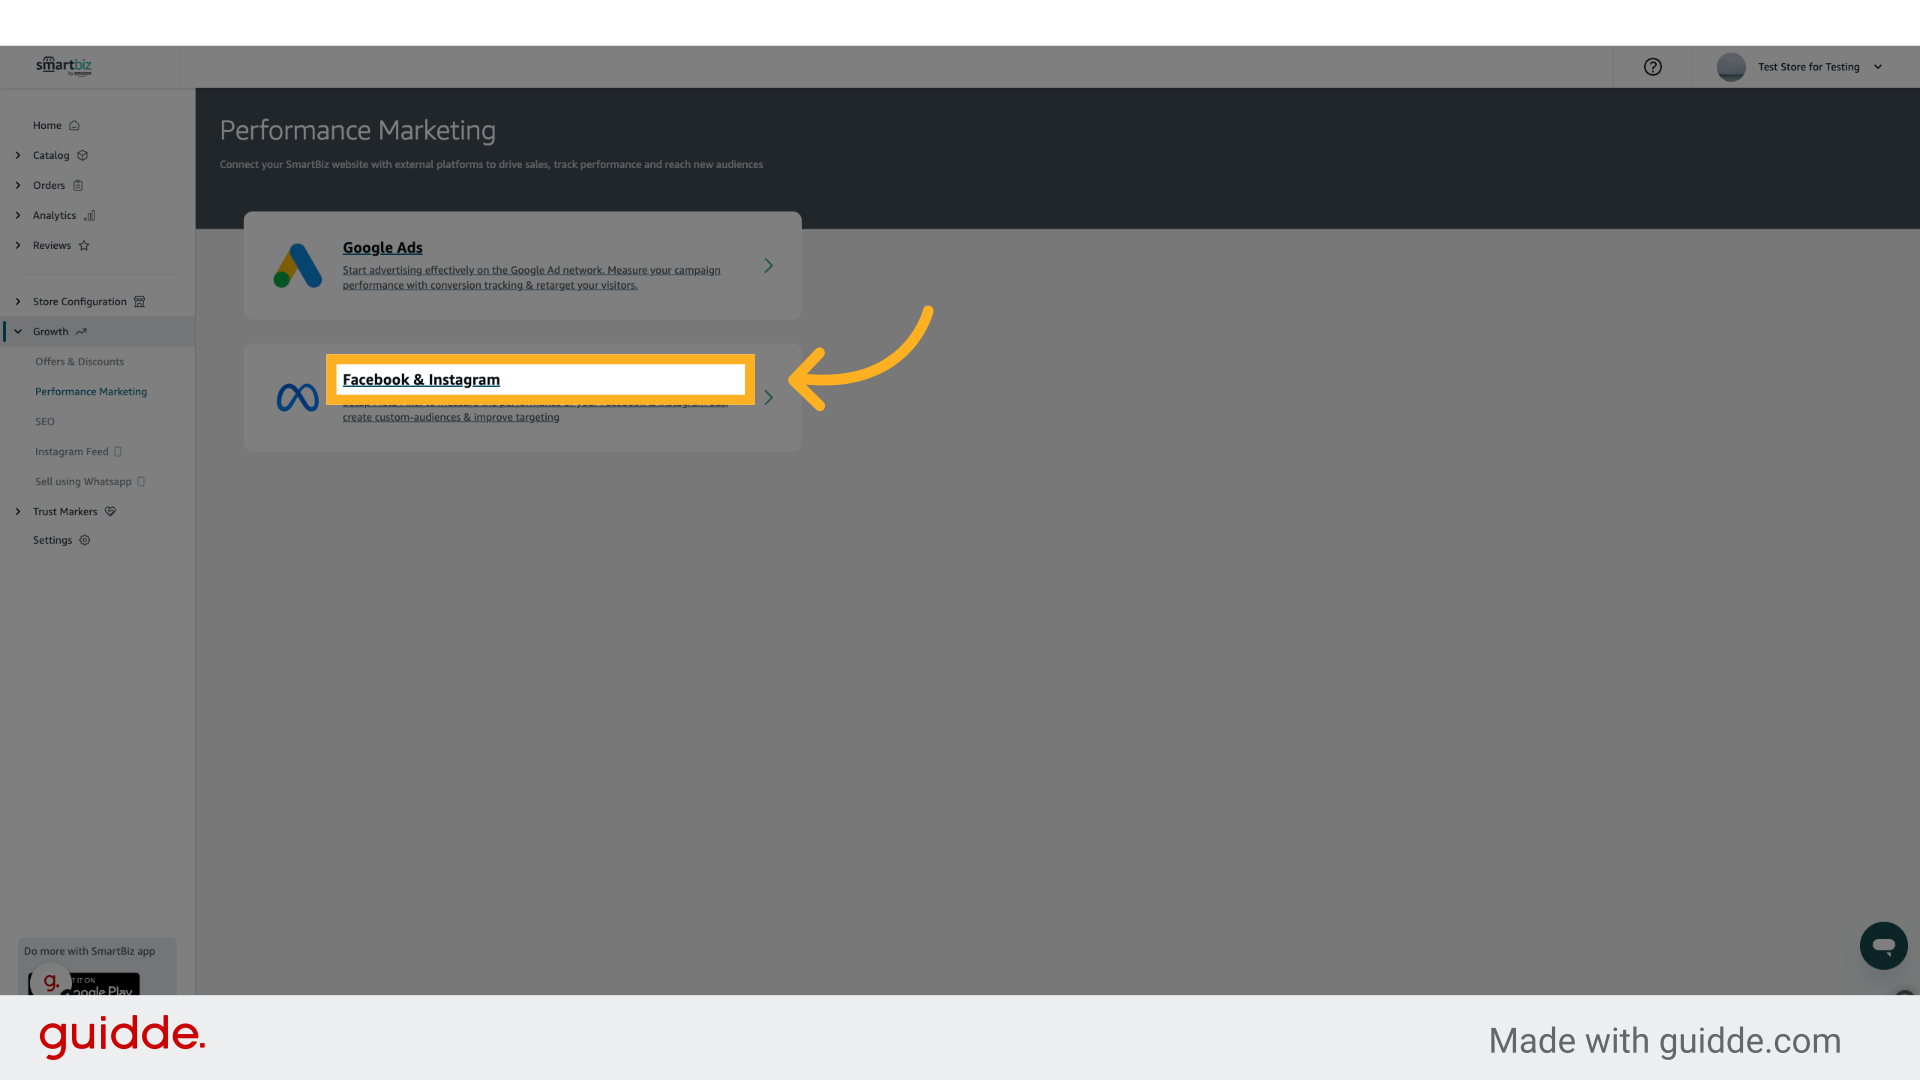
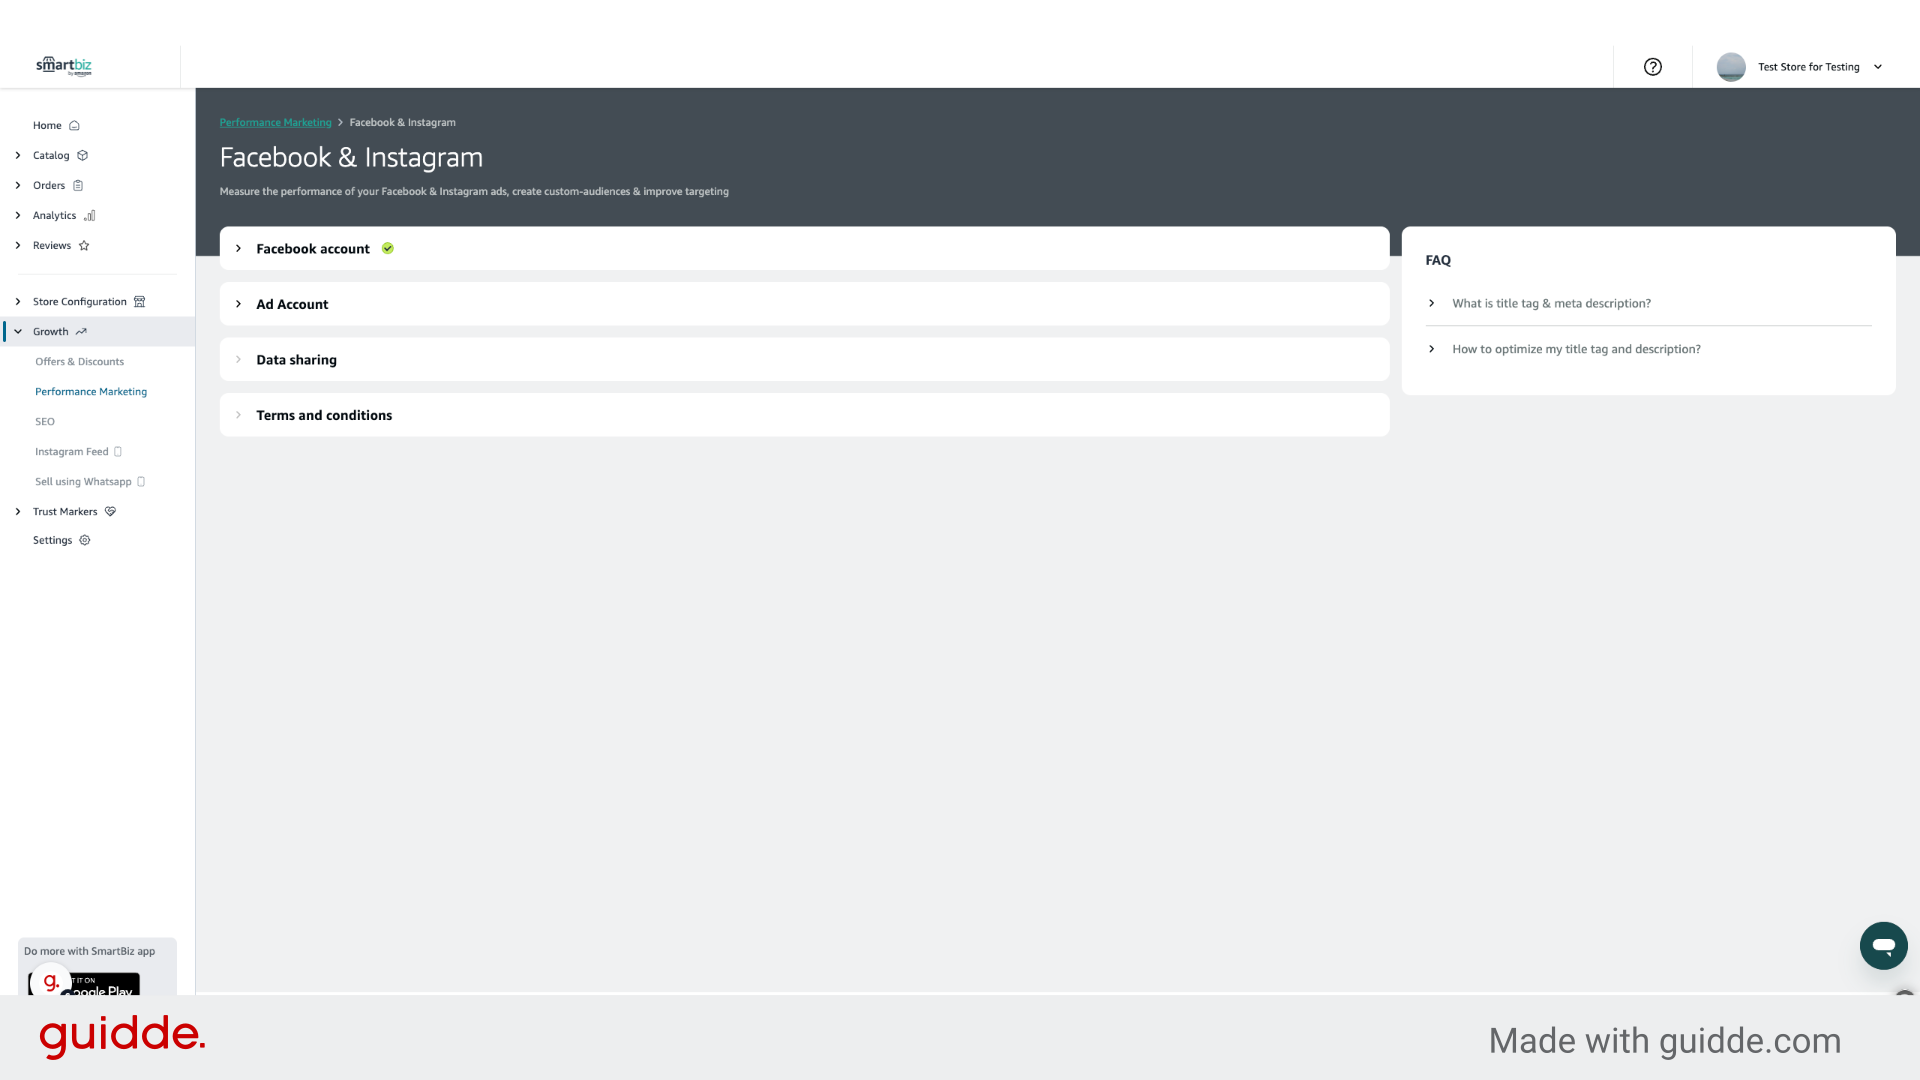
3. Click "Facebook & Instagram"
Select the Facebook & Instagram connect your Meta Ad Account and enable CAPI.
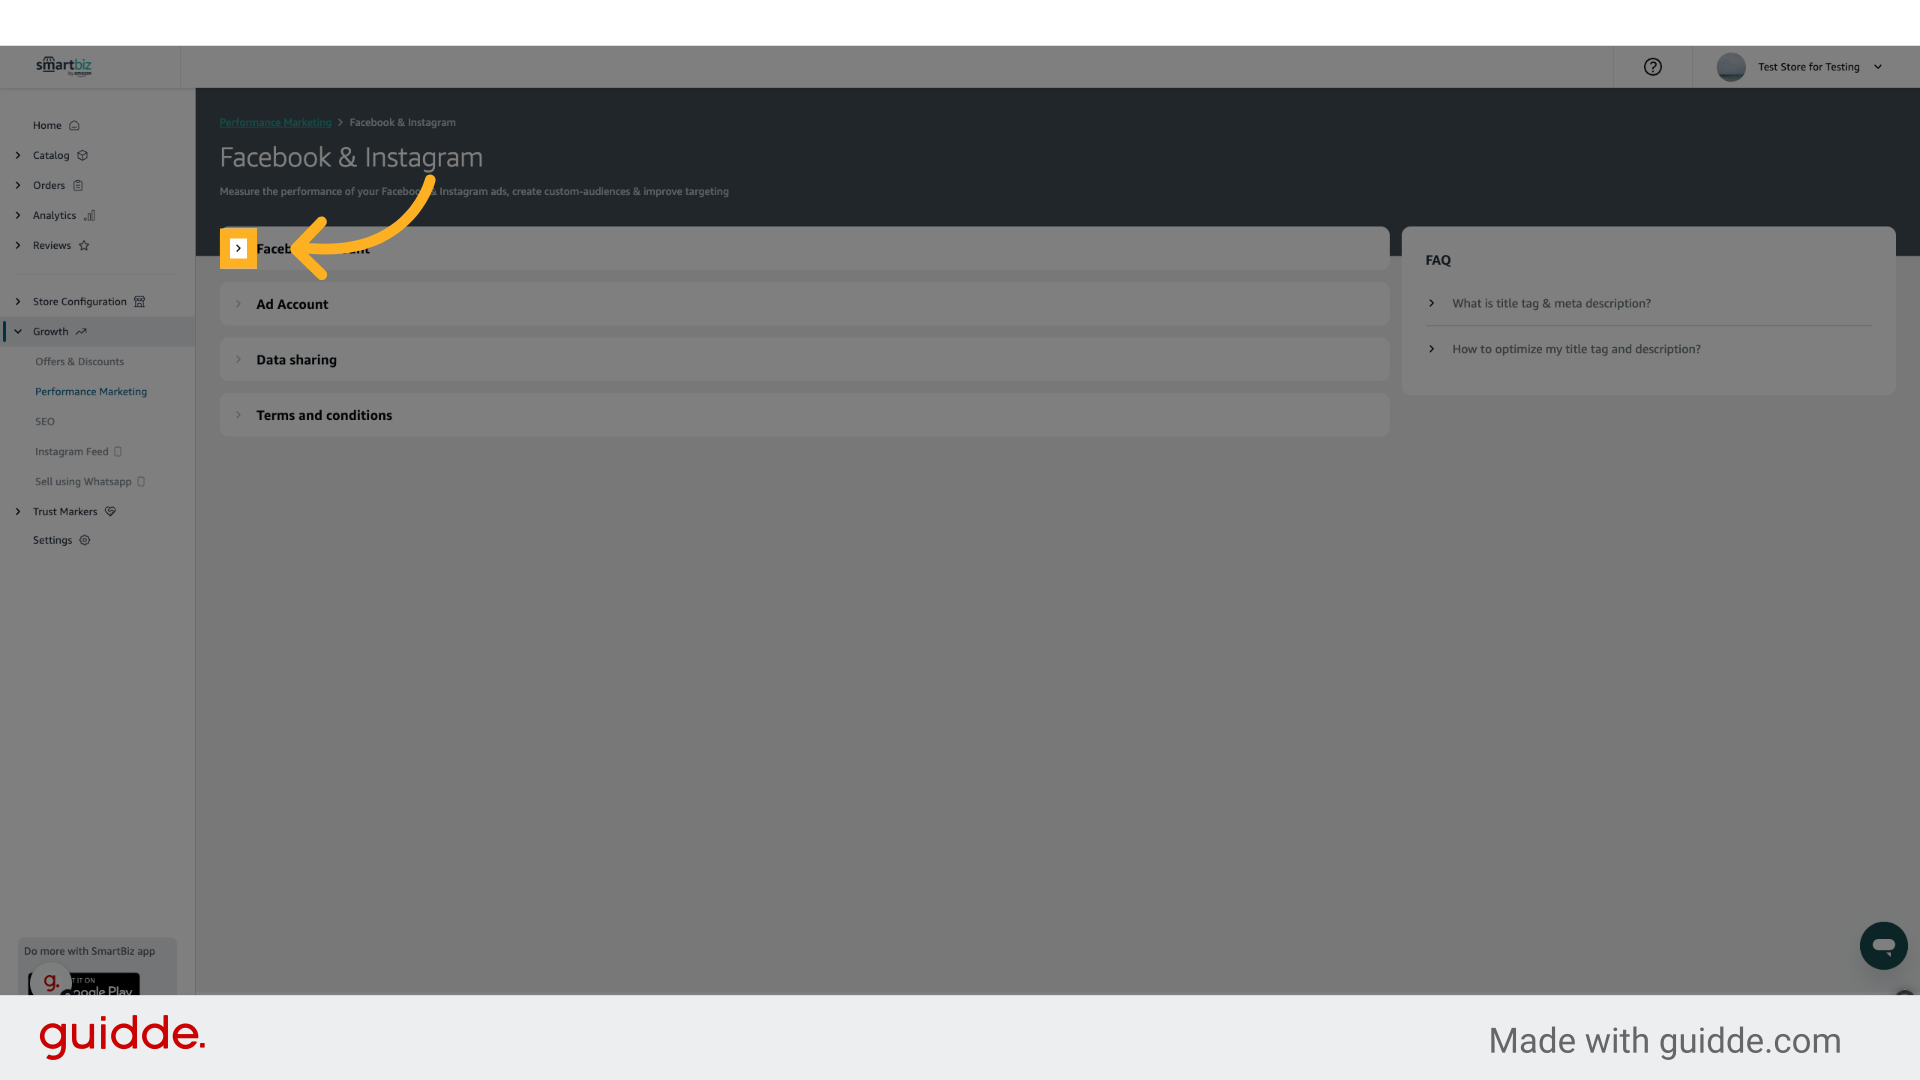
4. Click here
Click on the 1st Arrow to connect your Facebook account.
5. Click "Connect Account"
Start the connection process, essential for syncing your storefront with Facebook's advertising capabilities by clicking on Connect Account.
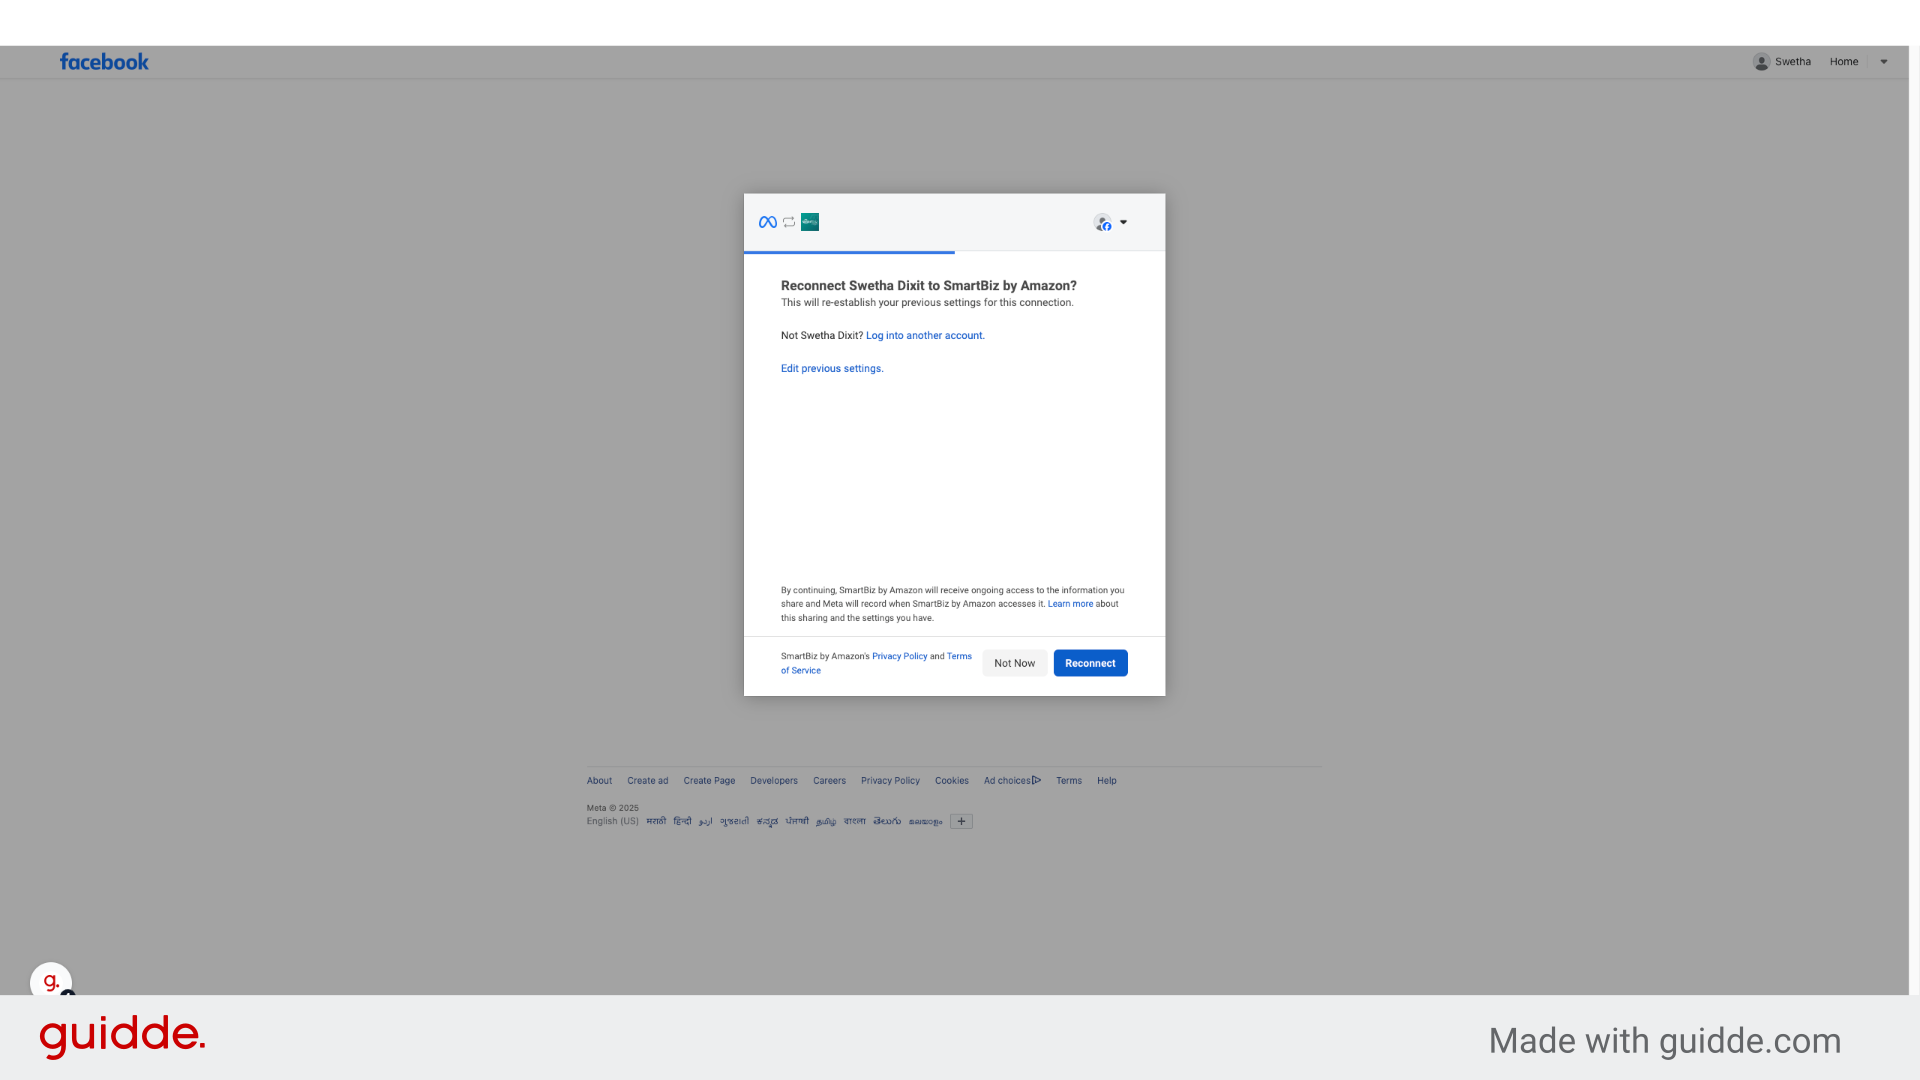
6. Login to your Facebook Ad Account
Login to your Meta Ad Account that you want to connect and complete all the steps.
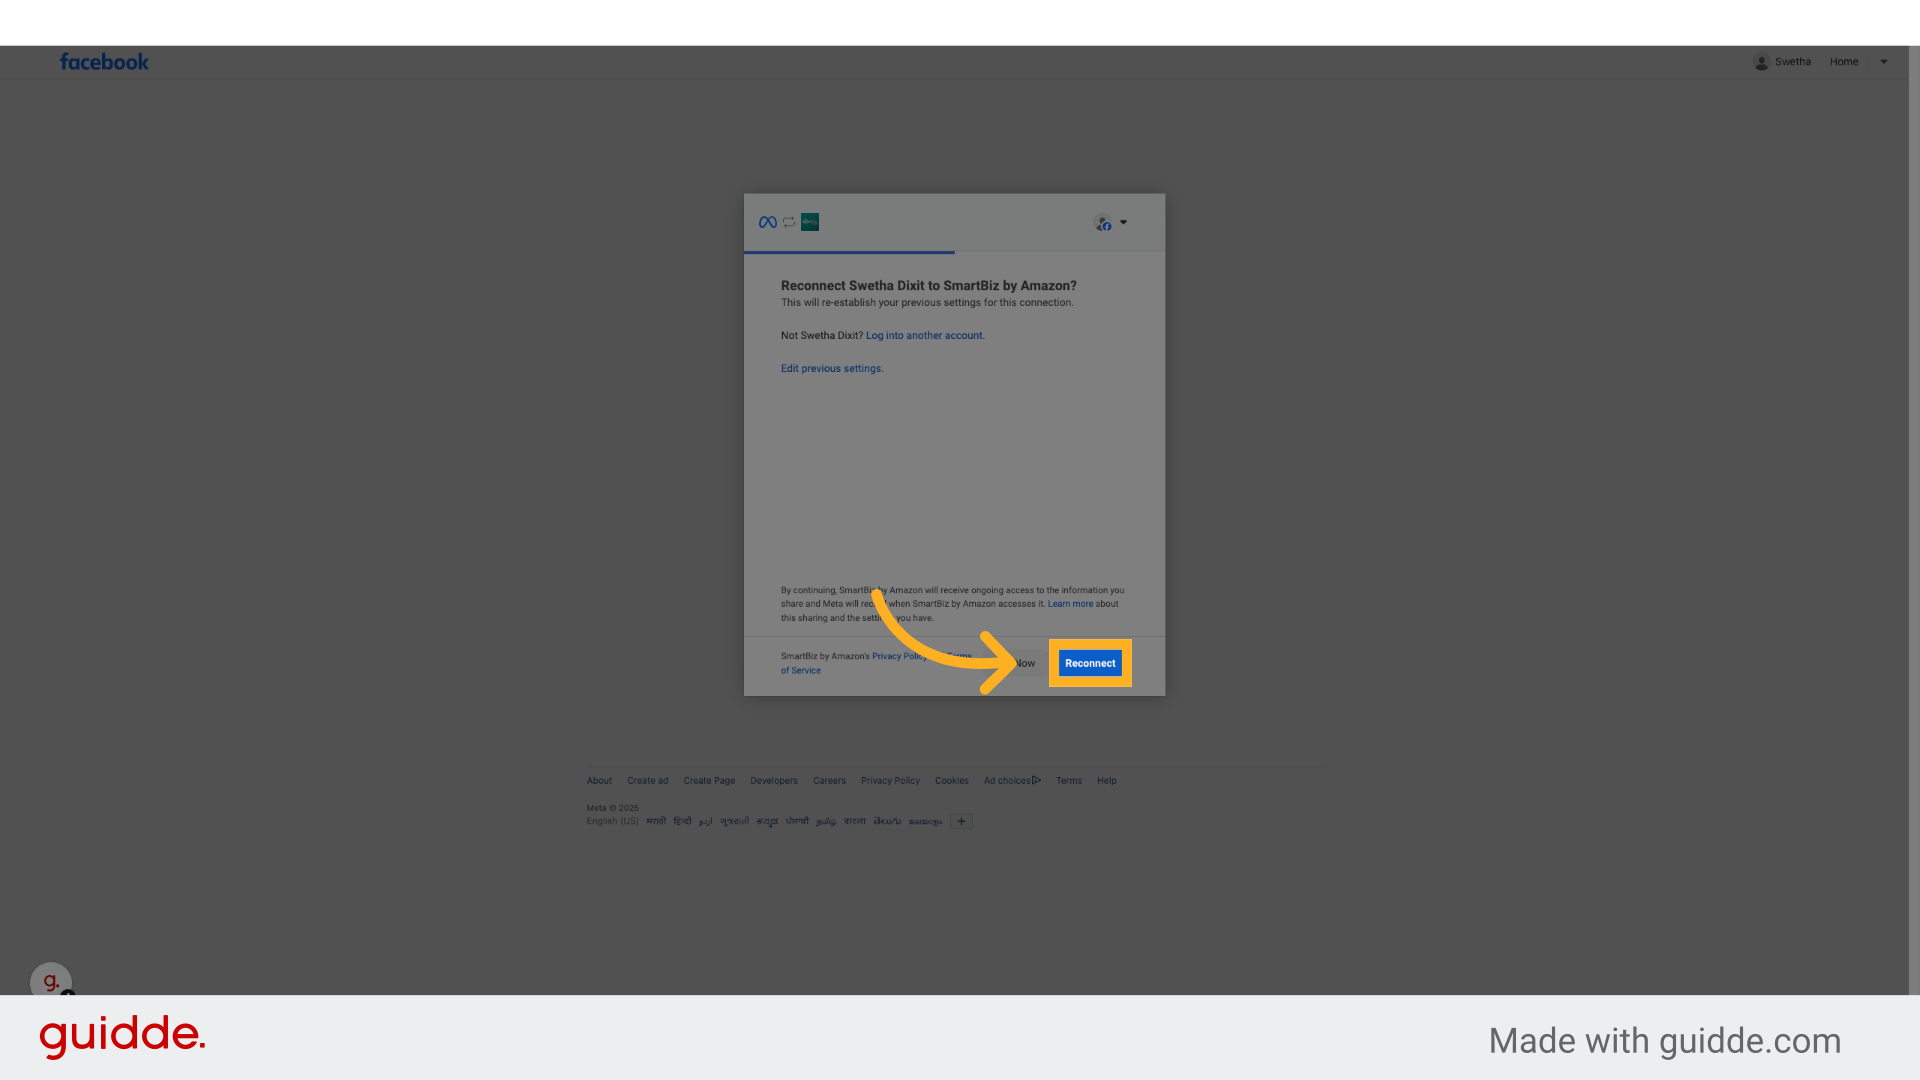
7. Complete all the steps to connect your Facebook Account
Complete all the steps to connect your Facebook Account
8. Go back to SmartBiz
Go back to your SmartBiz Account and continue
9. Click here
Click on the 2nd Arrow to connect view your Ad Accounts.
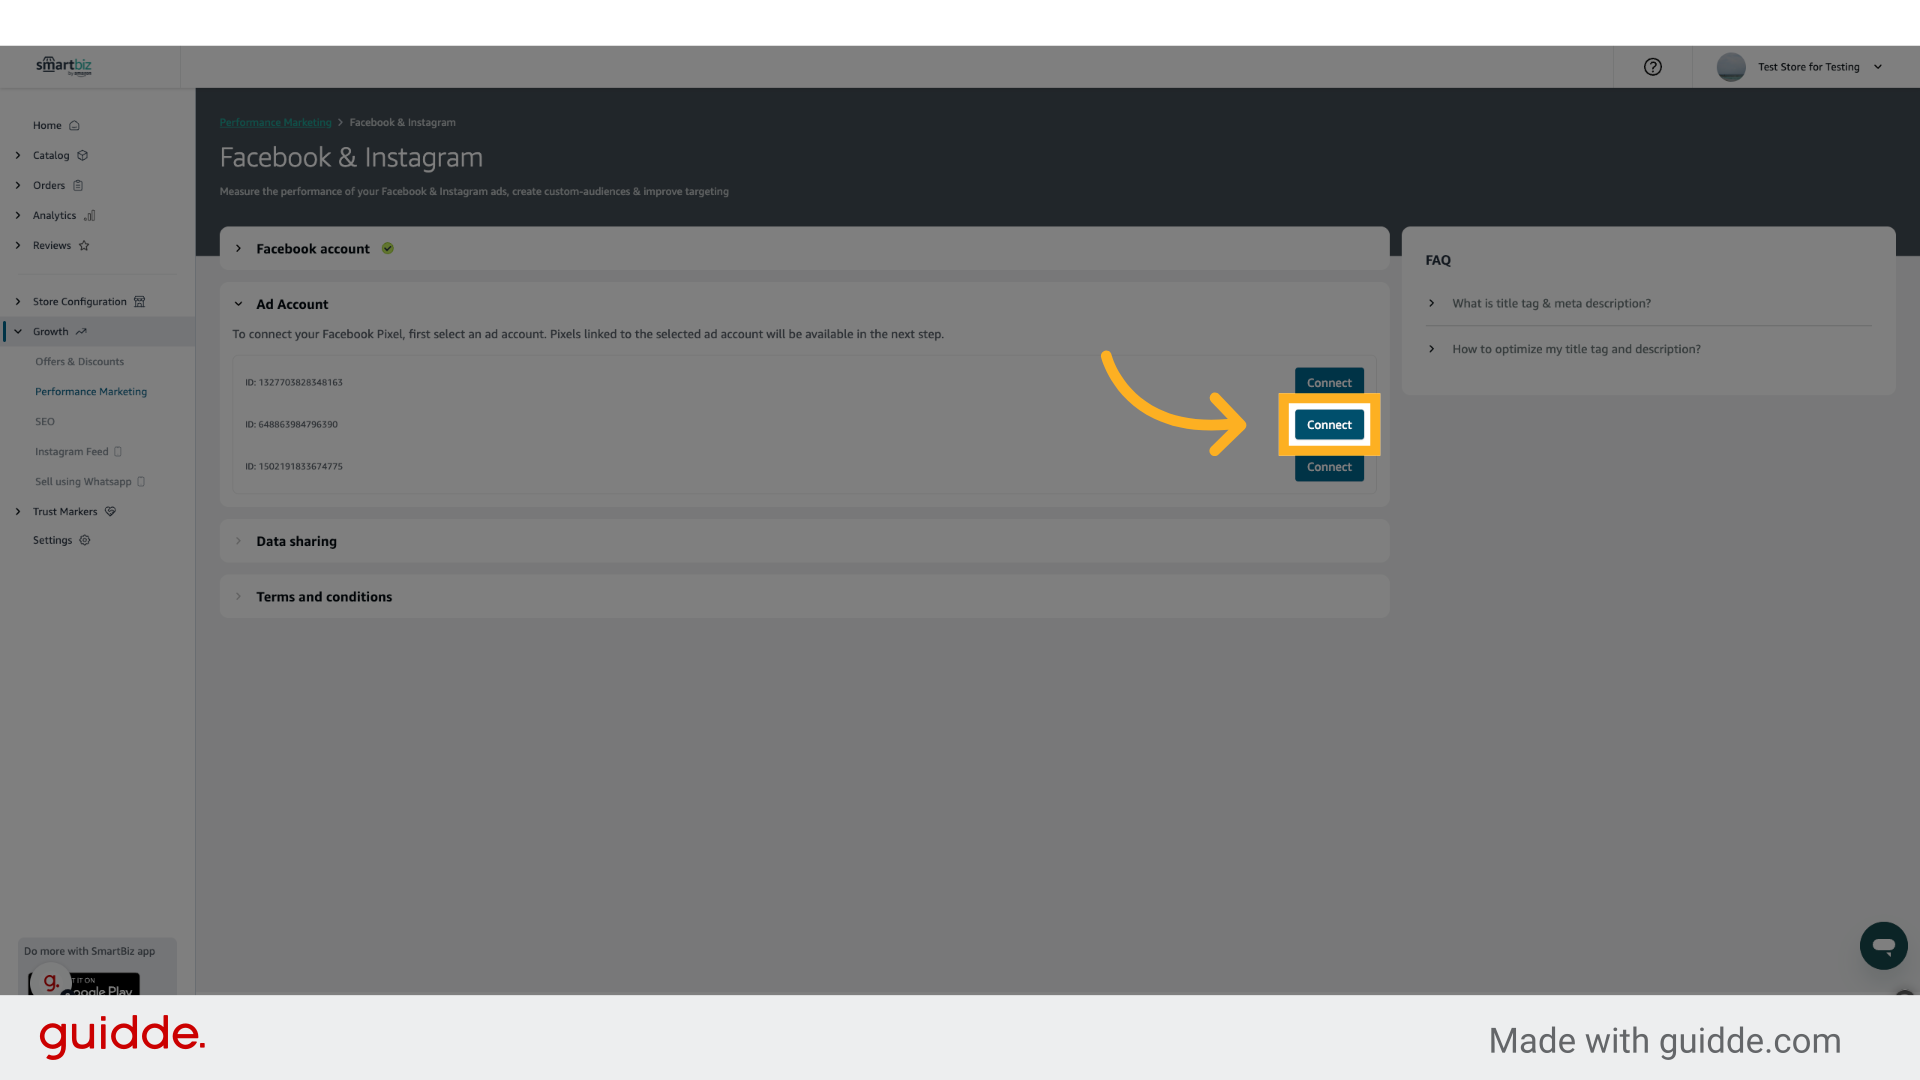
10. Click "Connect"
Click on the Ad Account you want to connect.
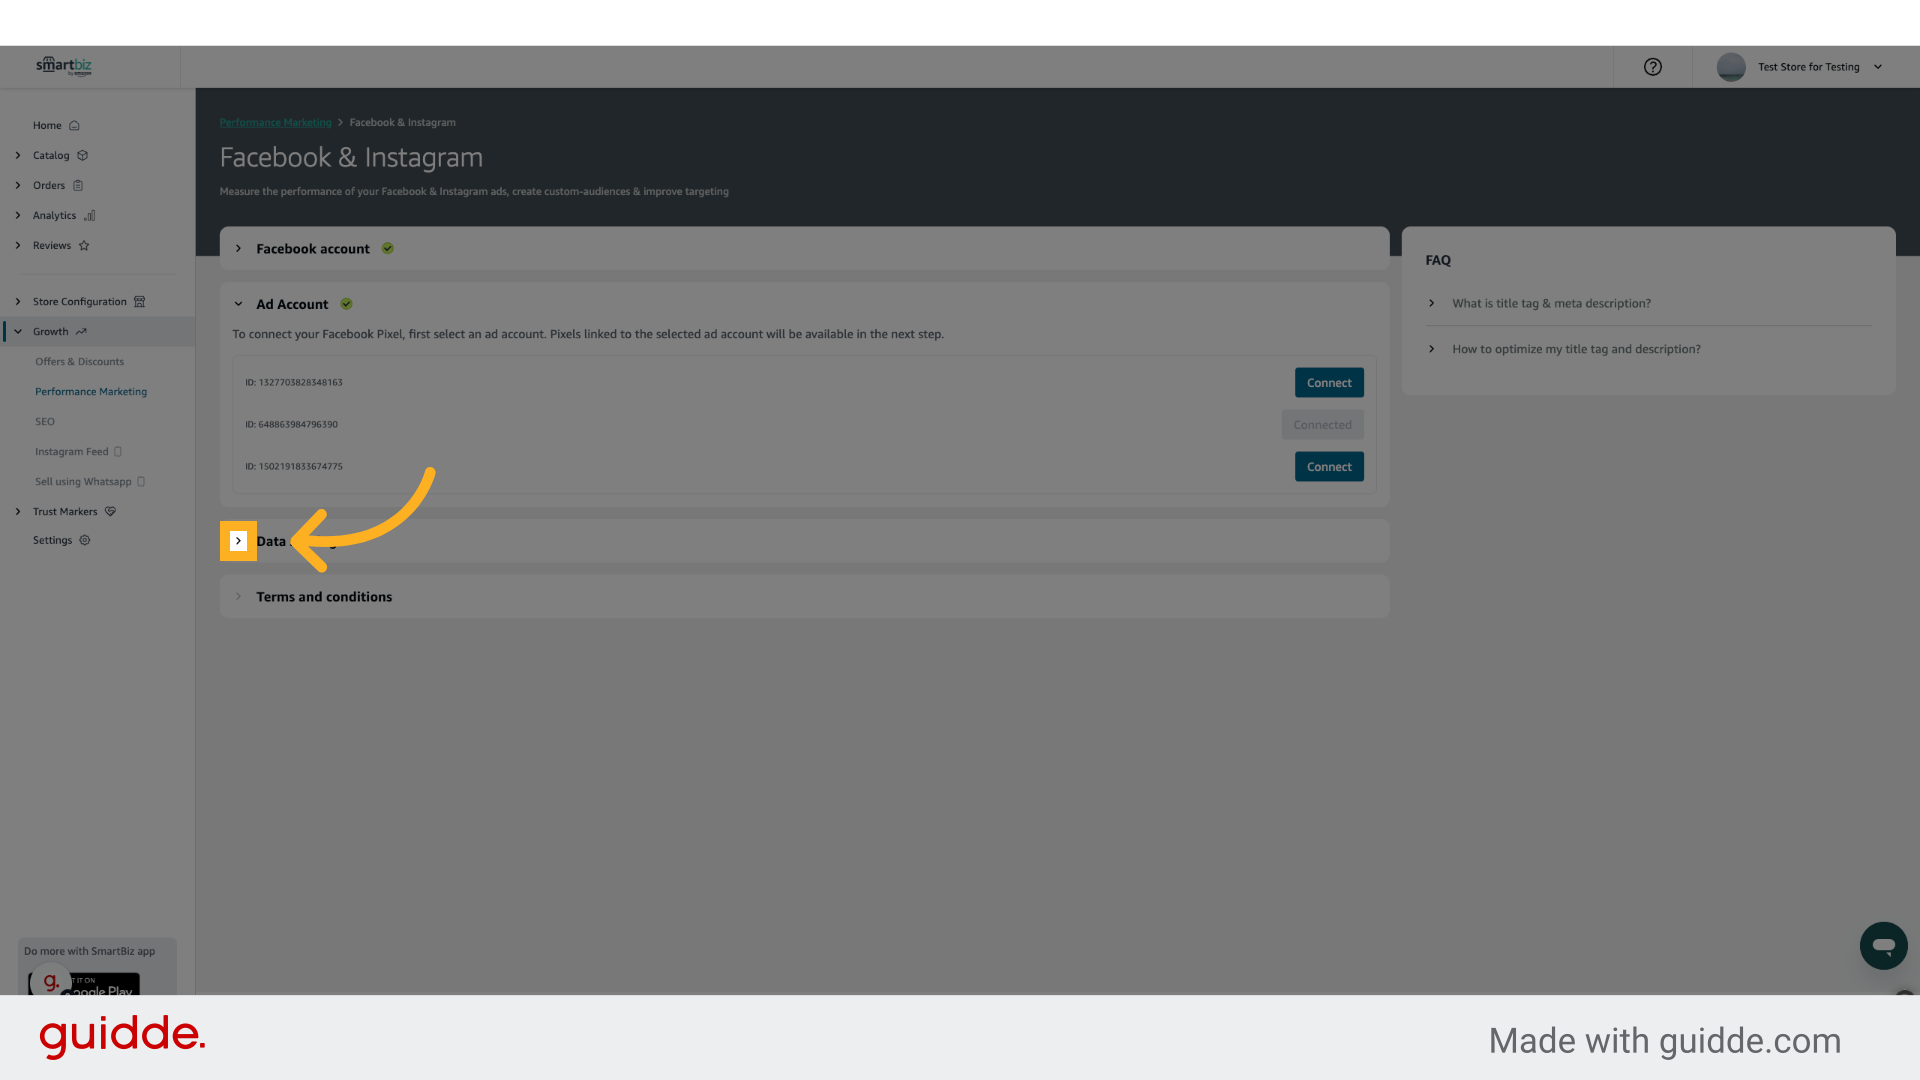
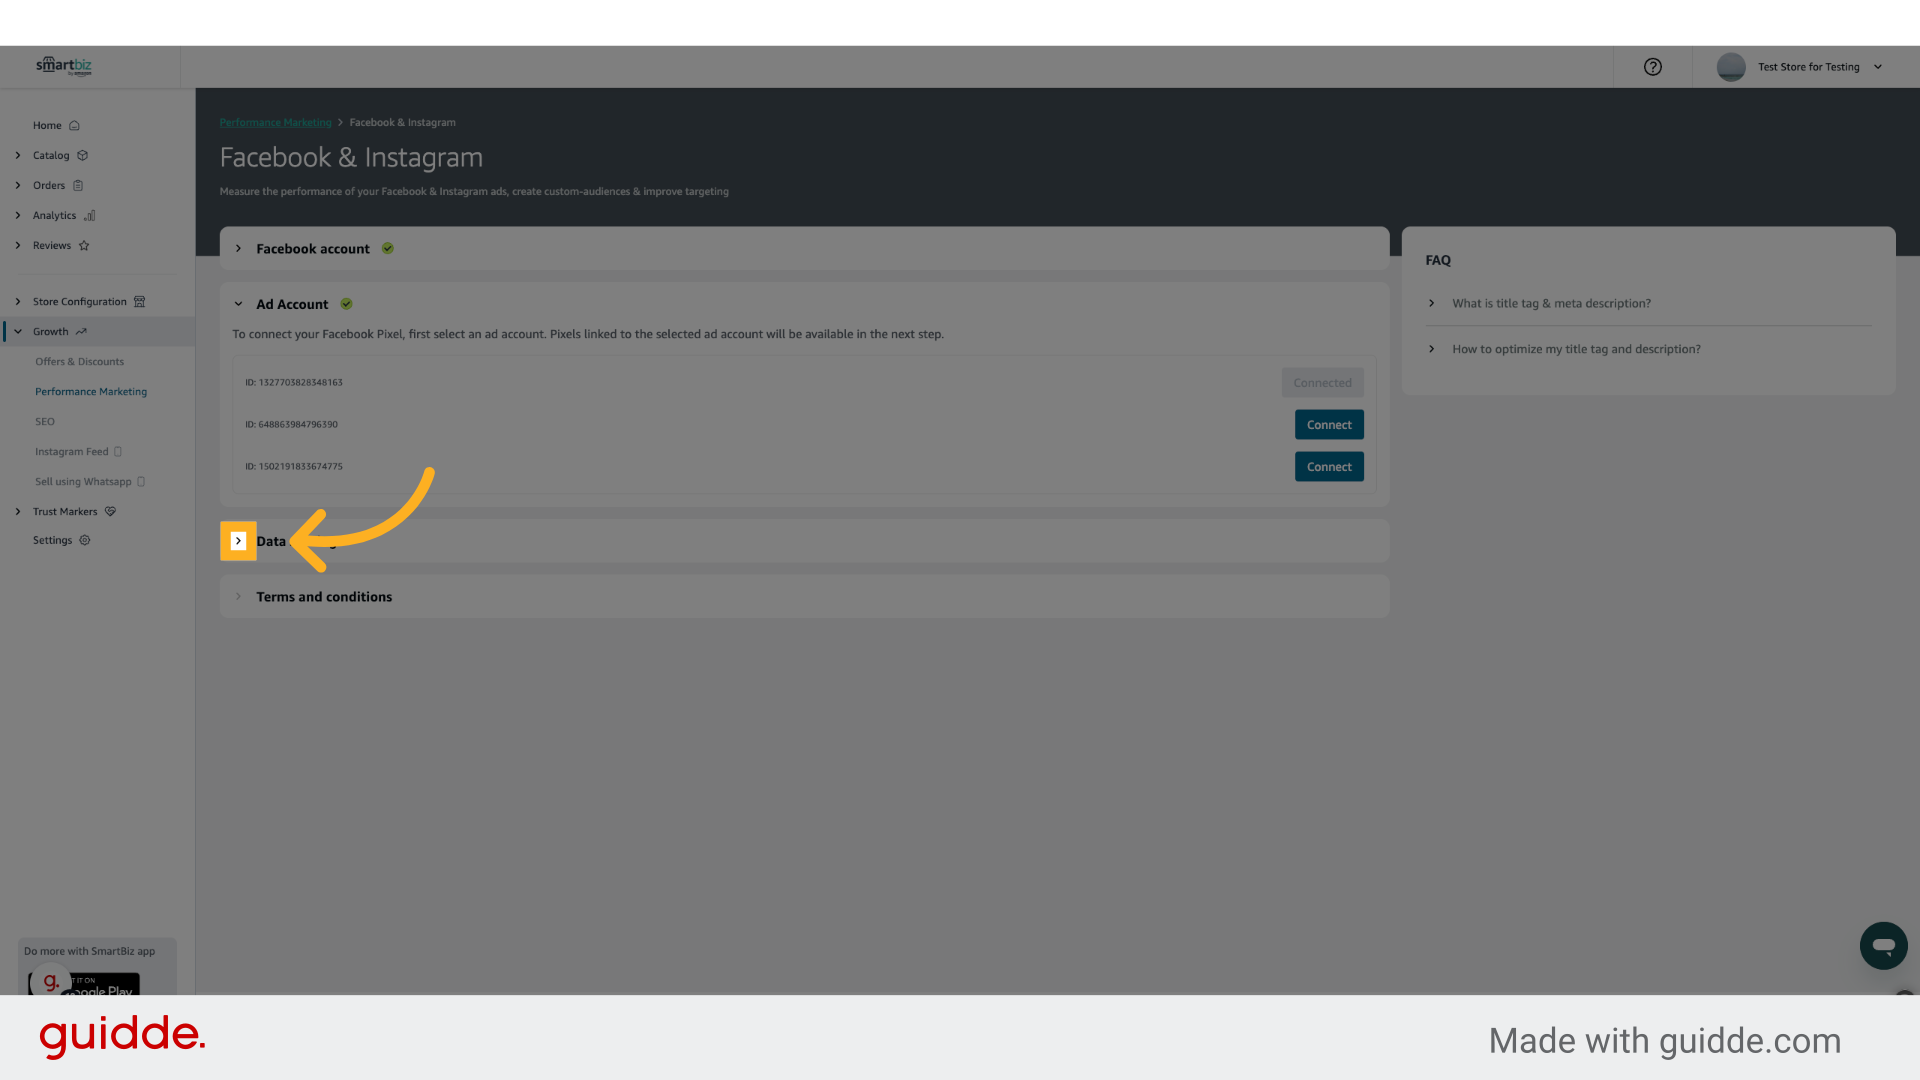
11. Click here
Click on the 3rd Arrow to configure the Data Sharing settings.
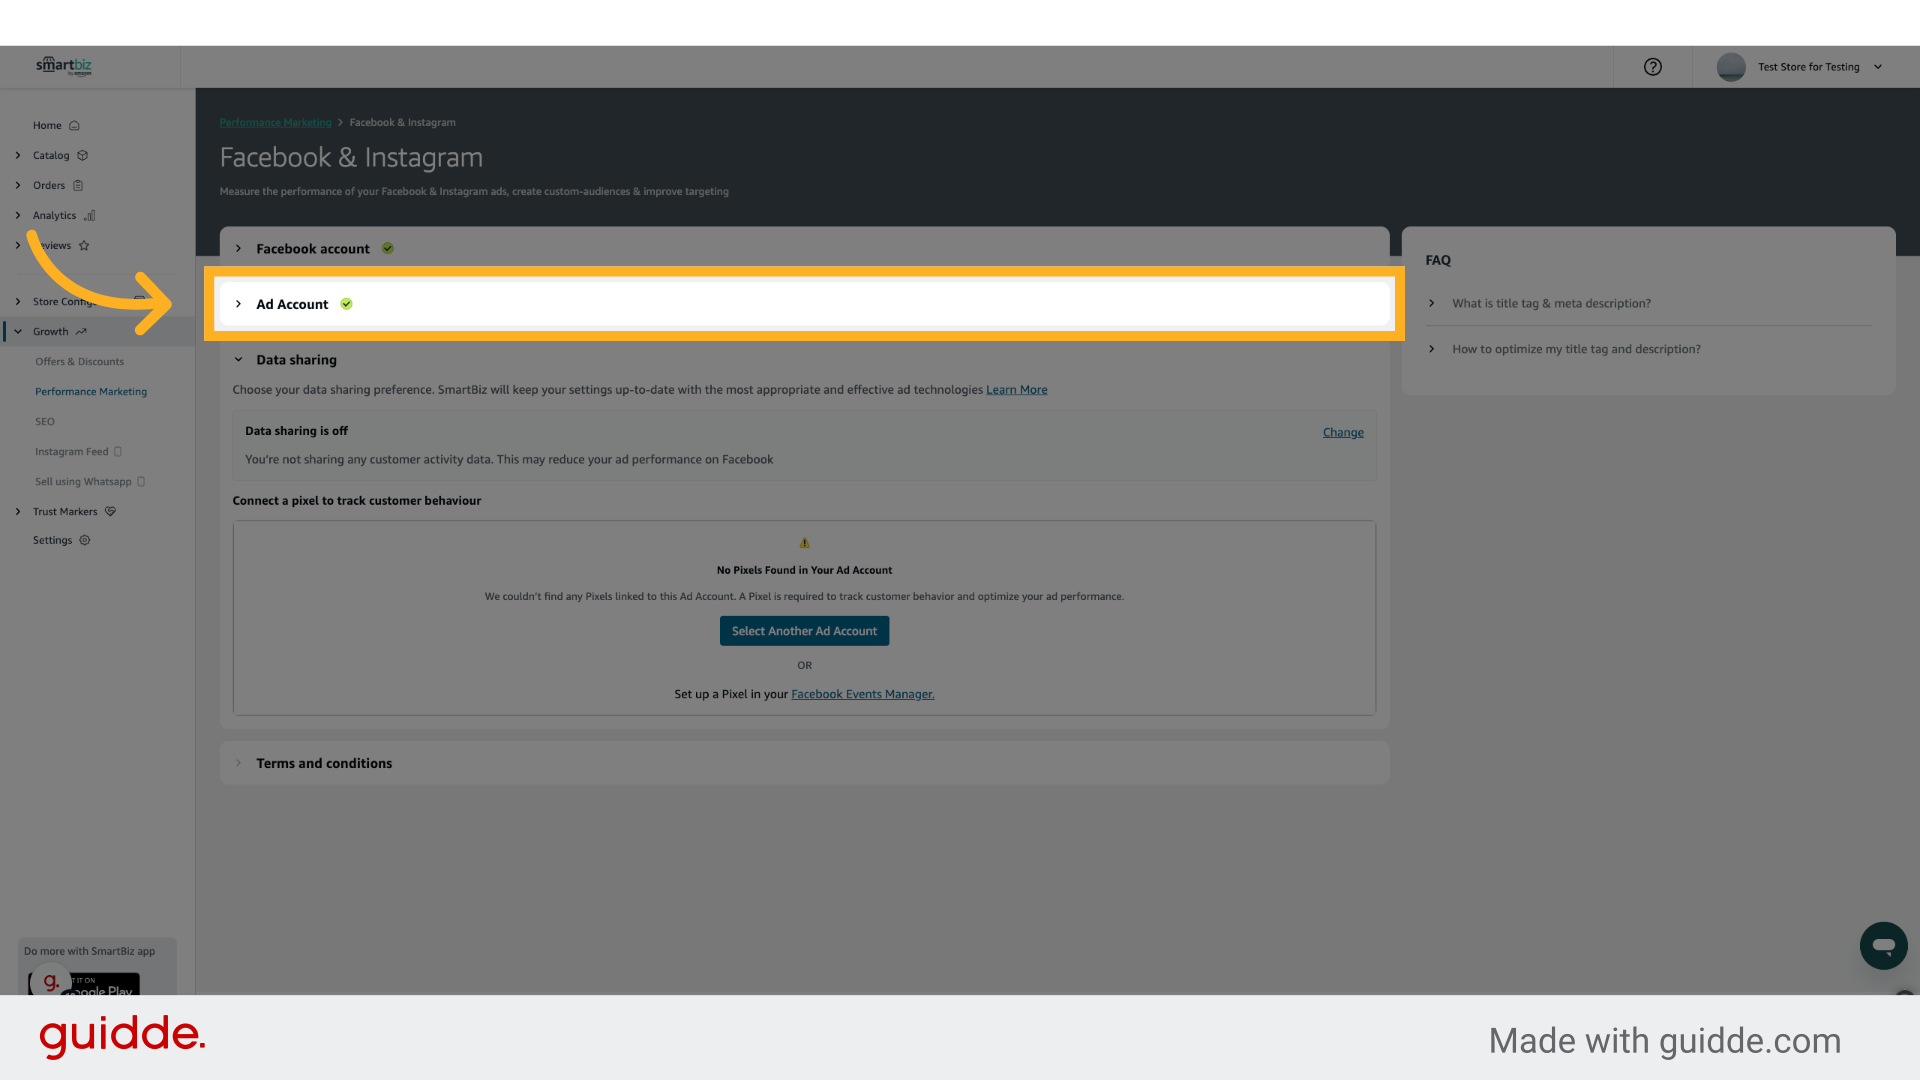
12. Click "Ad Account"
If there are no Pixels connected to your Ad Account, then go to previous step and connect a different Ad Account which has Pixels.
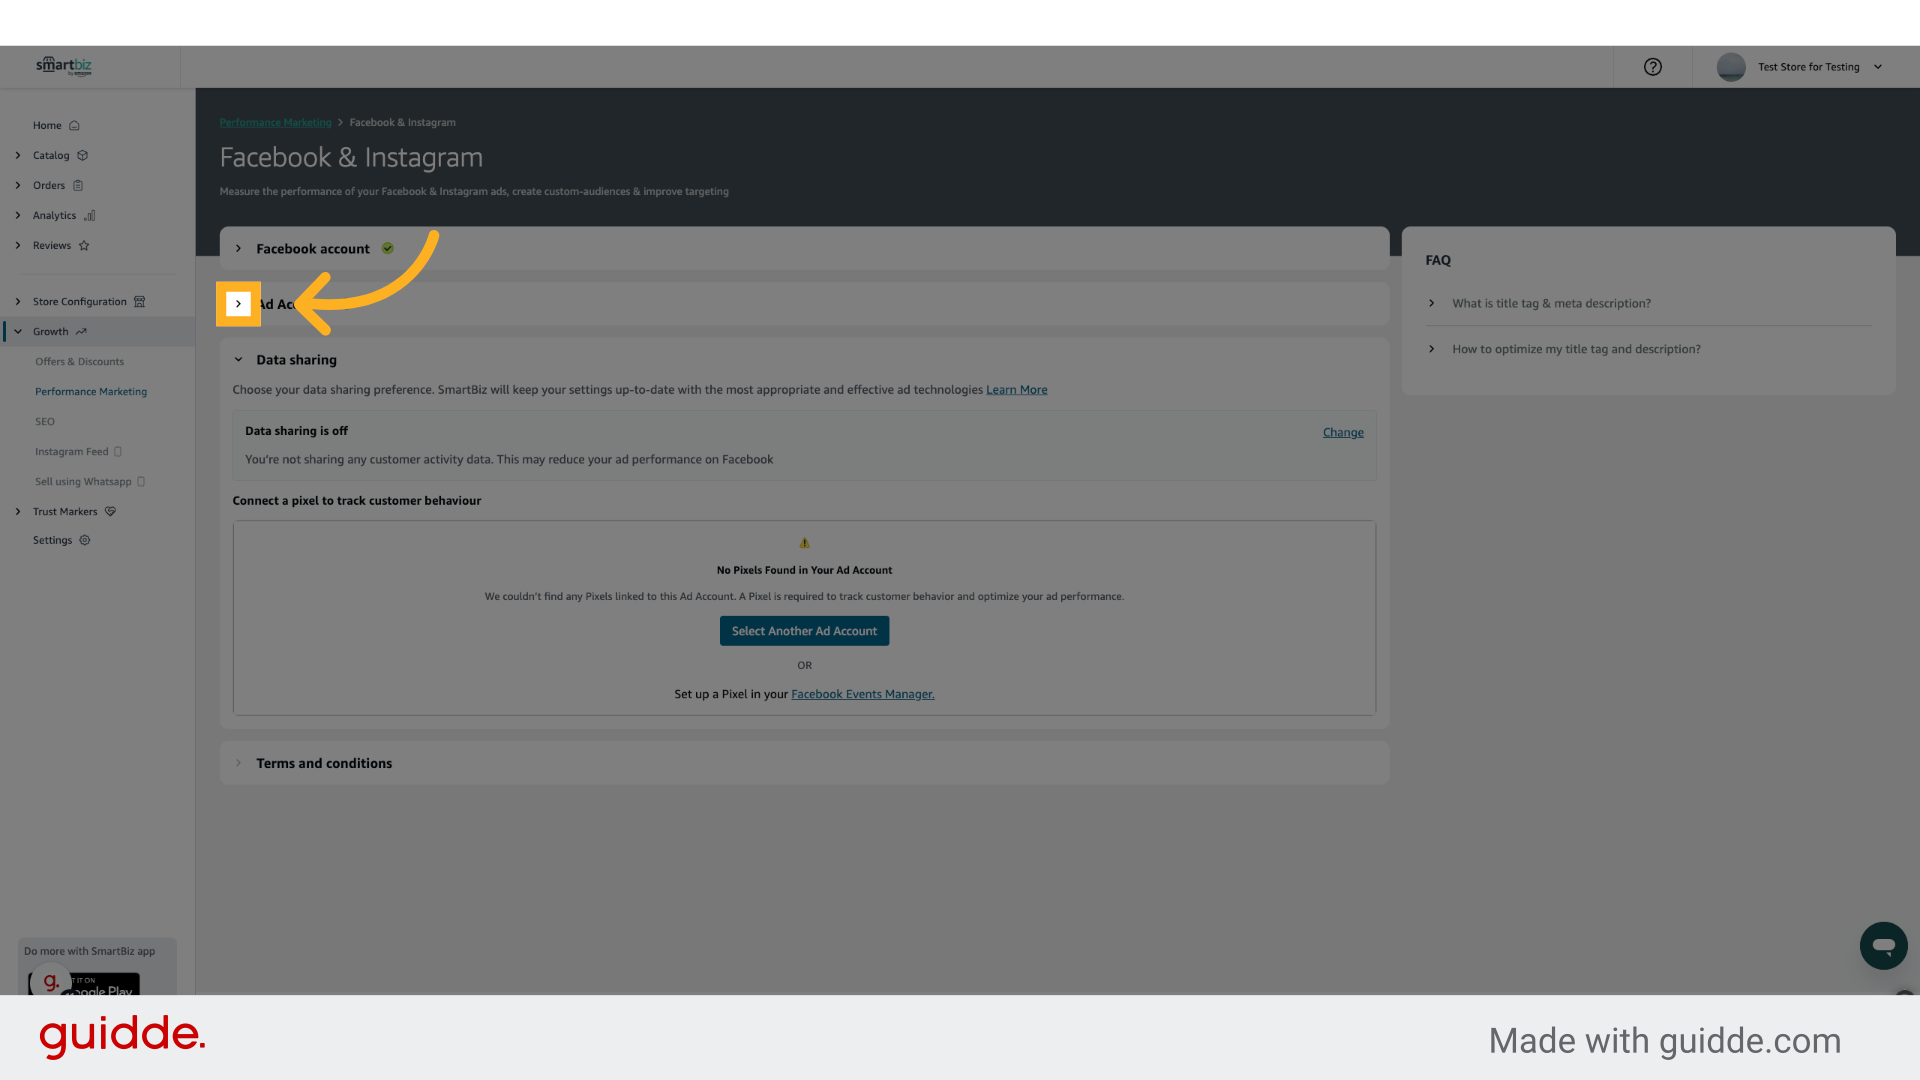
13. Click here
Click on the 2nd arrow to view your Ad Accounts
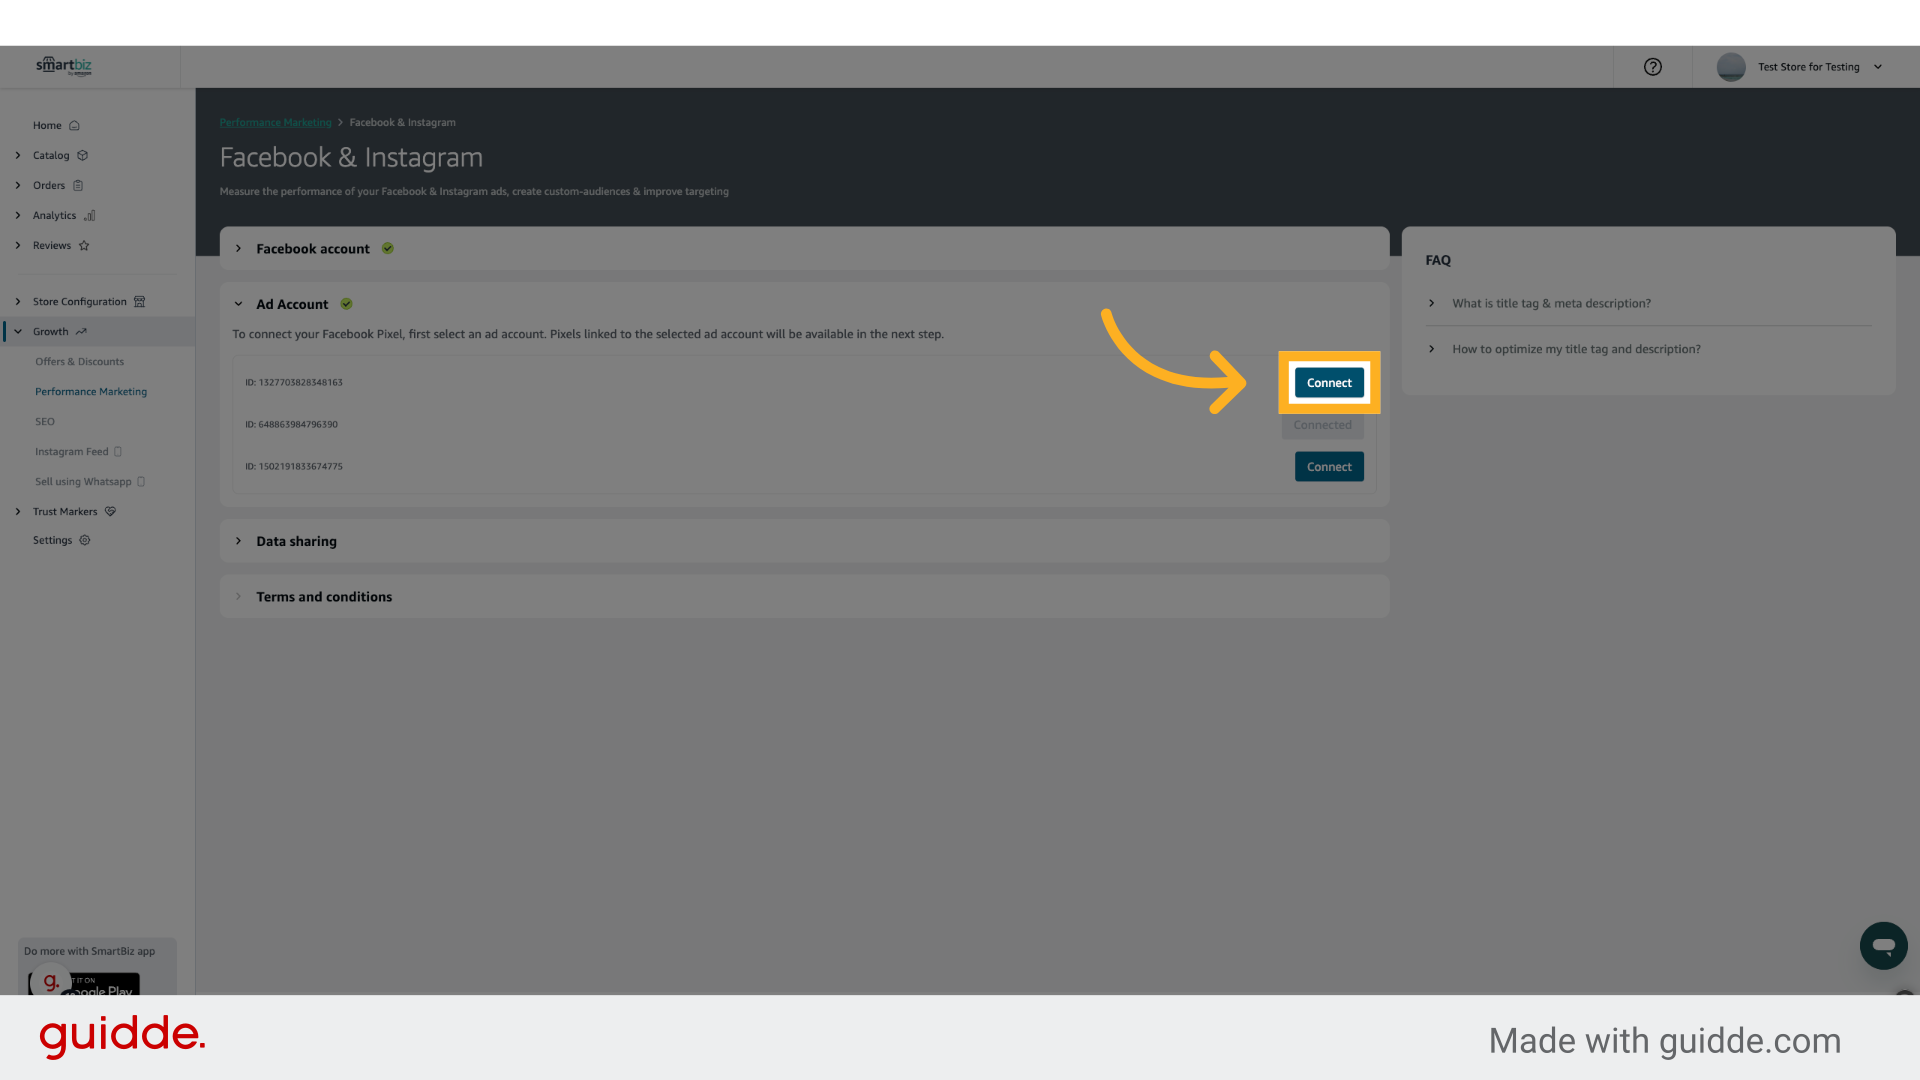
14. Click "Connect"
Choose a different Ad Account which has Pixels
15. Click here
Click on the 3rd Arrow to configure the Data Sharing settings.
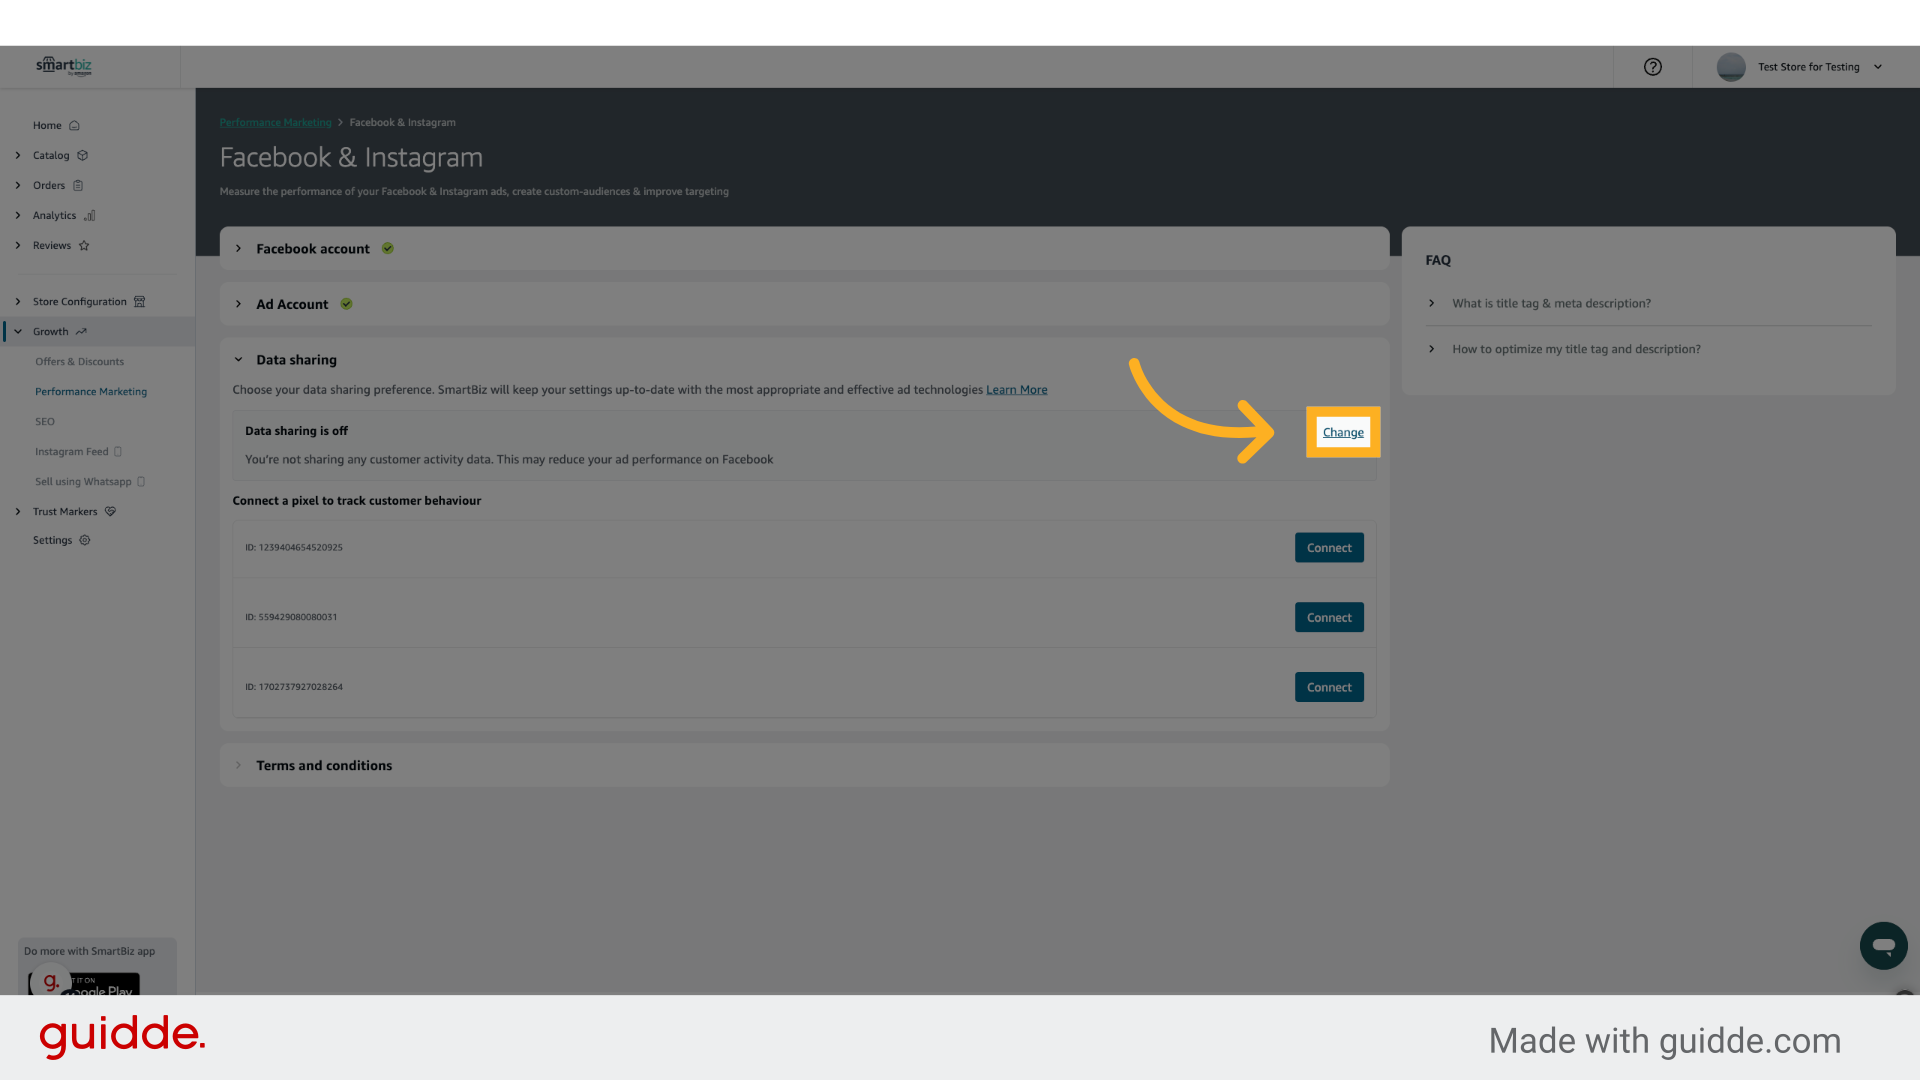
16. Click "Change"
Click on change to change your data sharing settings.
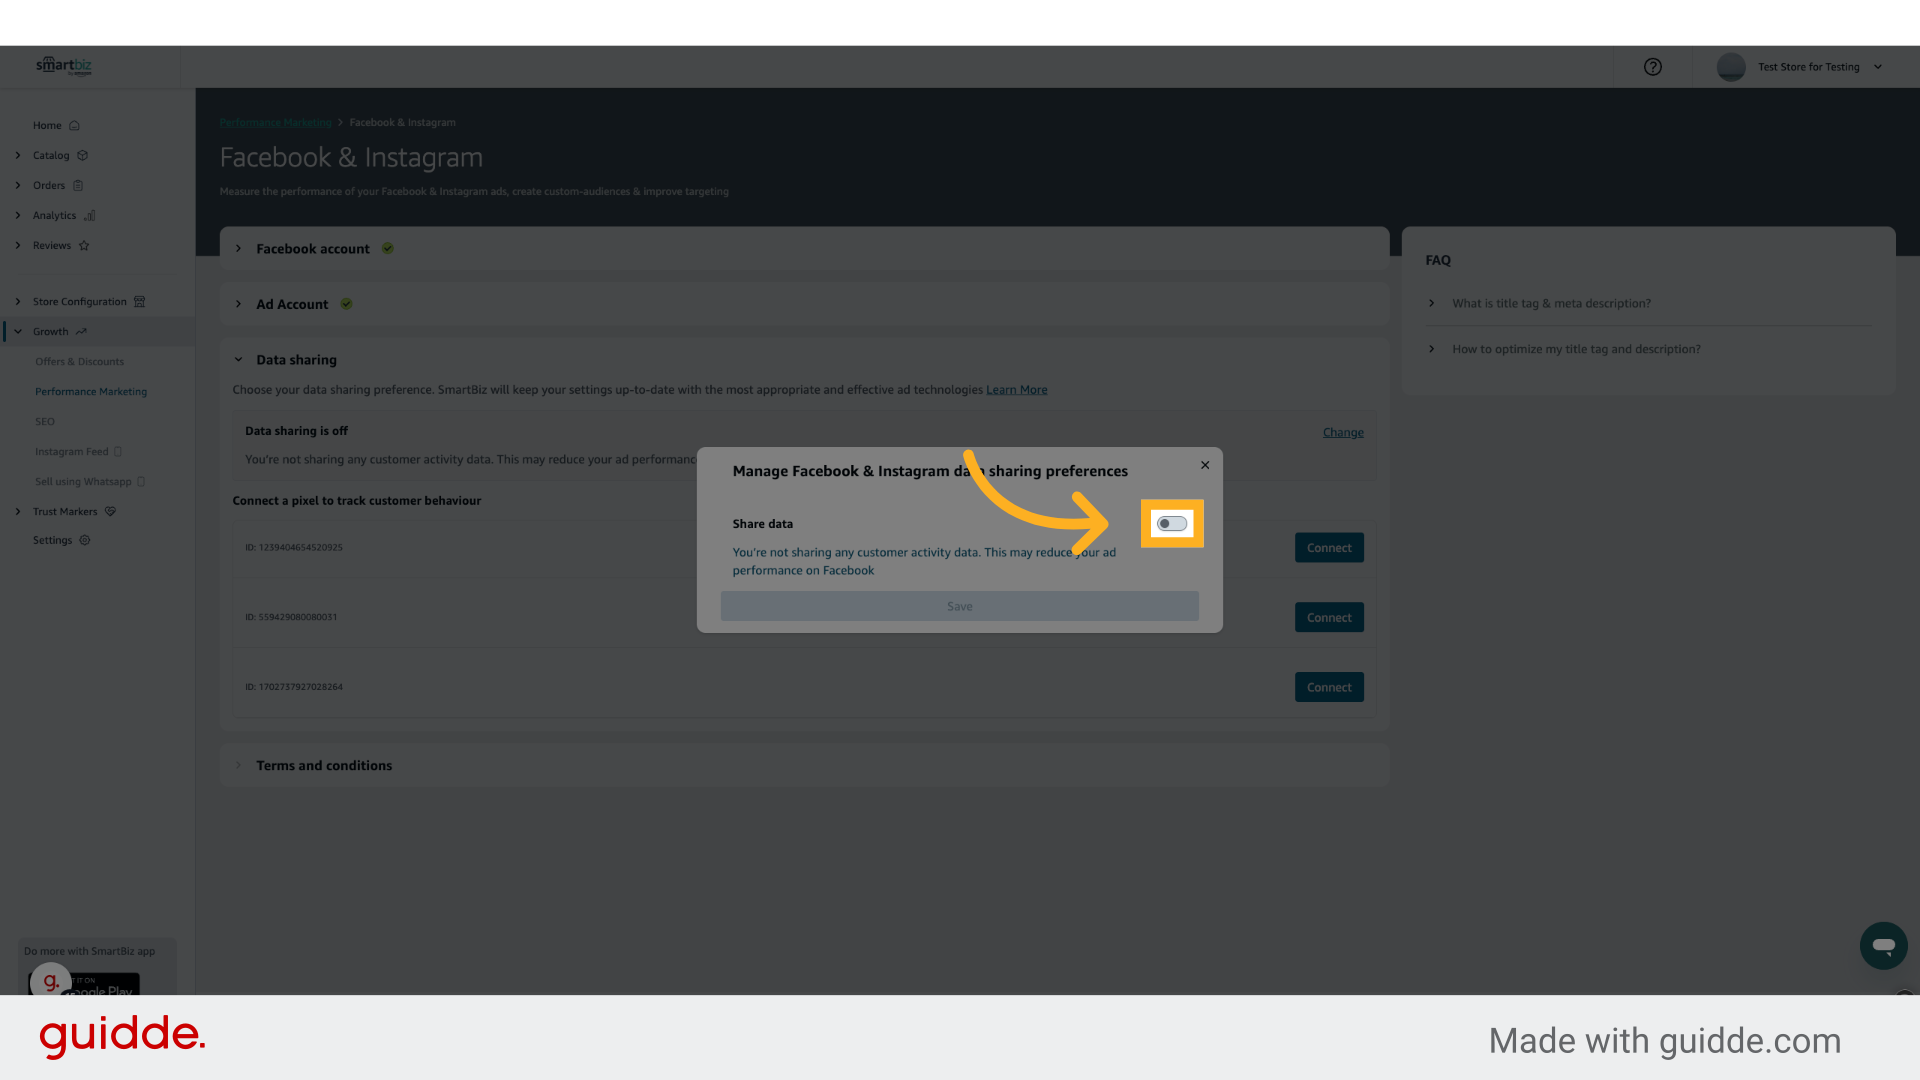
17. Click here
Toggle the Share Data options to enable it.
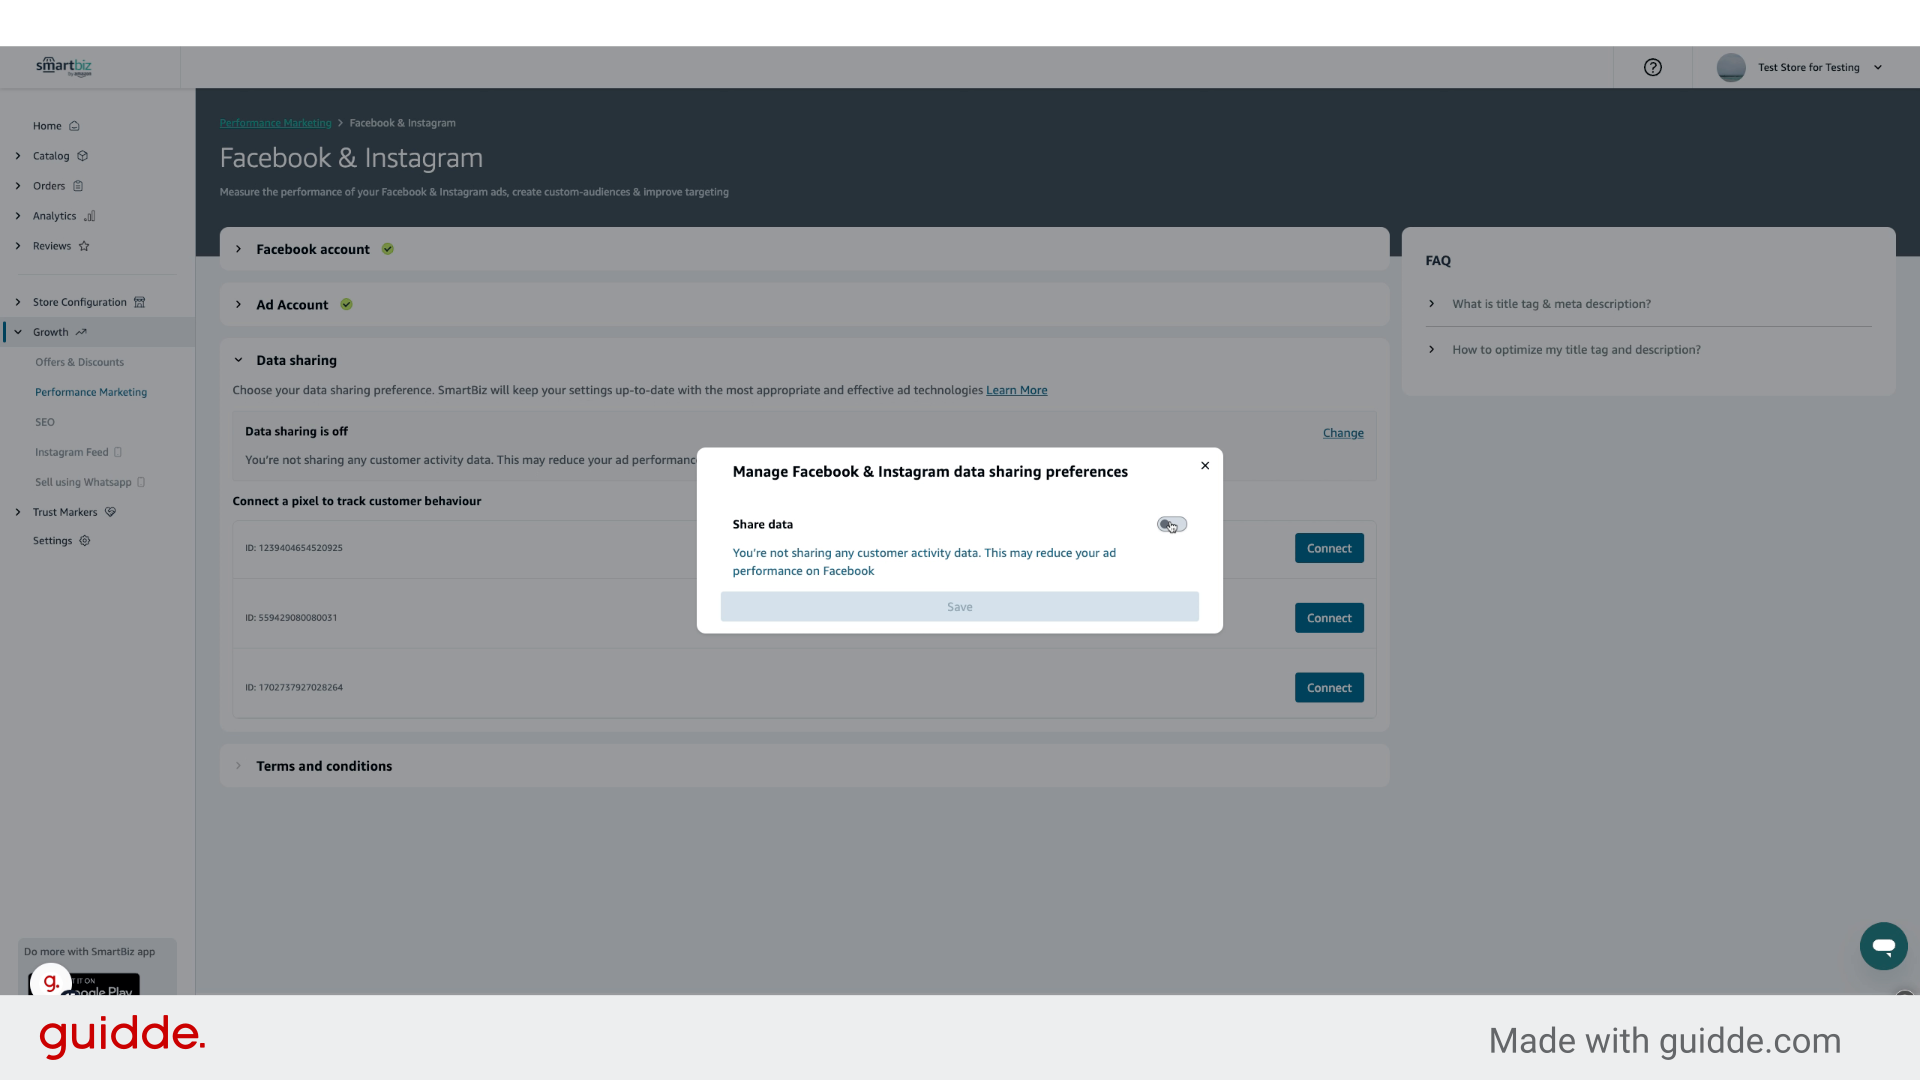
18. Fill here
Navigate here
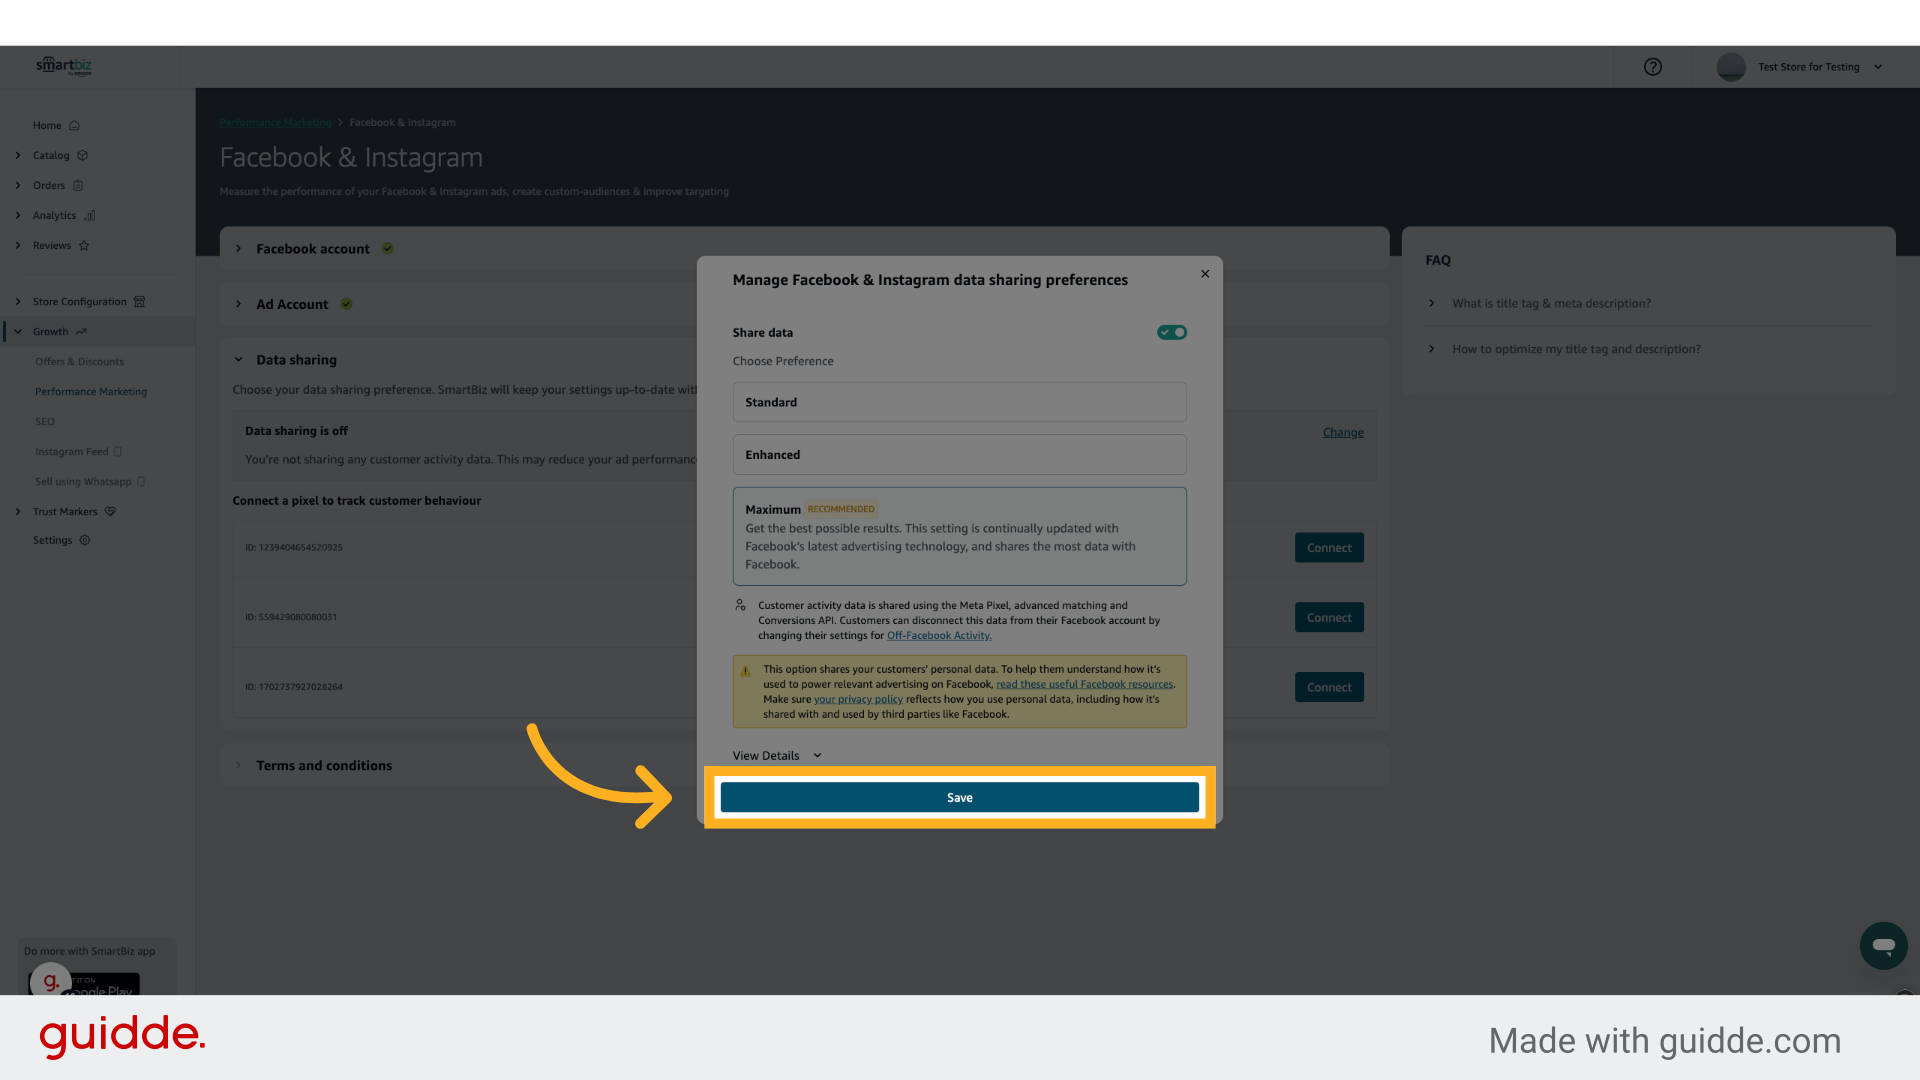
19. Click "Save"
By default, the Maximum data sharing setting would be selected for best results. Click on after selecting your desired data sharing settings.
20. Click "Connect"
Click on the Pixel you want to connect.
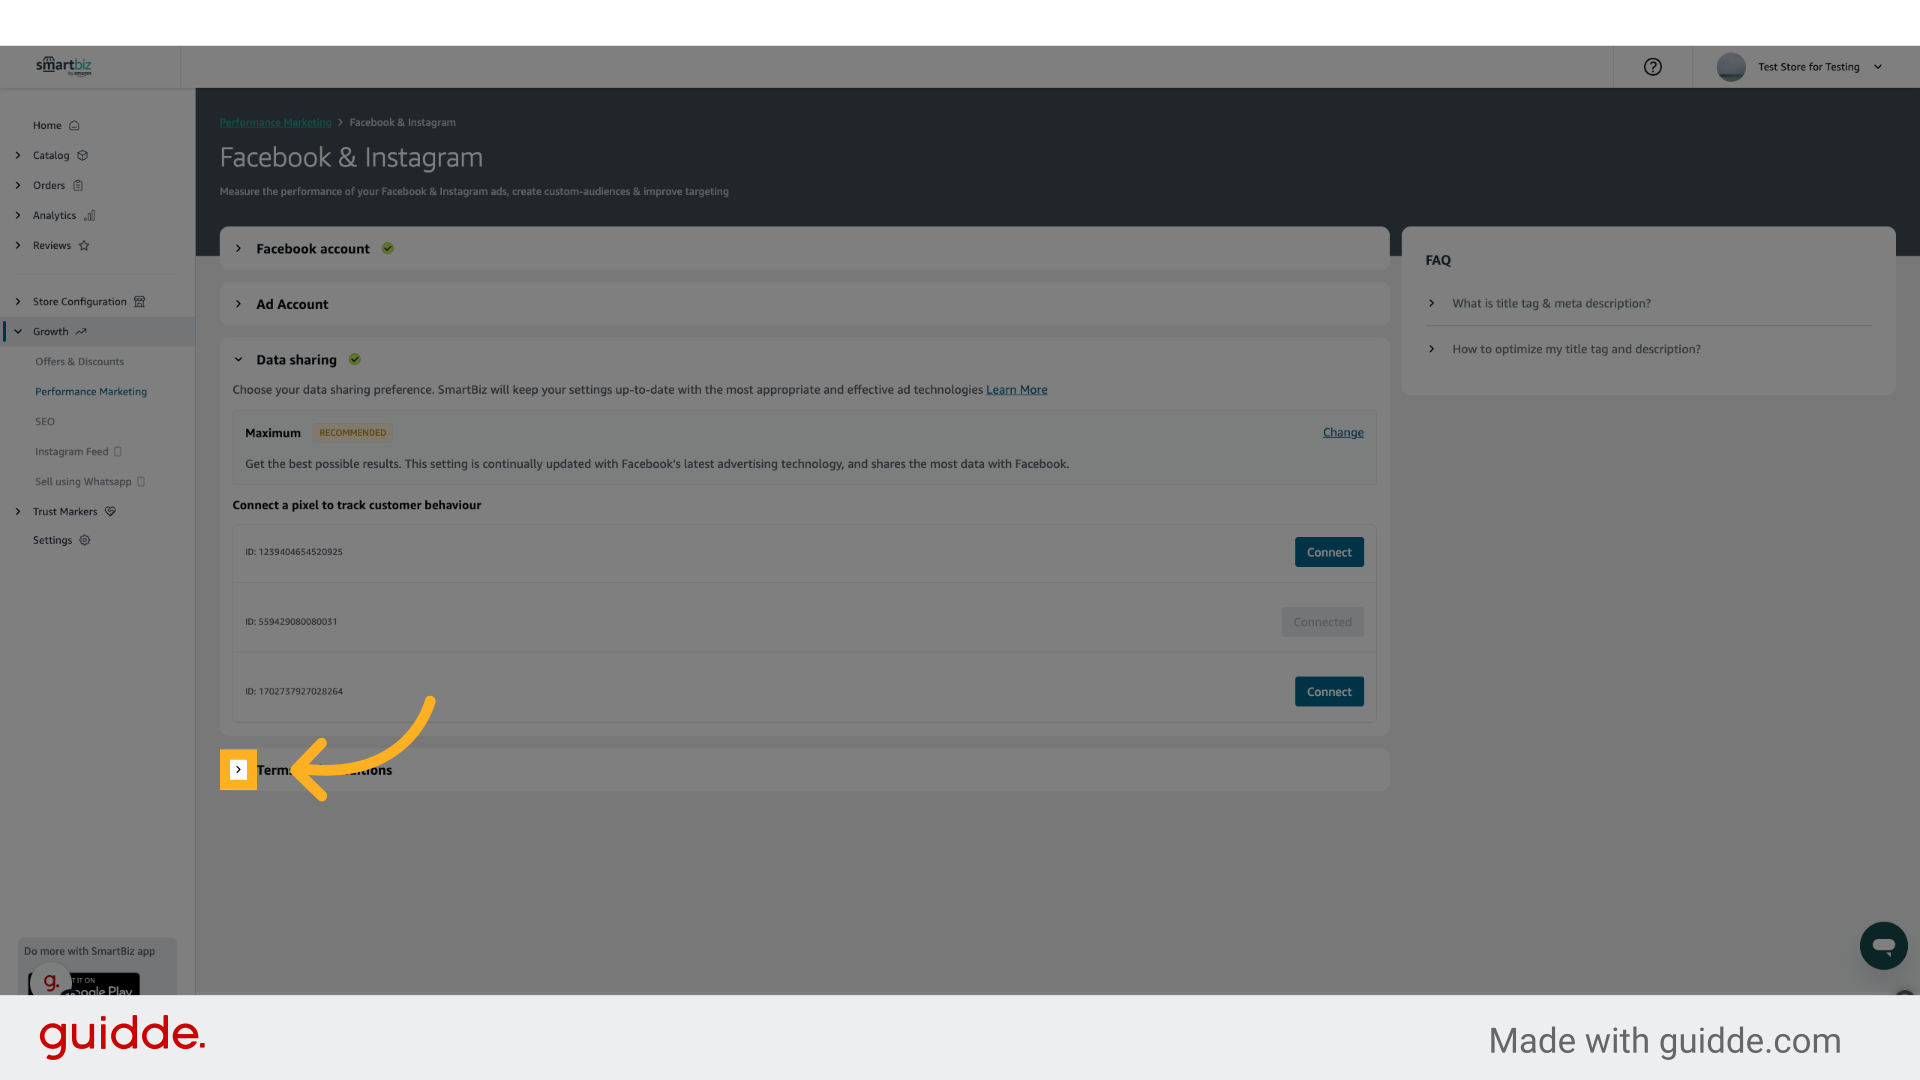
21. Click here
Click on the 4th arrow to finish the final step
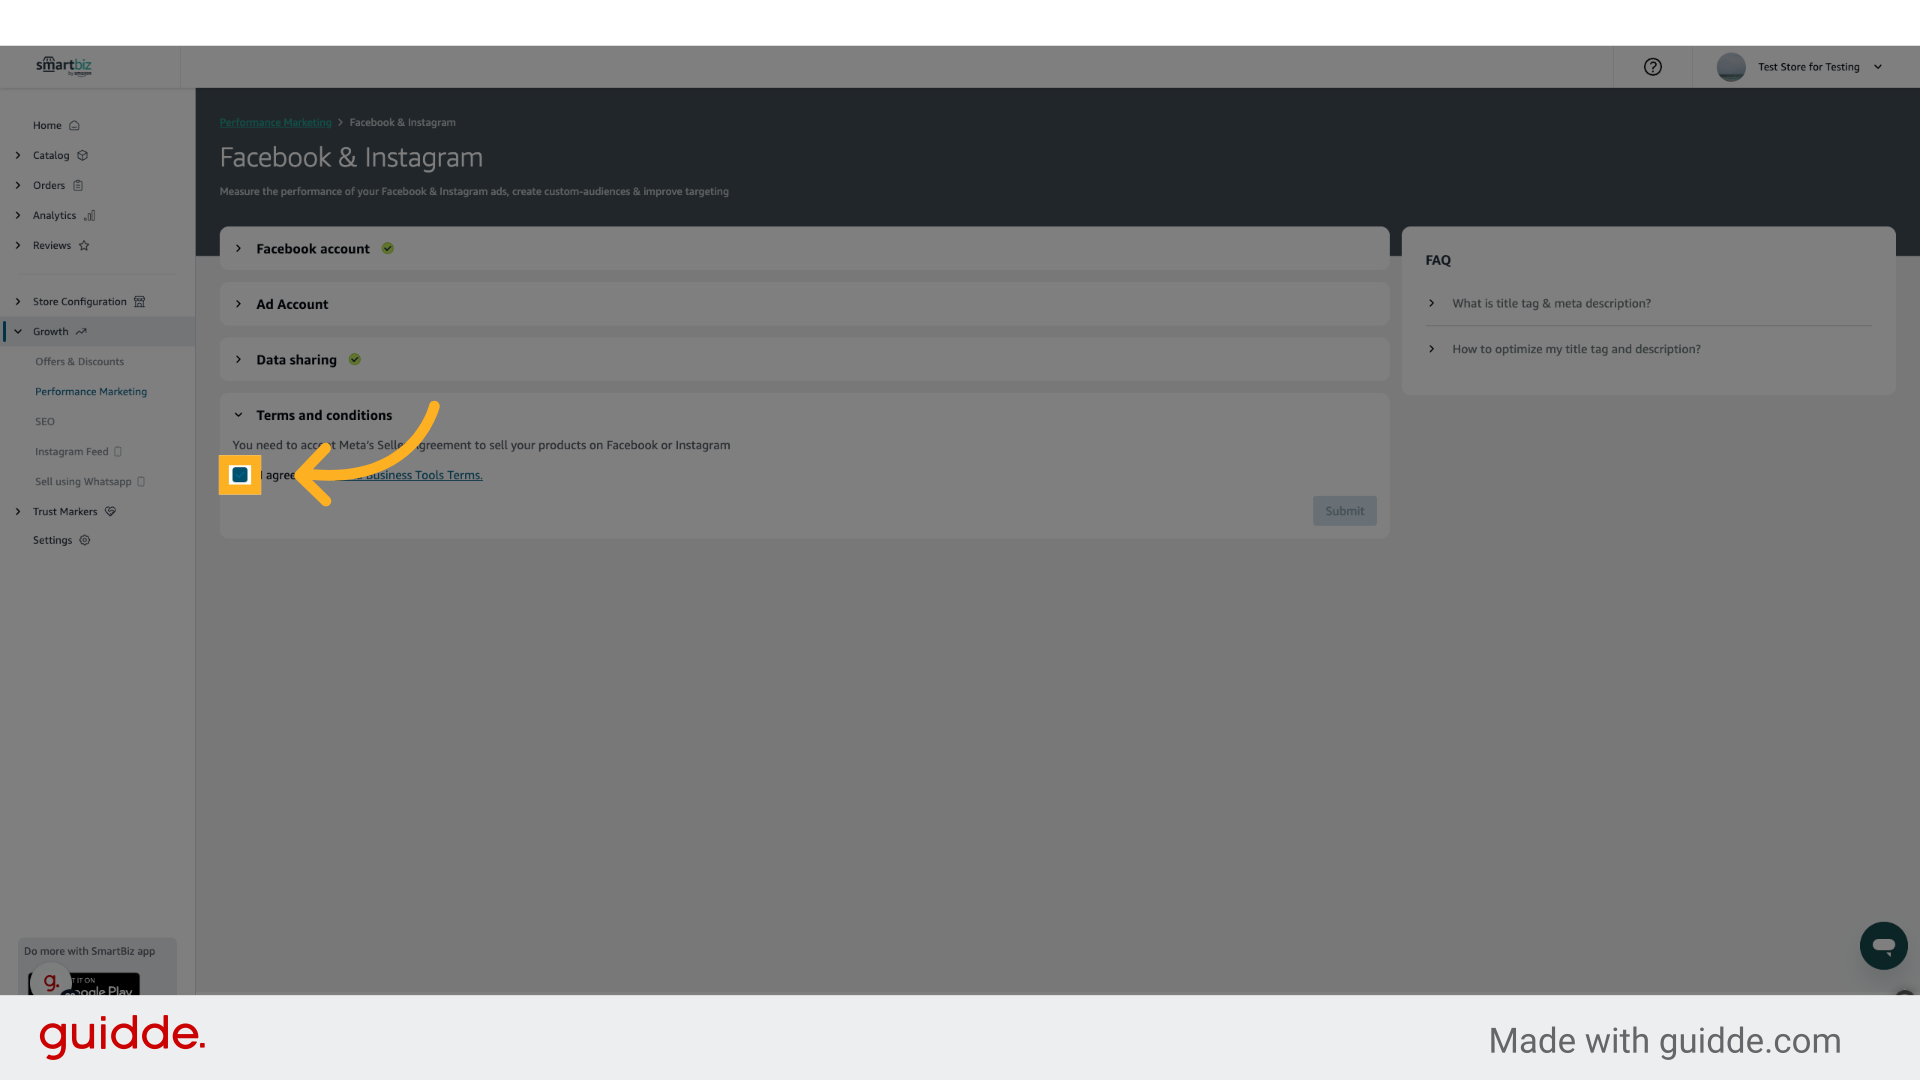
22. Click here
Agree to all Terms & Conditions.
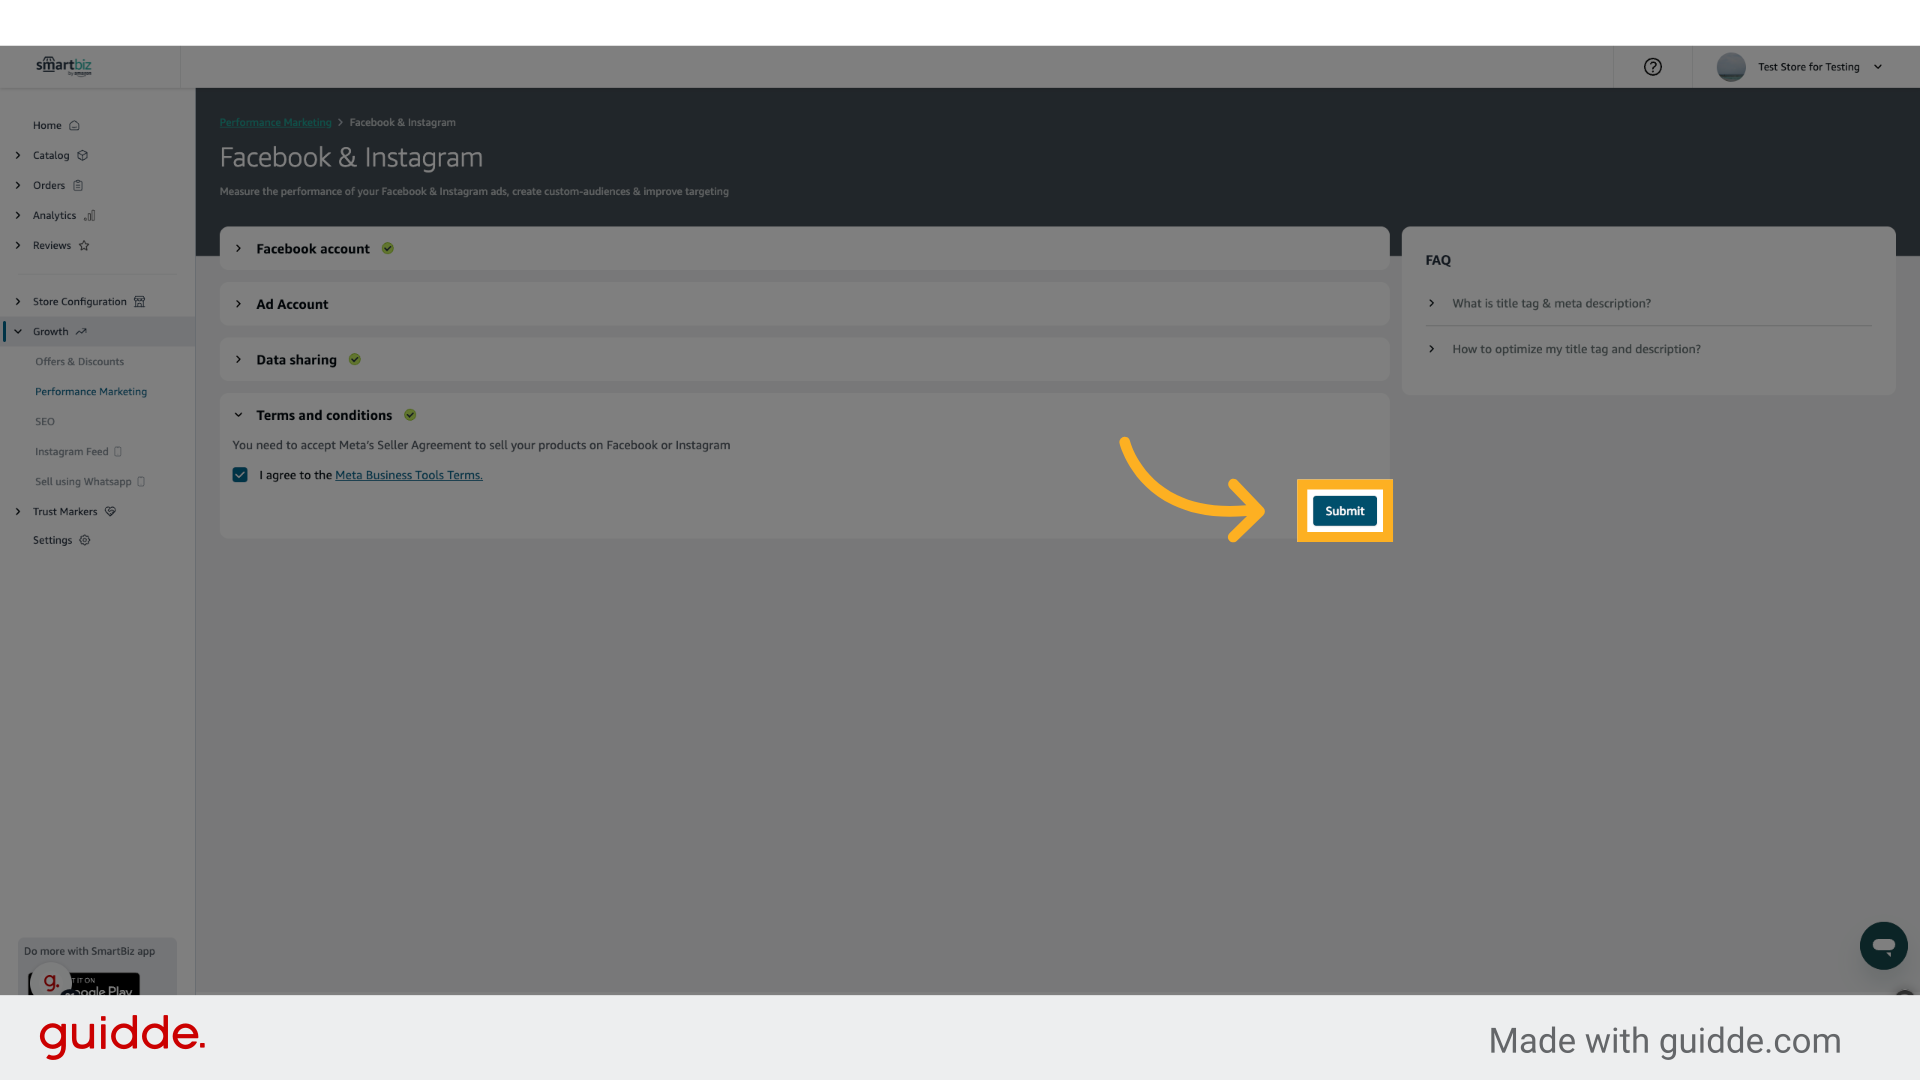
23. Click "Submit"
Click on Submit to finish the setup
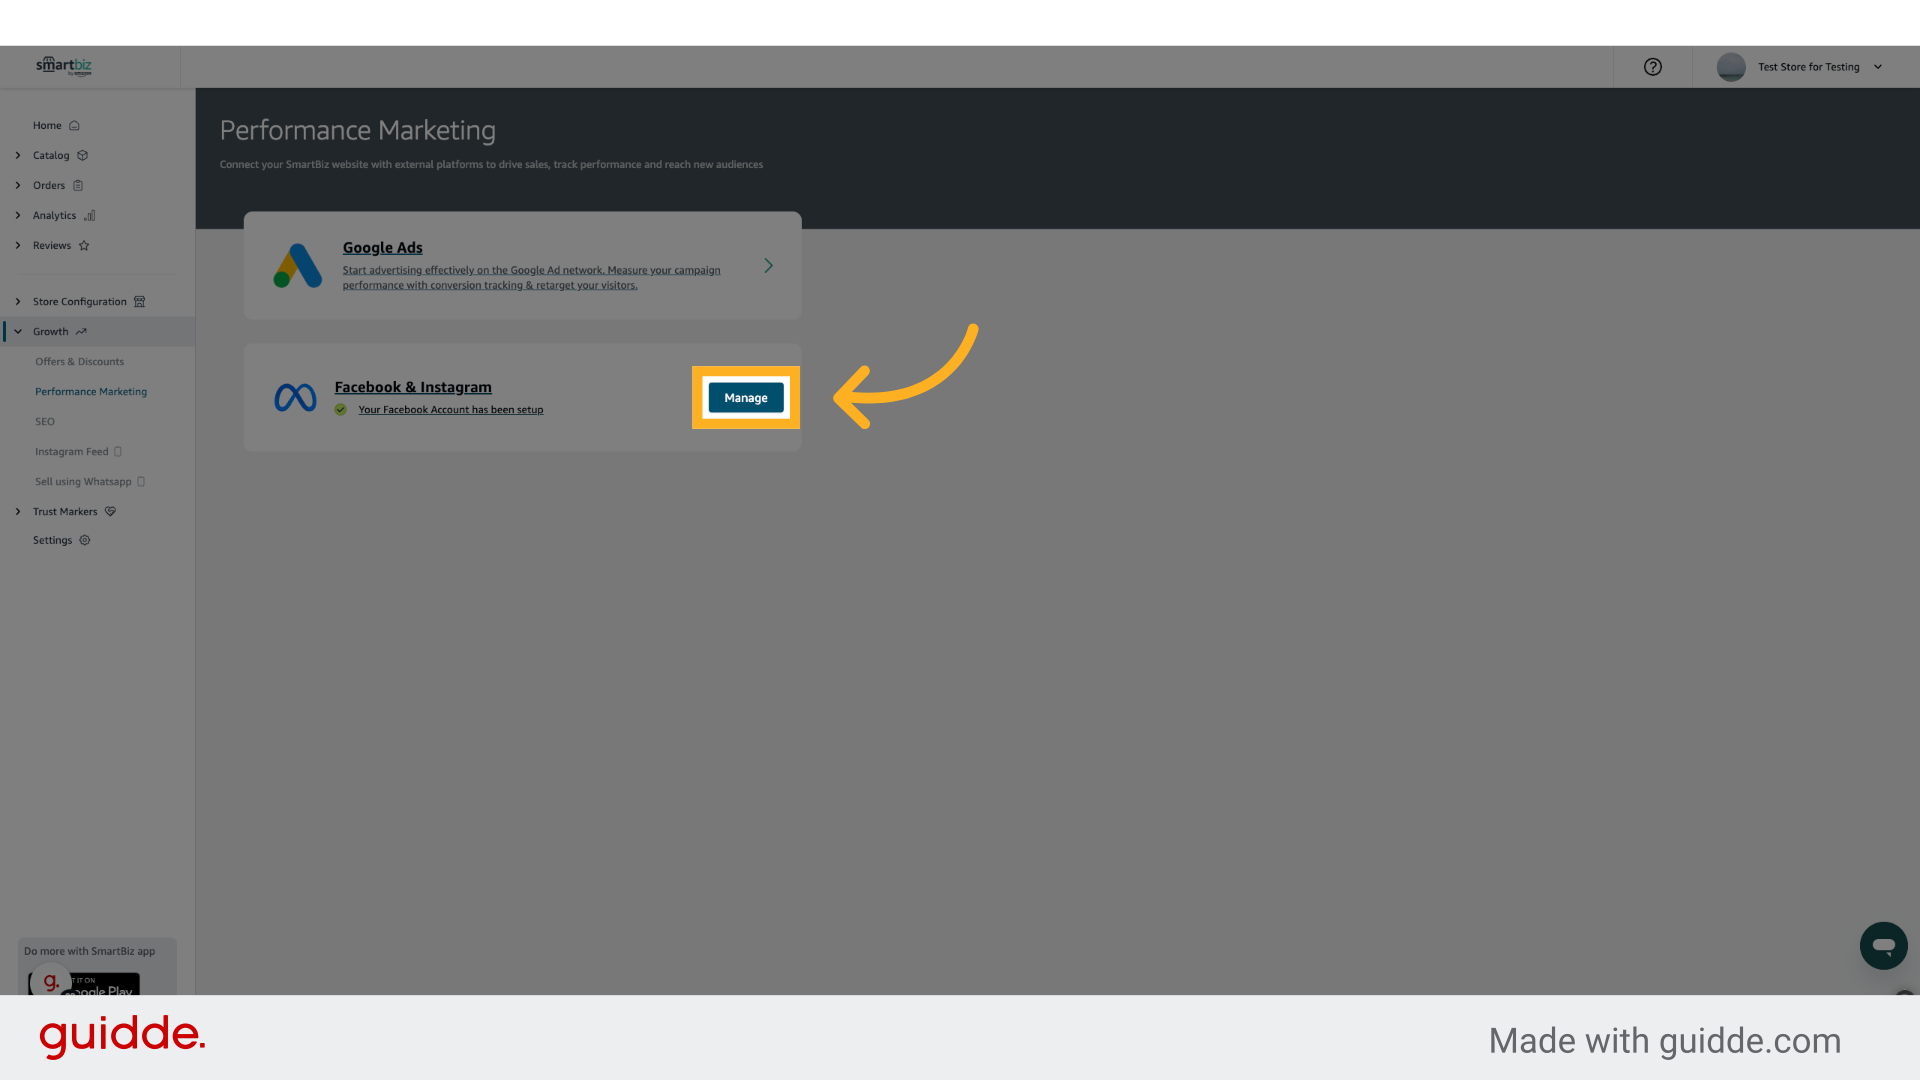
24. Click "Manage"
CAPI is not enabled on your Ad Account. If you want to manage your account, click on Manage.
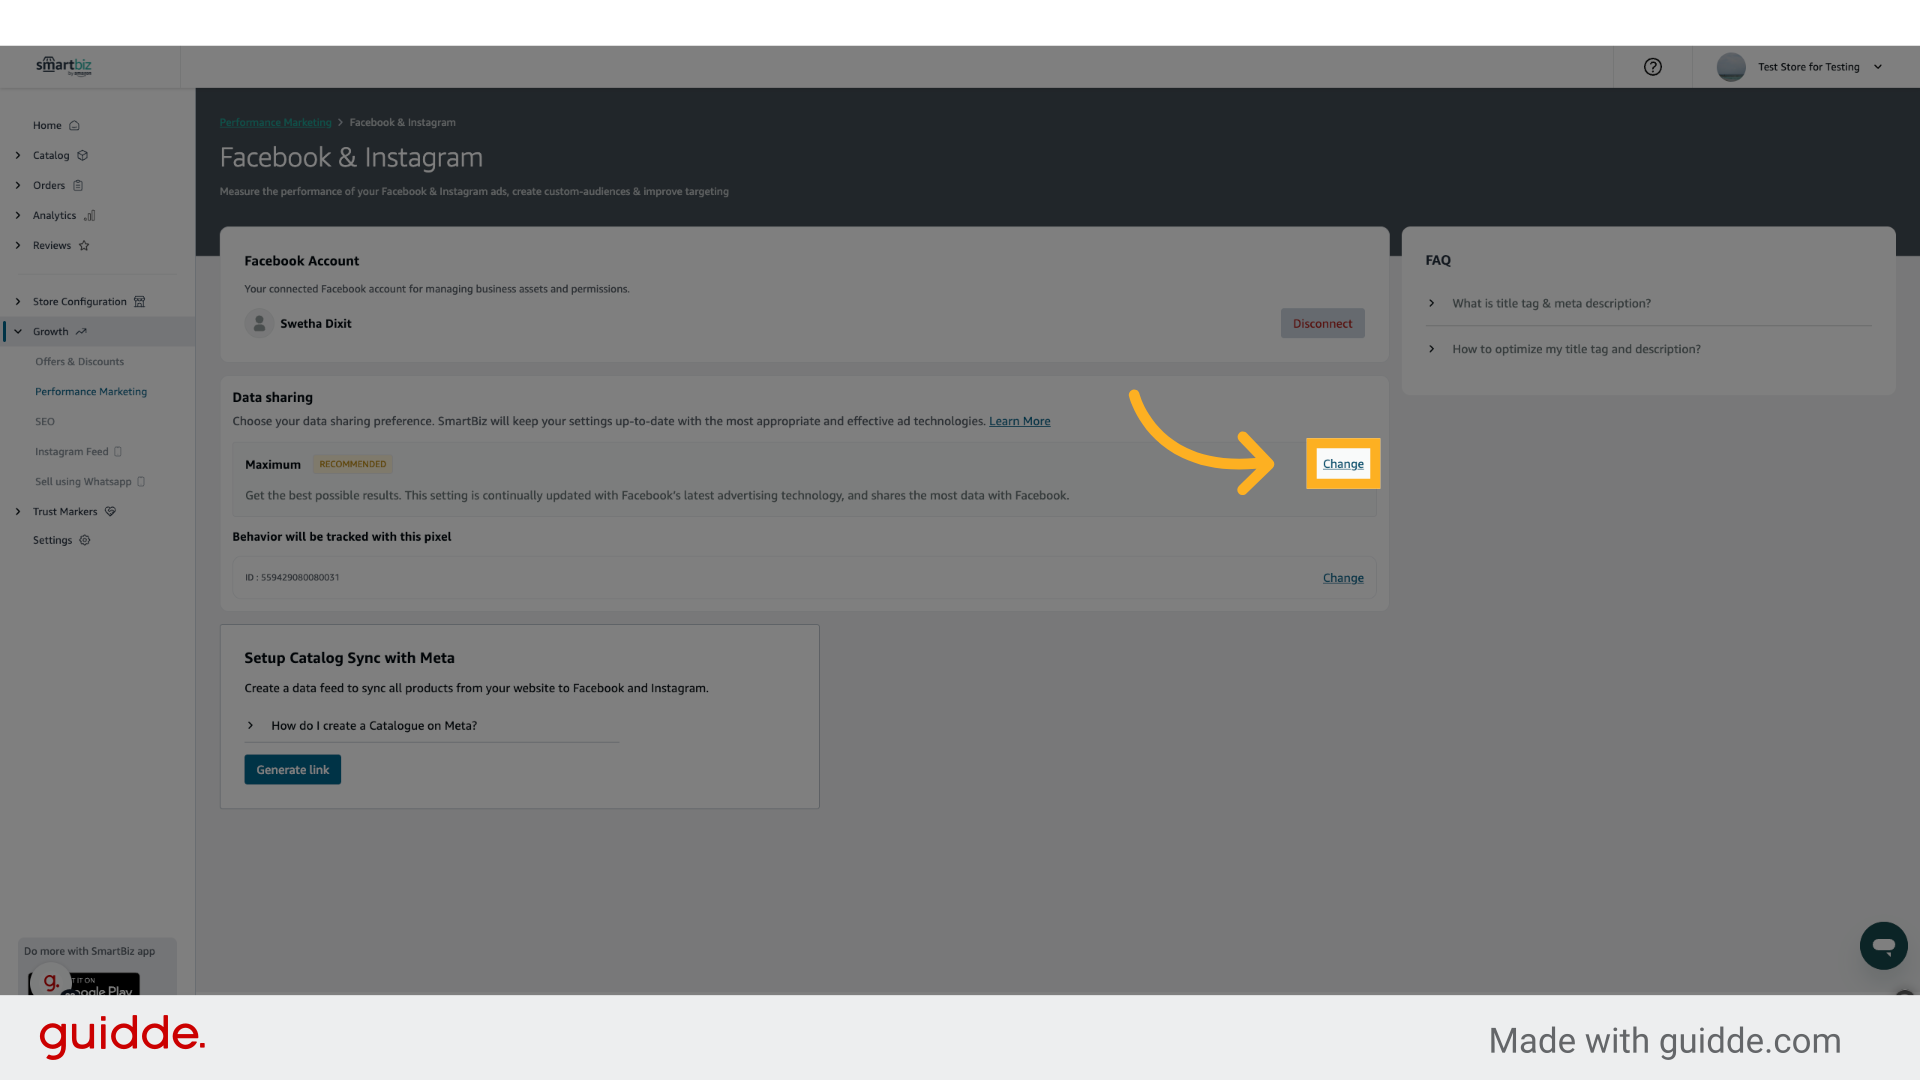
25. Click "Change"
To change the data sharing settings, click on Change
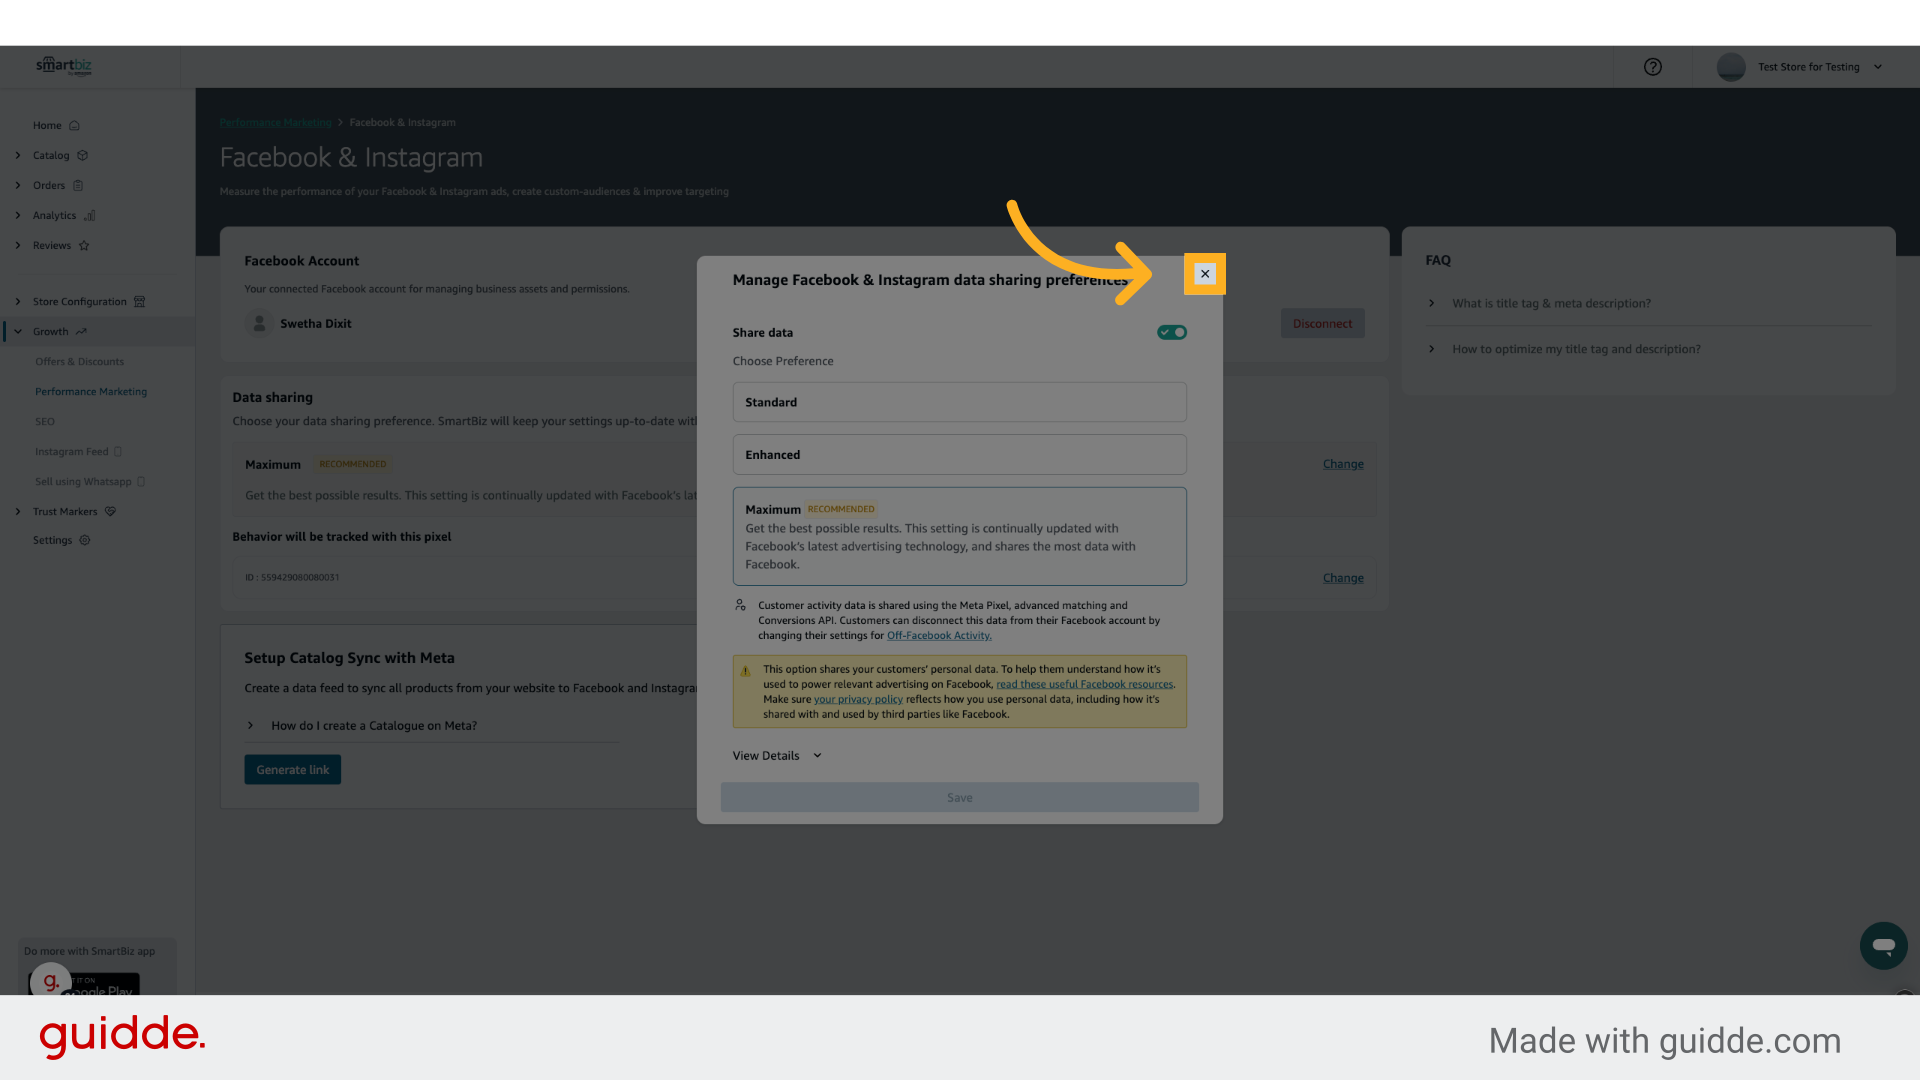
26. Click here
Click on cross to keep it unchanged or choose a different data sharing setting and then click on save
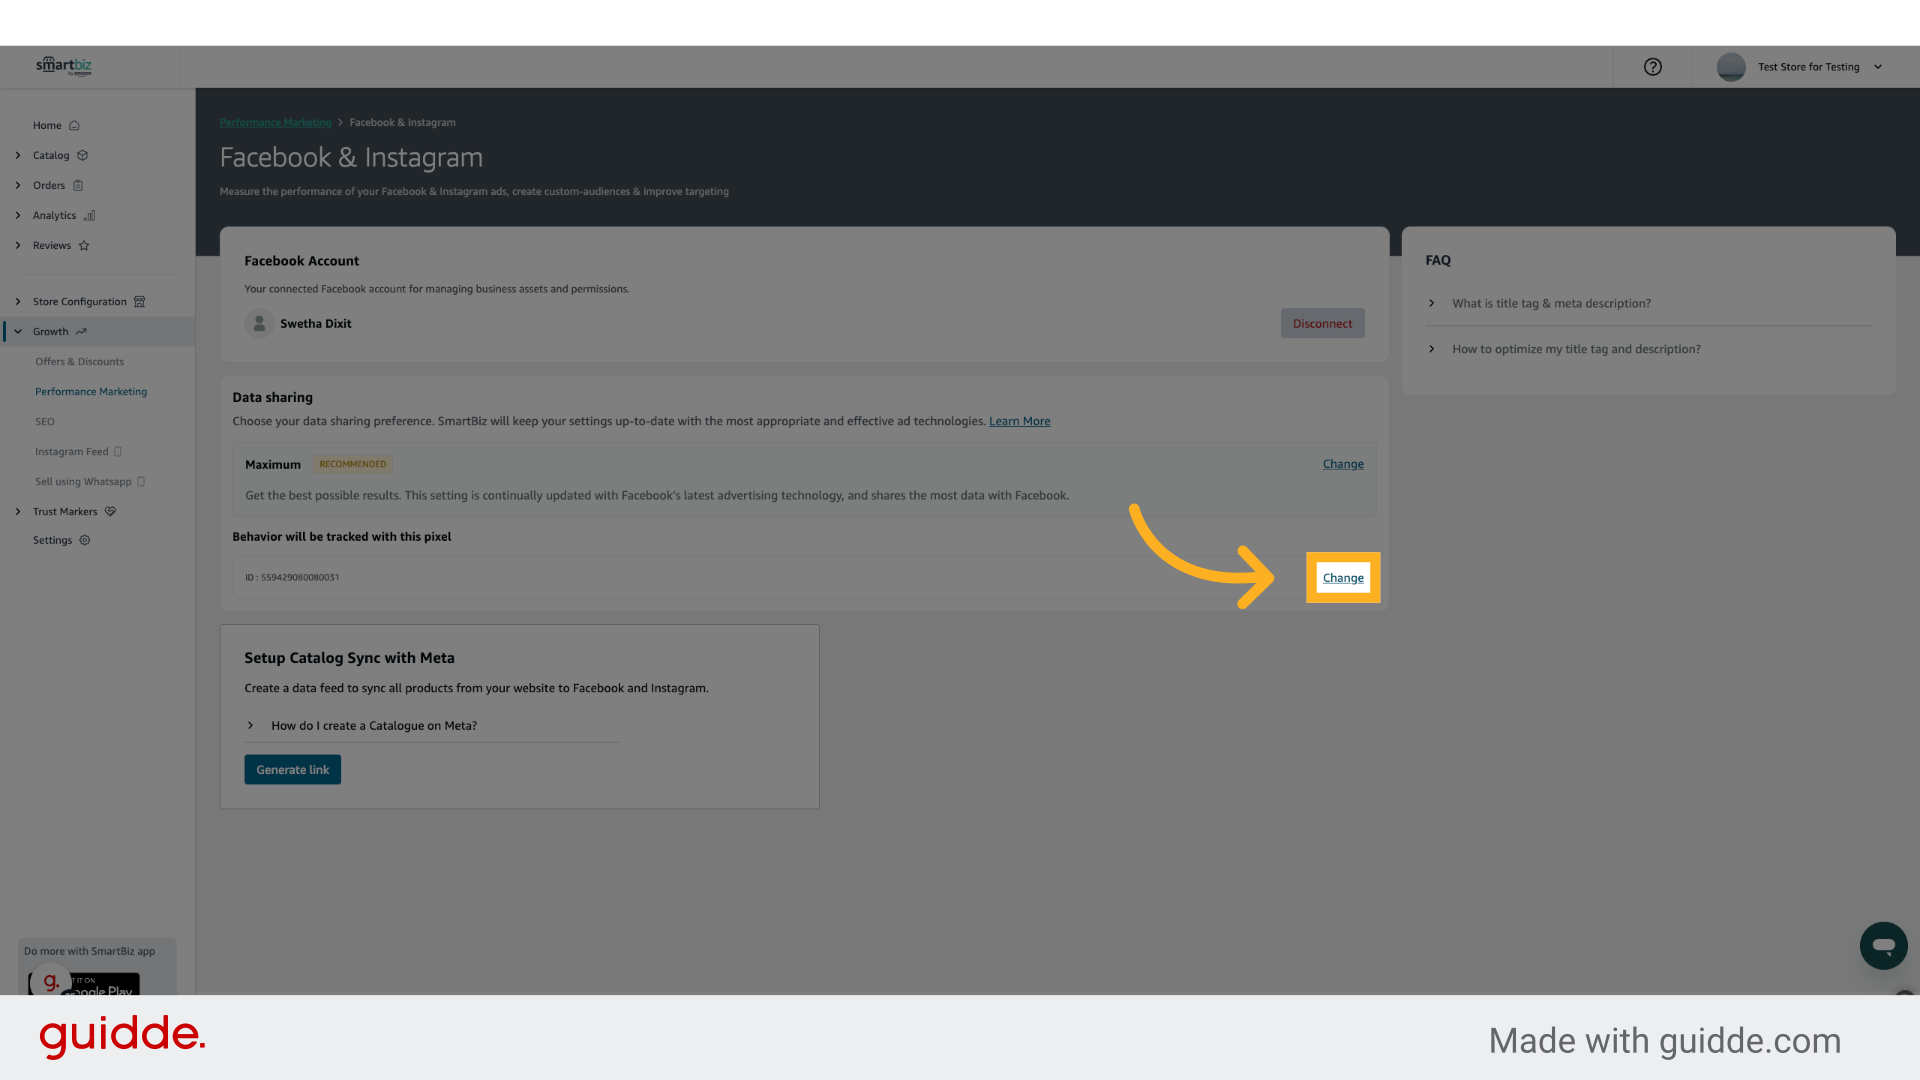
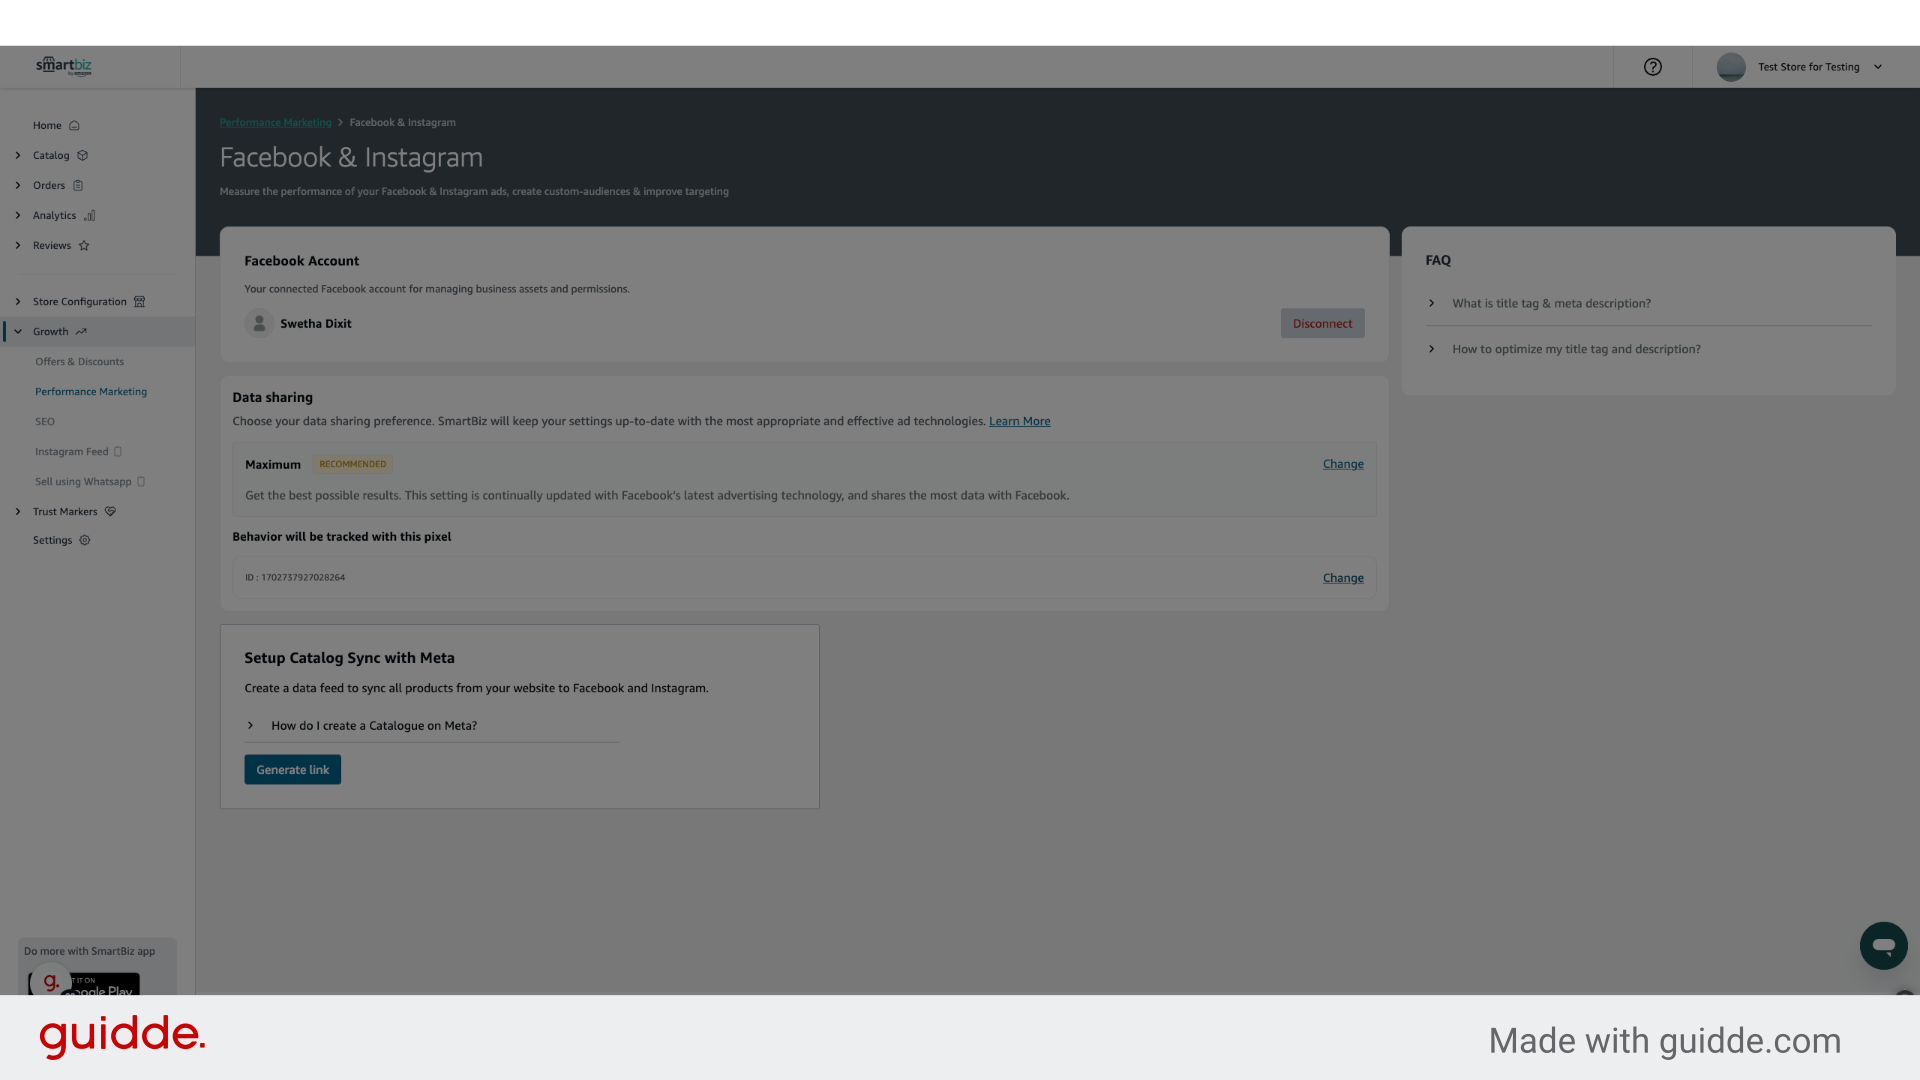
27. Click "Change"
If you want to change the Pixel connected to your storefront, click on change.
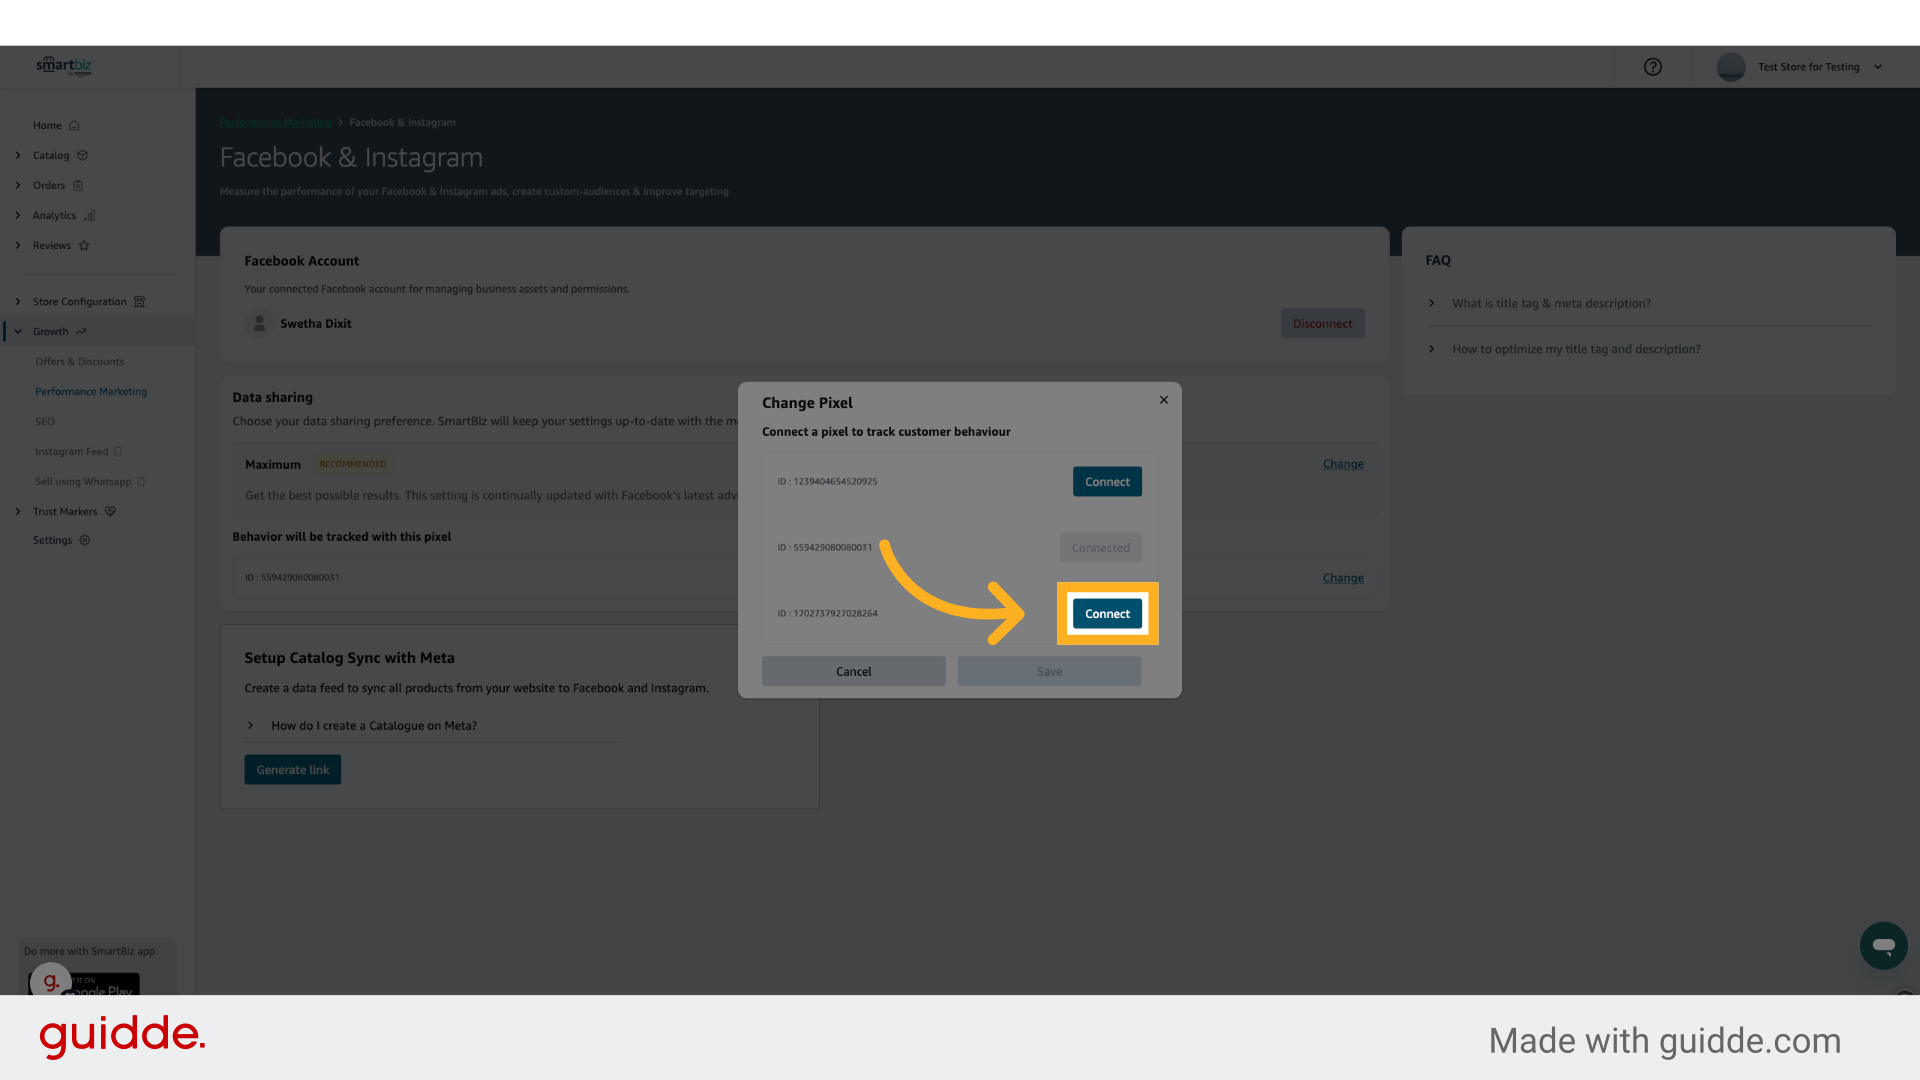
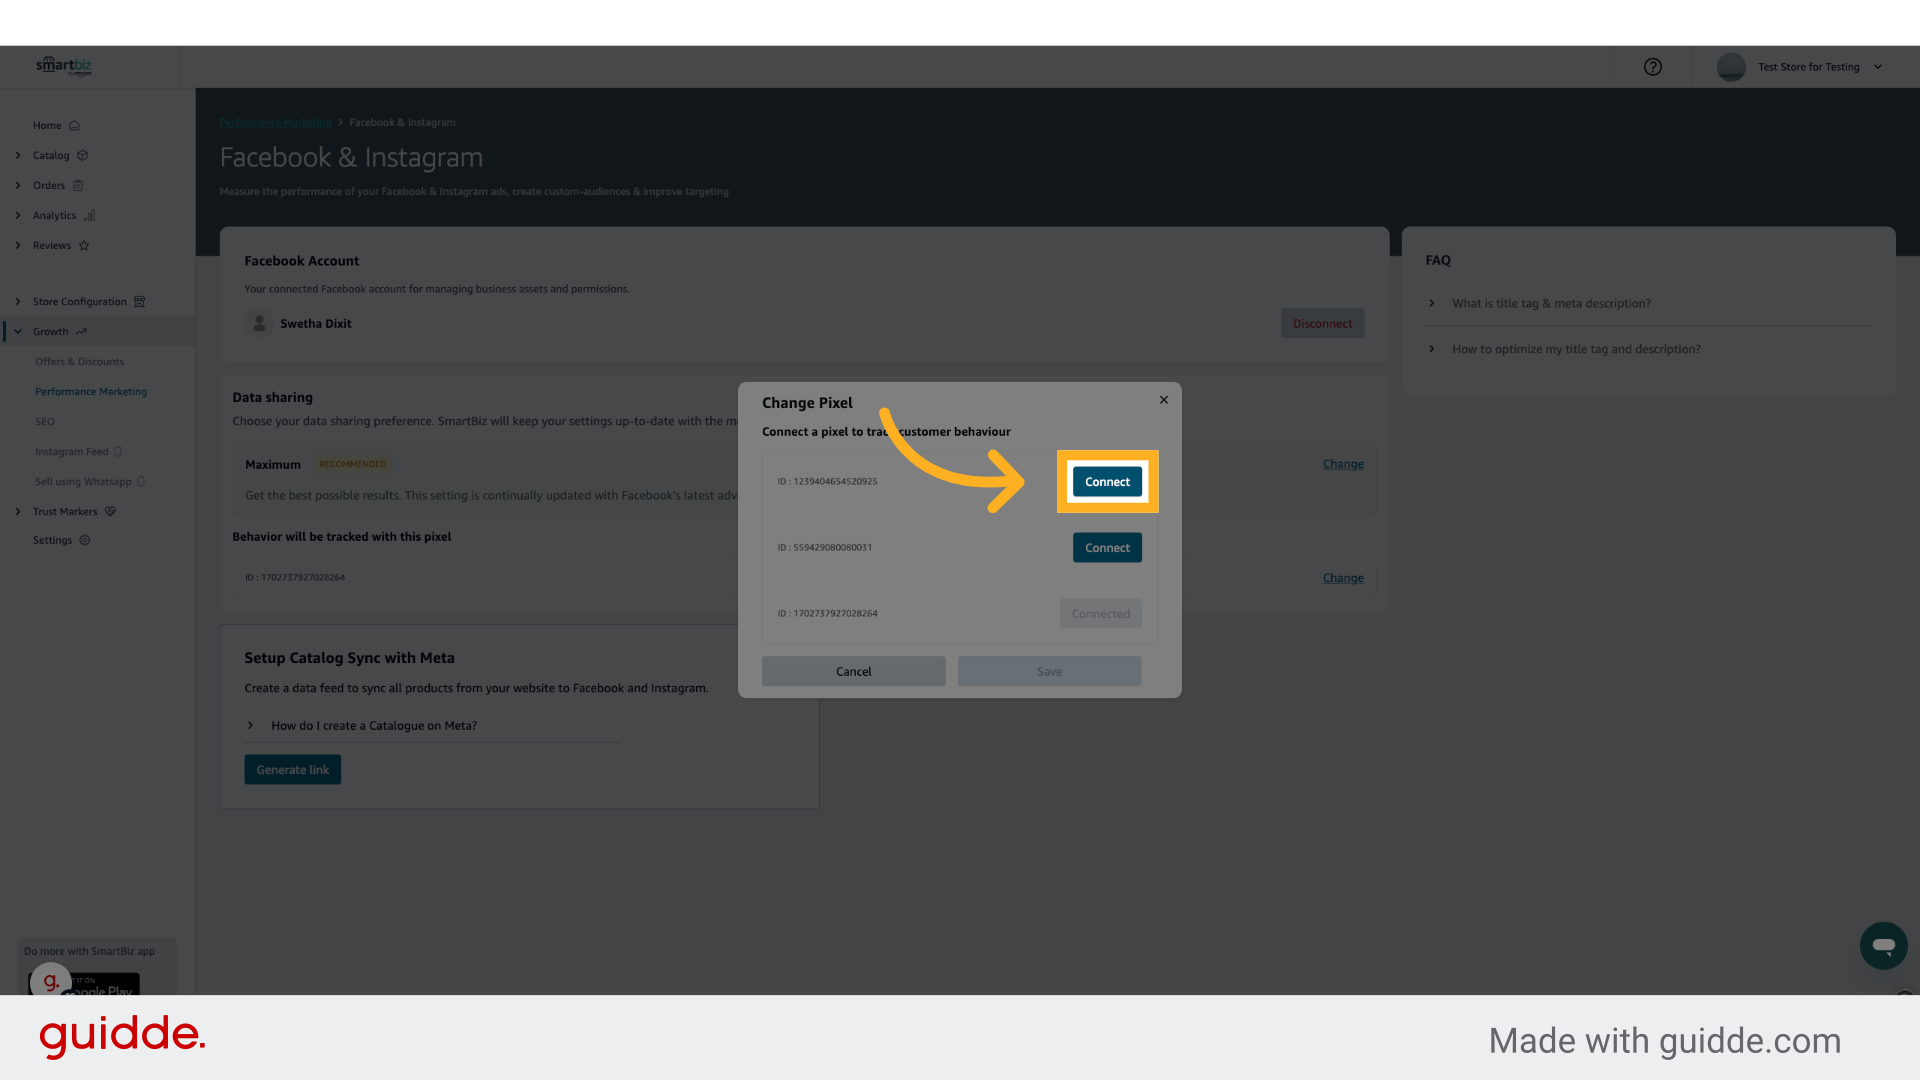
28. Click "Connect"
Click on the correct Pixel that you want to connect.
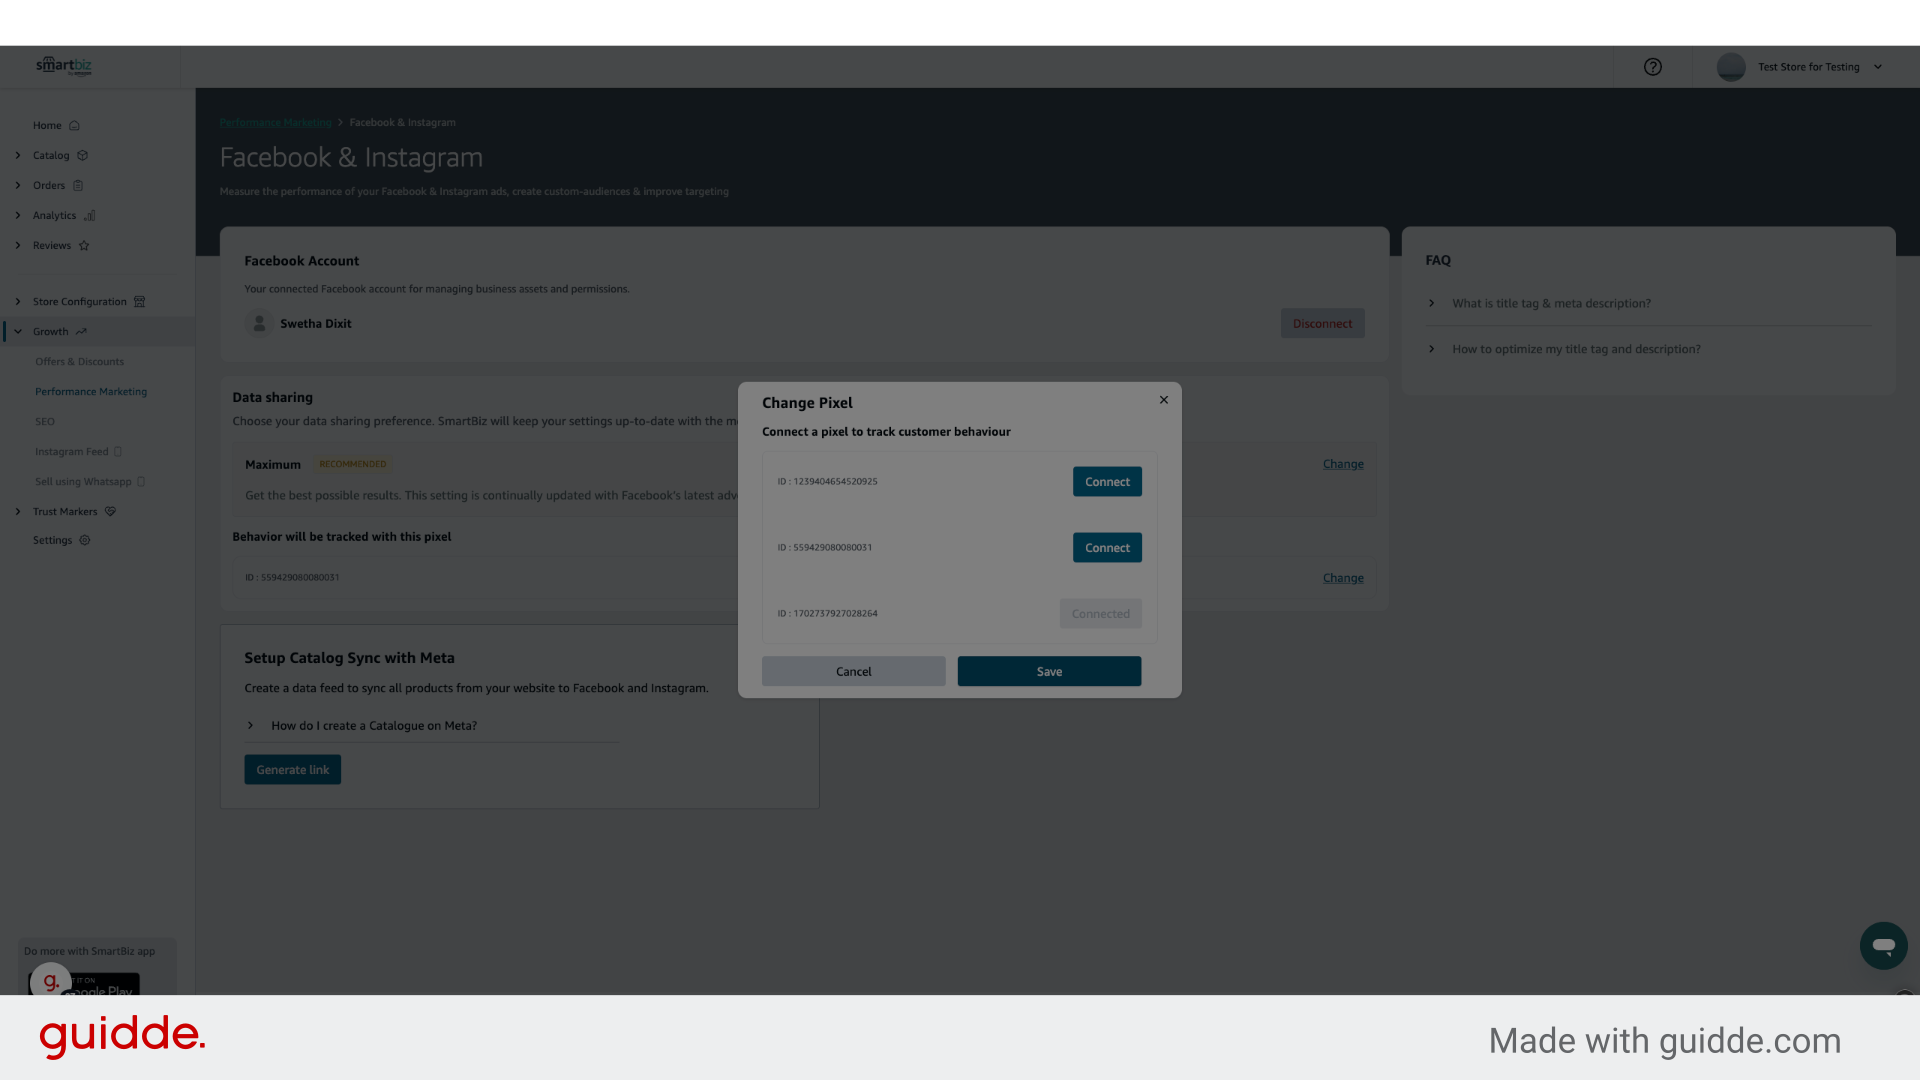
29. Click "Save"
Click on Save to connect the chosen Pixel.
30. Click "Change"
Adjust your integration preferences to better suit your marketing strategies.
31. Click "Connect"
Confirm your settings to solidify the connection to Meta CAPI.
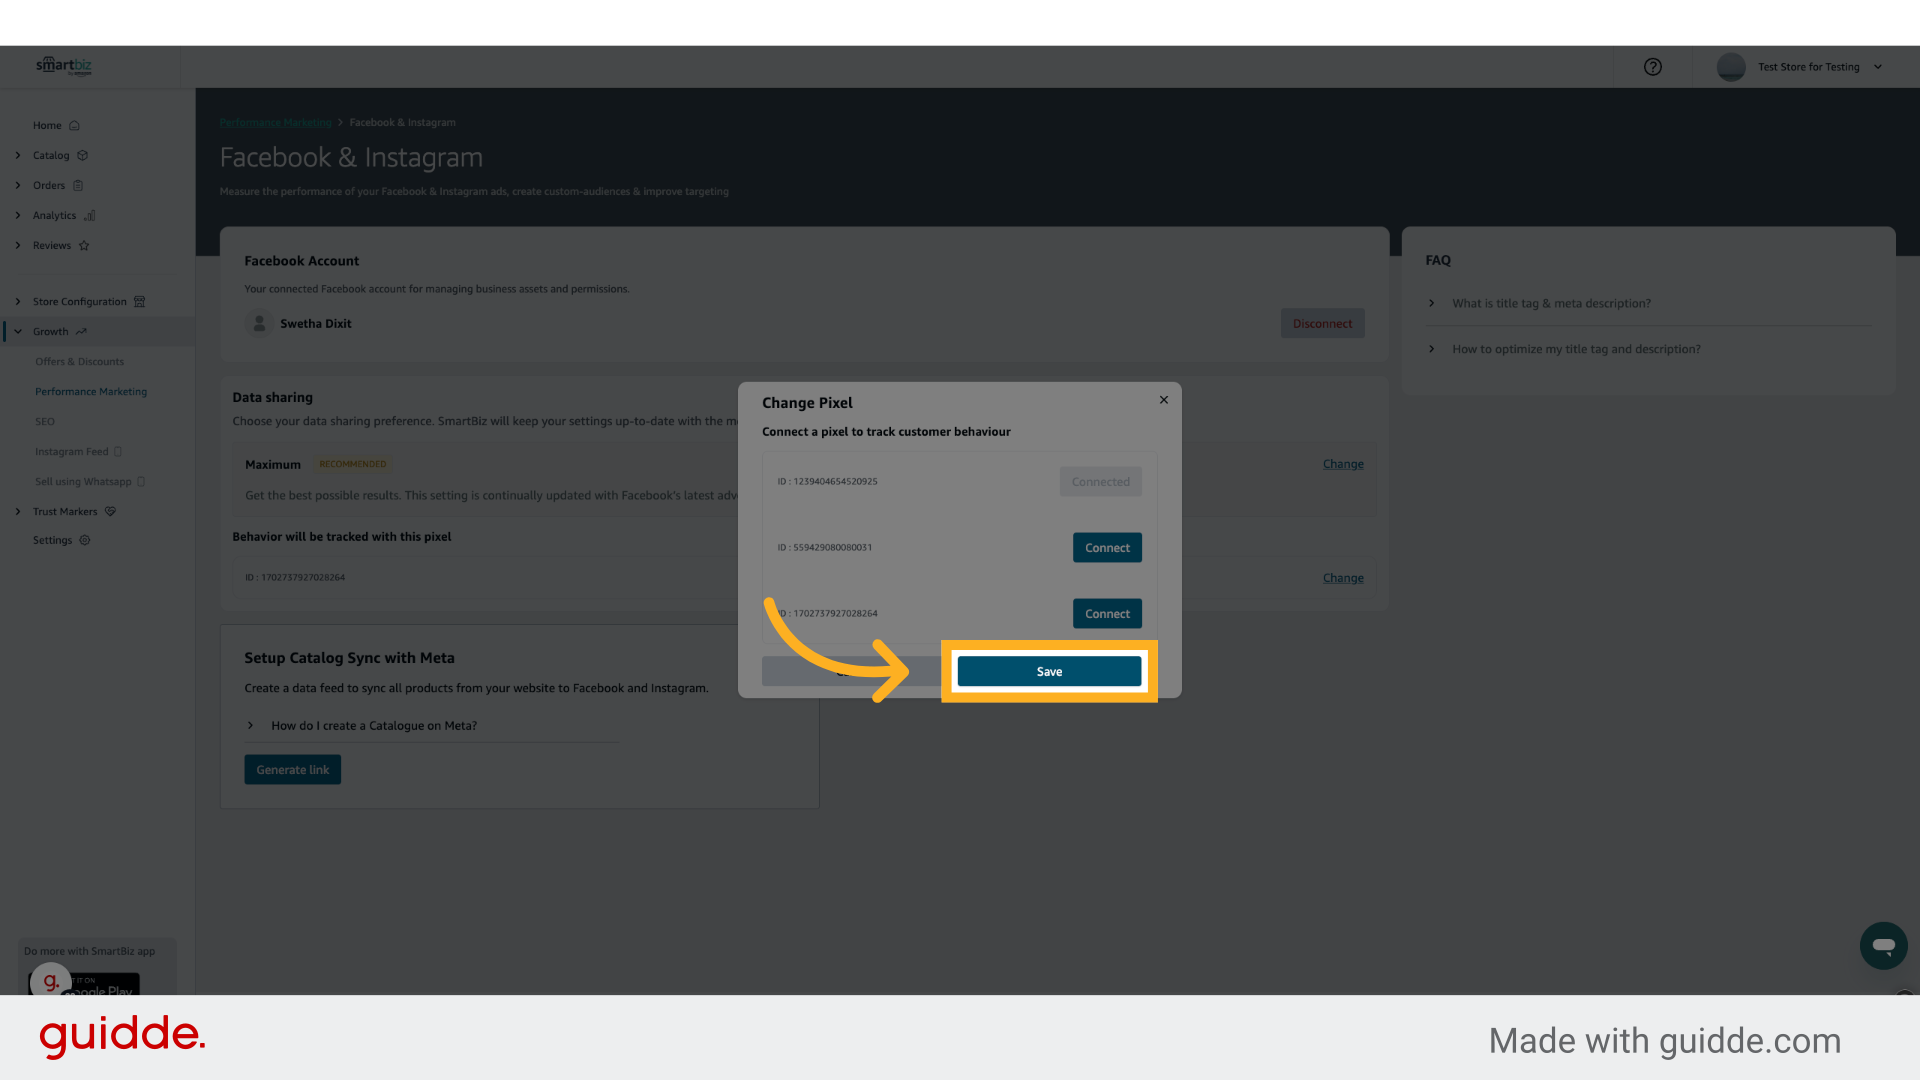
32. Click "Save"
Final save ensures all adjustments are applied, readying you for enhanced ad performance.
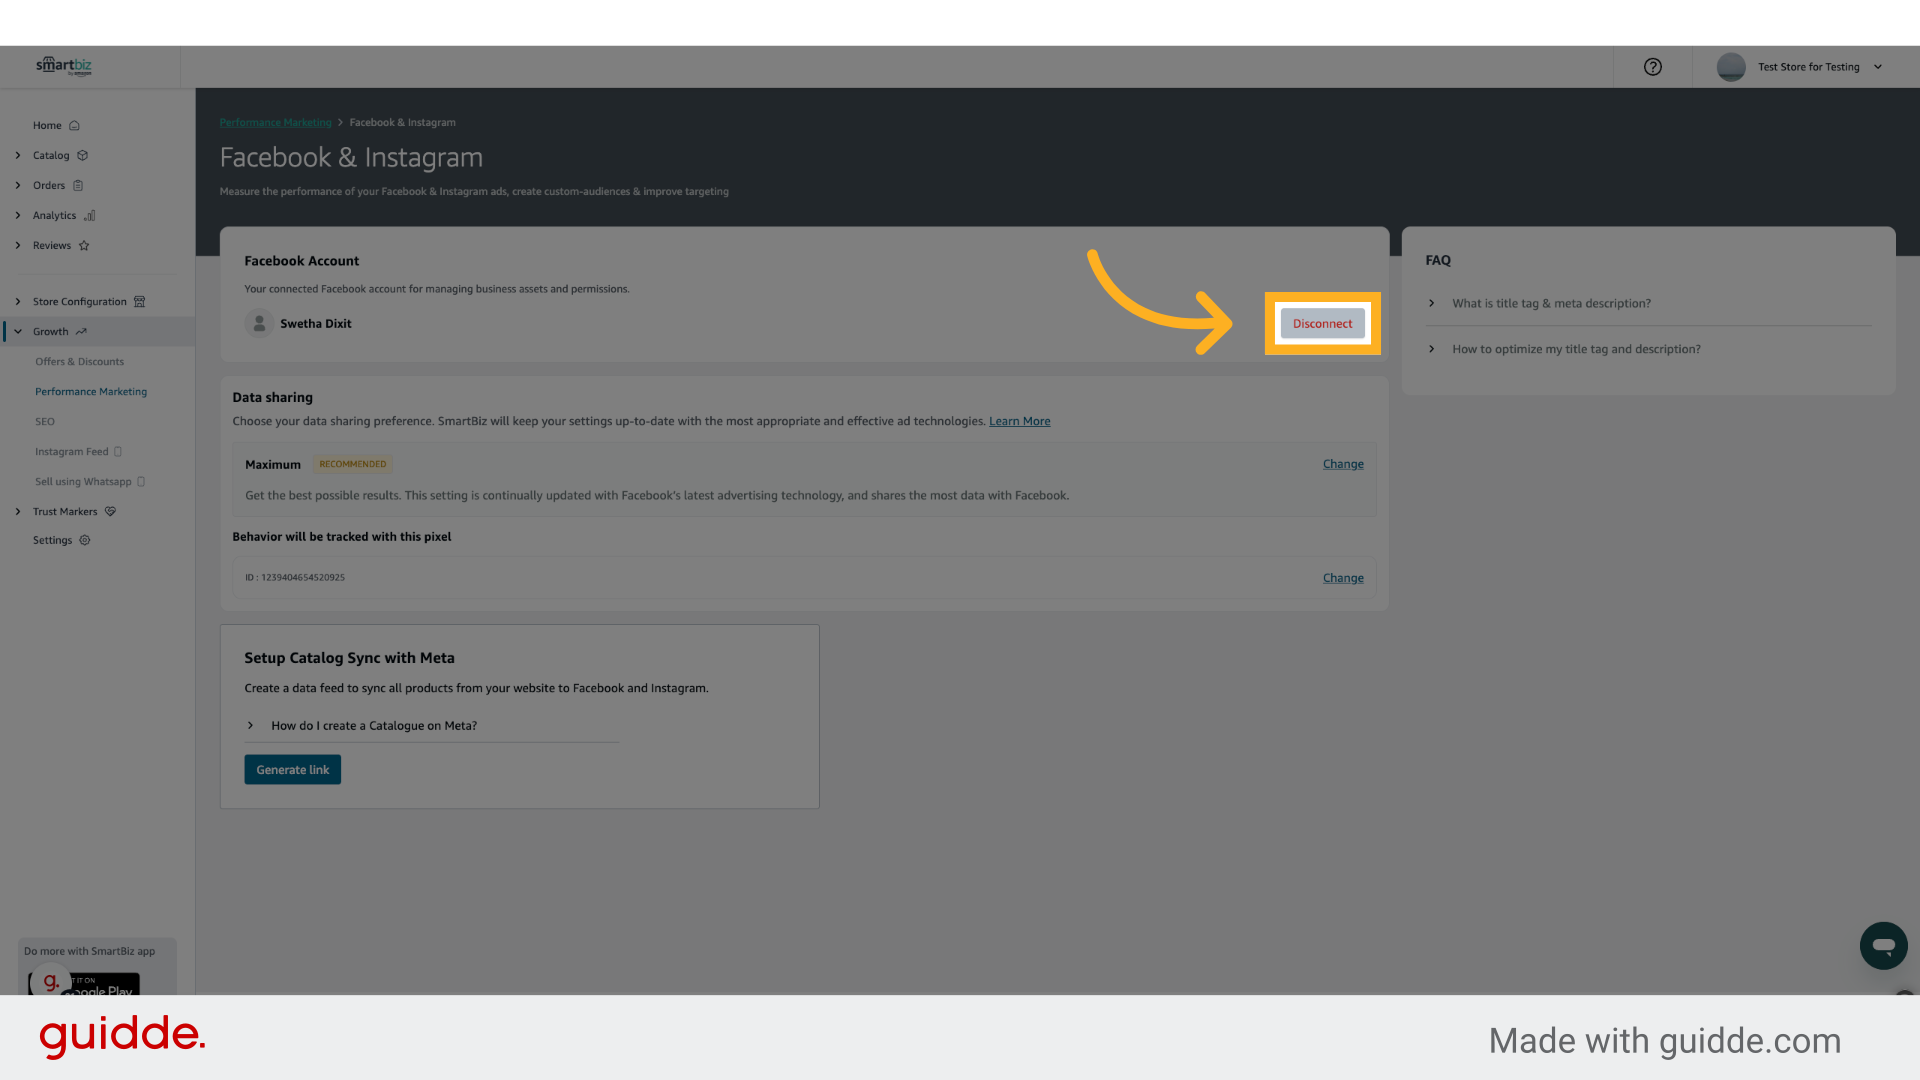
33. Click "Disconnect"
If needed, disconnect the integration to reconfigure or troubleshoot your setup.
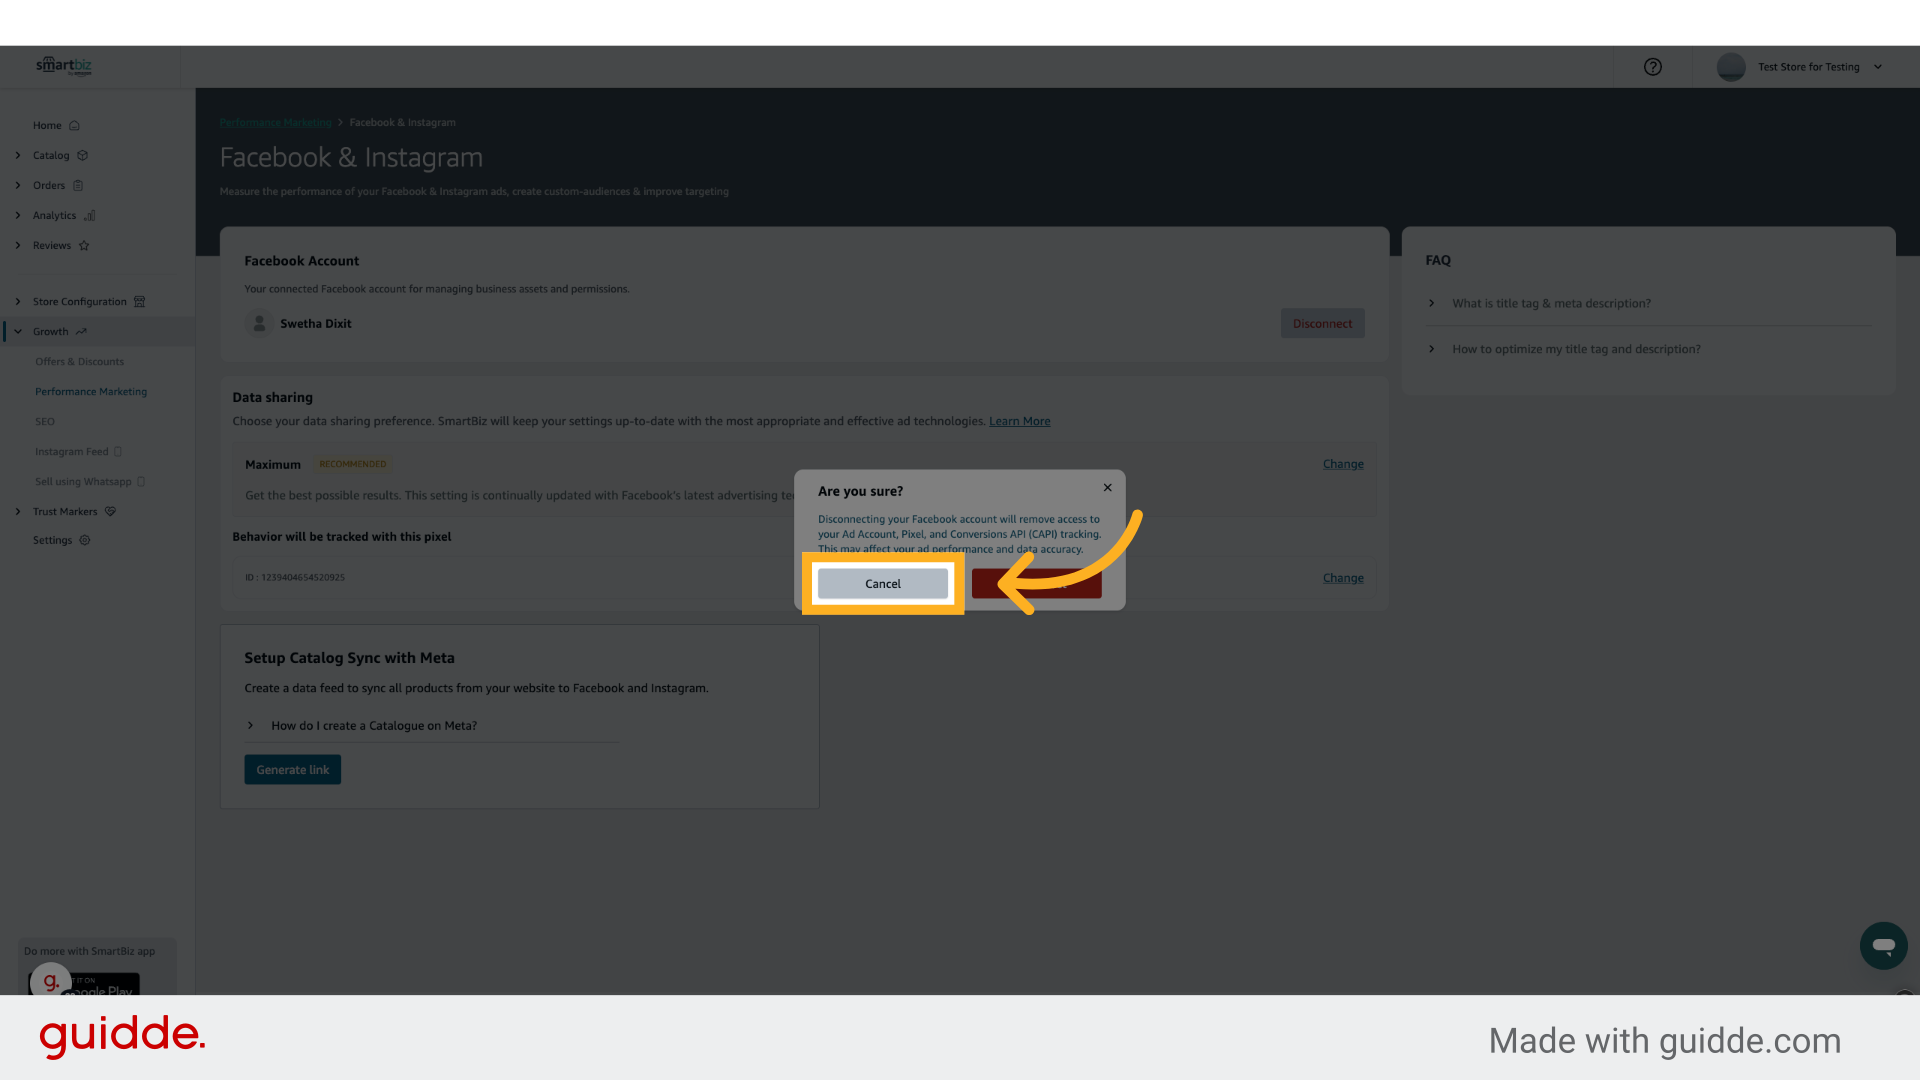
34. Click "Cancel"
Opt to cancel if you need to revisit any configurations or settings before finalizing.
By following this guide, you will successfully connect Meta CAPI to your storefront, allowing for streamlined ad management and advanced performance tracking. This feature empowers you to enhance your marketing strategies, ultimately driving greater engagement and sales through Facebook and Instagram.